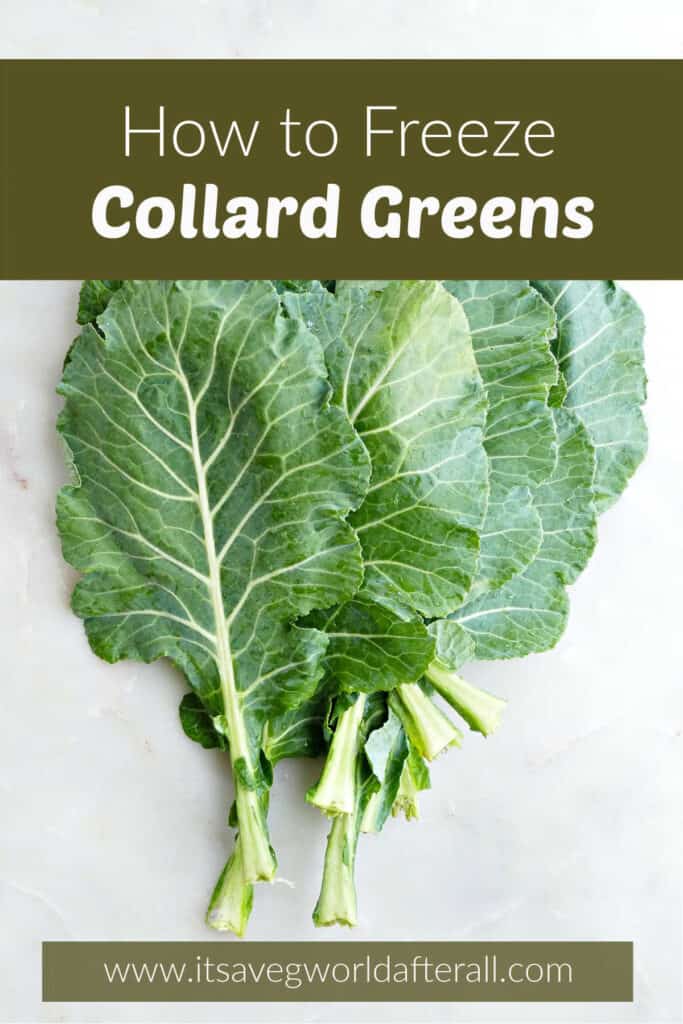
If you’re wondering how to freeze collard greens, whether you can do so without blanching, and if you can freeze cooked greens, look no further! This tutorial goes through everything you need to know for how to prepare and freeze collards so you can extend their shelf life and use them in later recipes.
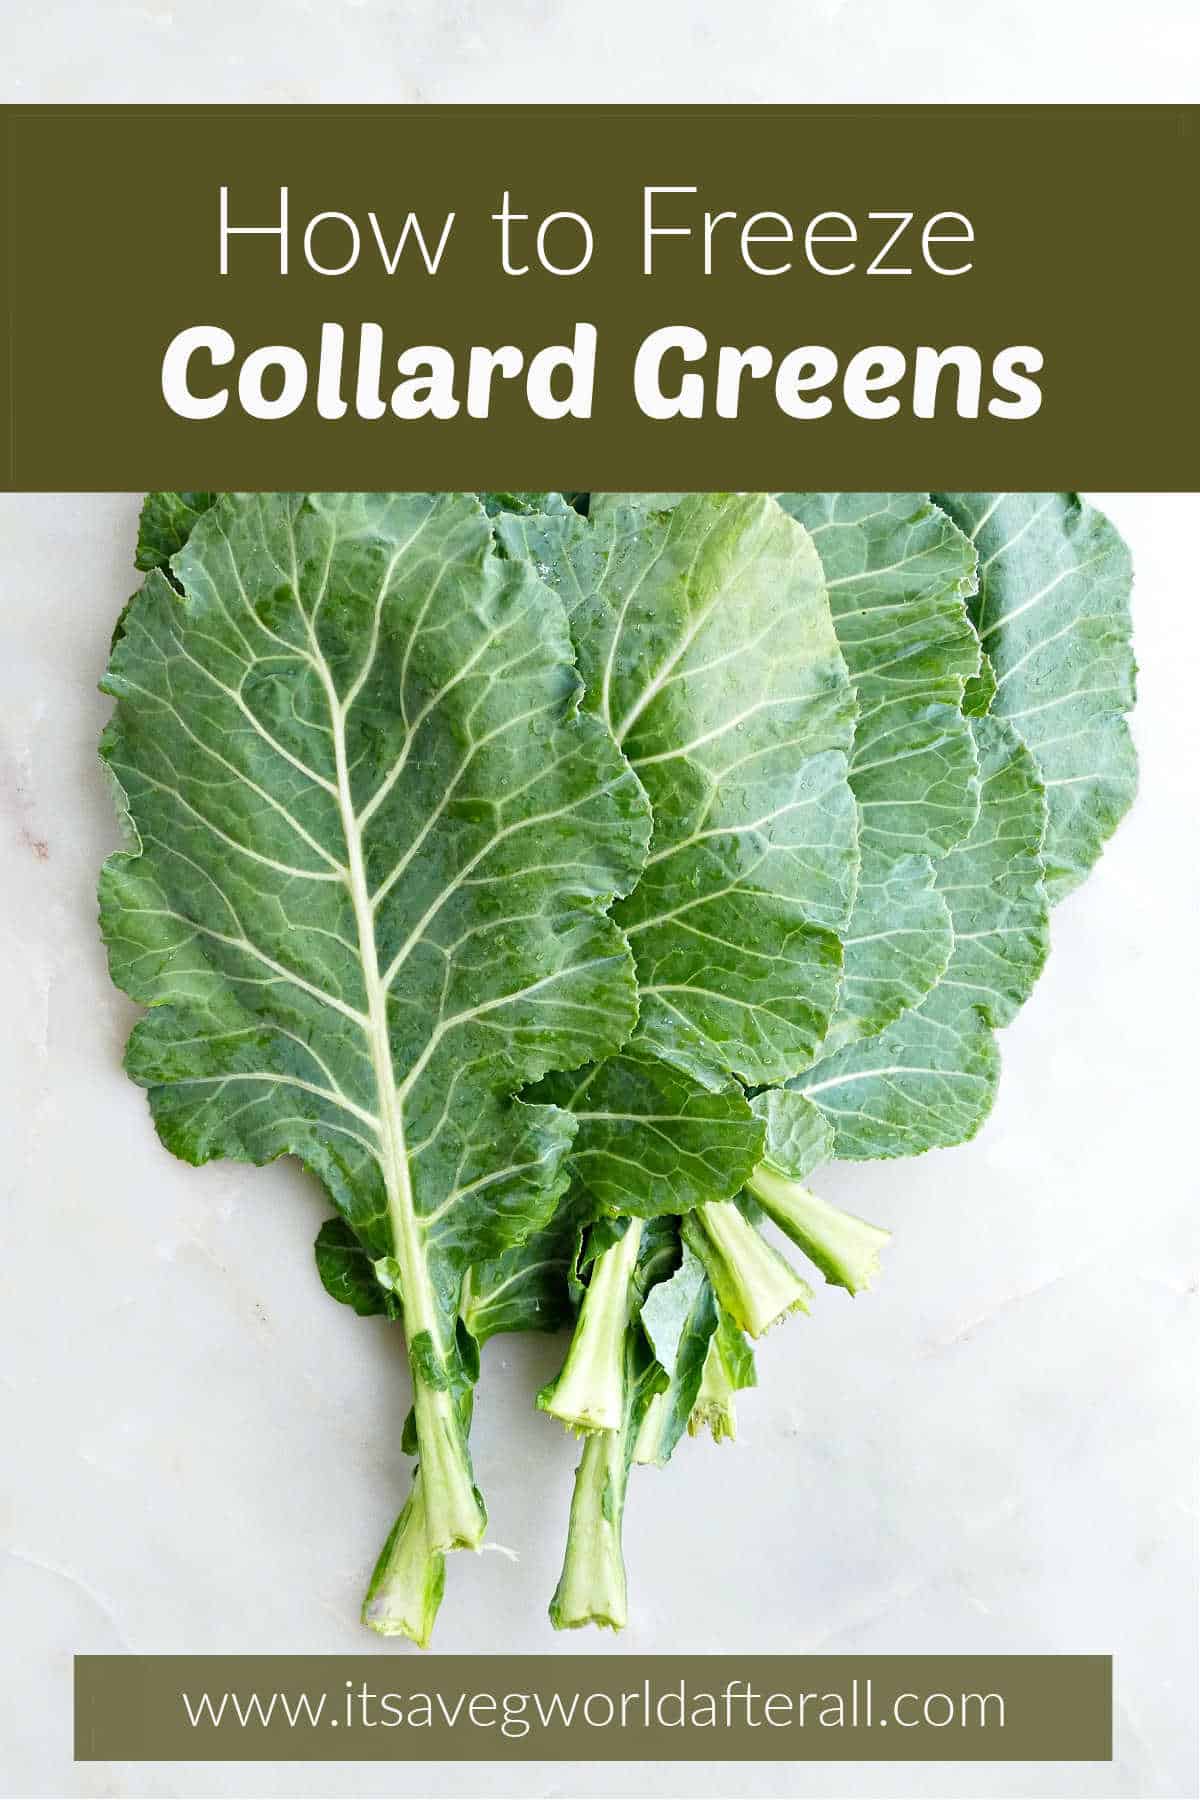
Collard greens are a delicious addition to recipes, especially when they’re braised but even when they’re raw! I like to use them in smoothies and soups or turn them into a flavorful stewed side dish. However, they tend to come in large bunches, and you may find that you have more than you need. In these instances, use the following post to learn how to freeze collard greens!
Jump to:
How to Prepare and Freeze Collard Greens
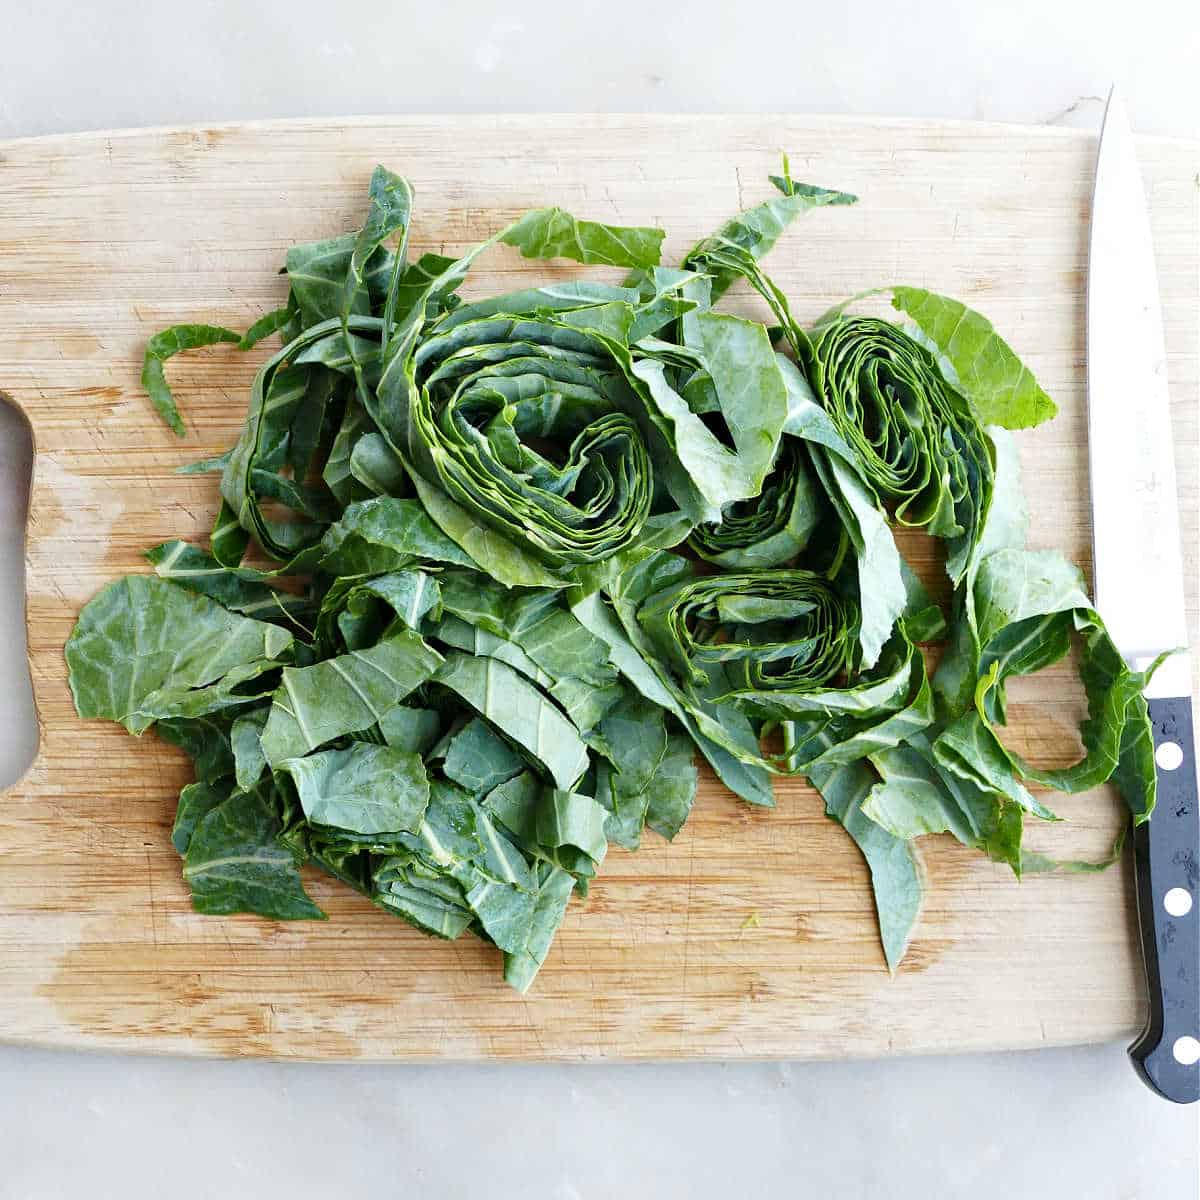
Prepare the collard greens by washing them under water and patting them dry. Then, remove the stems and slice them into strips or roughly chopped pieces. See my tutorial on How to Cut Collard Greens for more information.
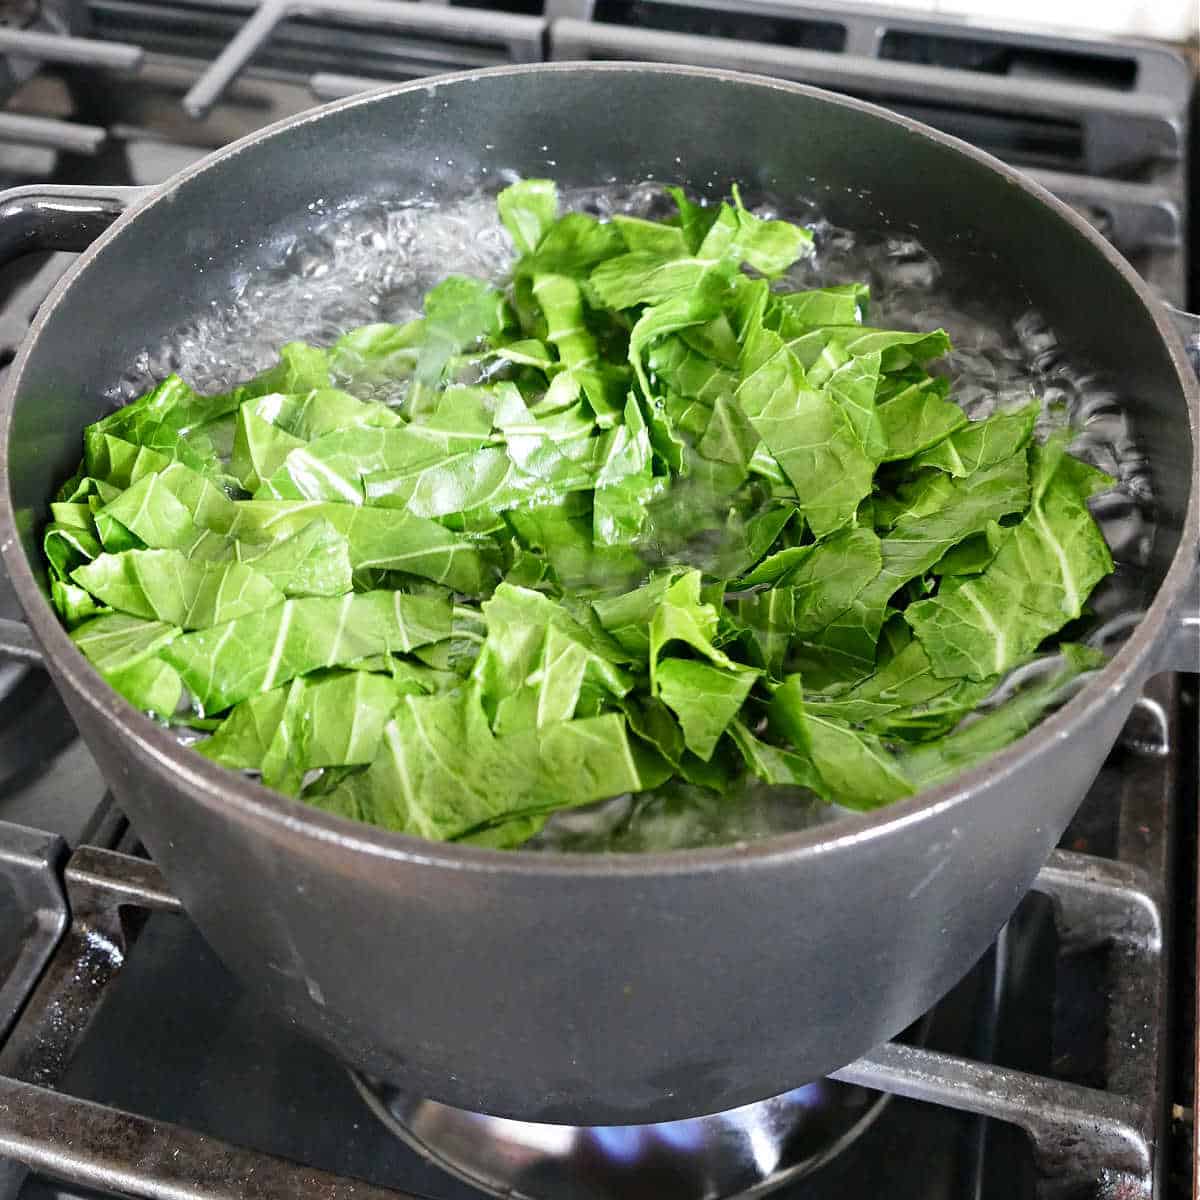
Bring a large pot of water to a boil. Drop the collard greens into the pot and cook for 3 minutes.
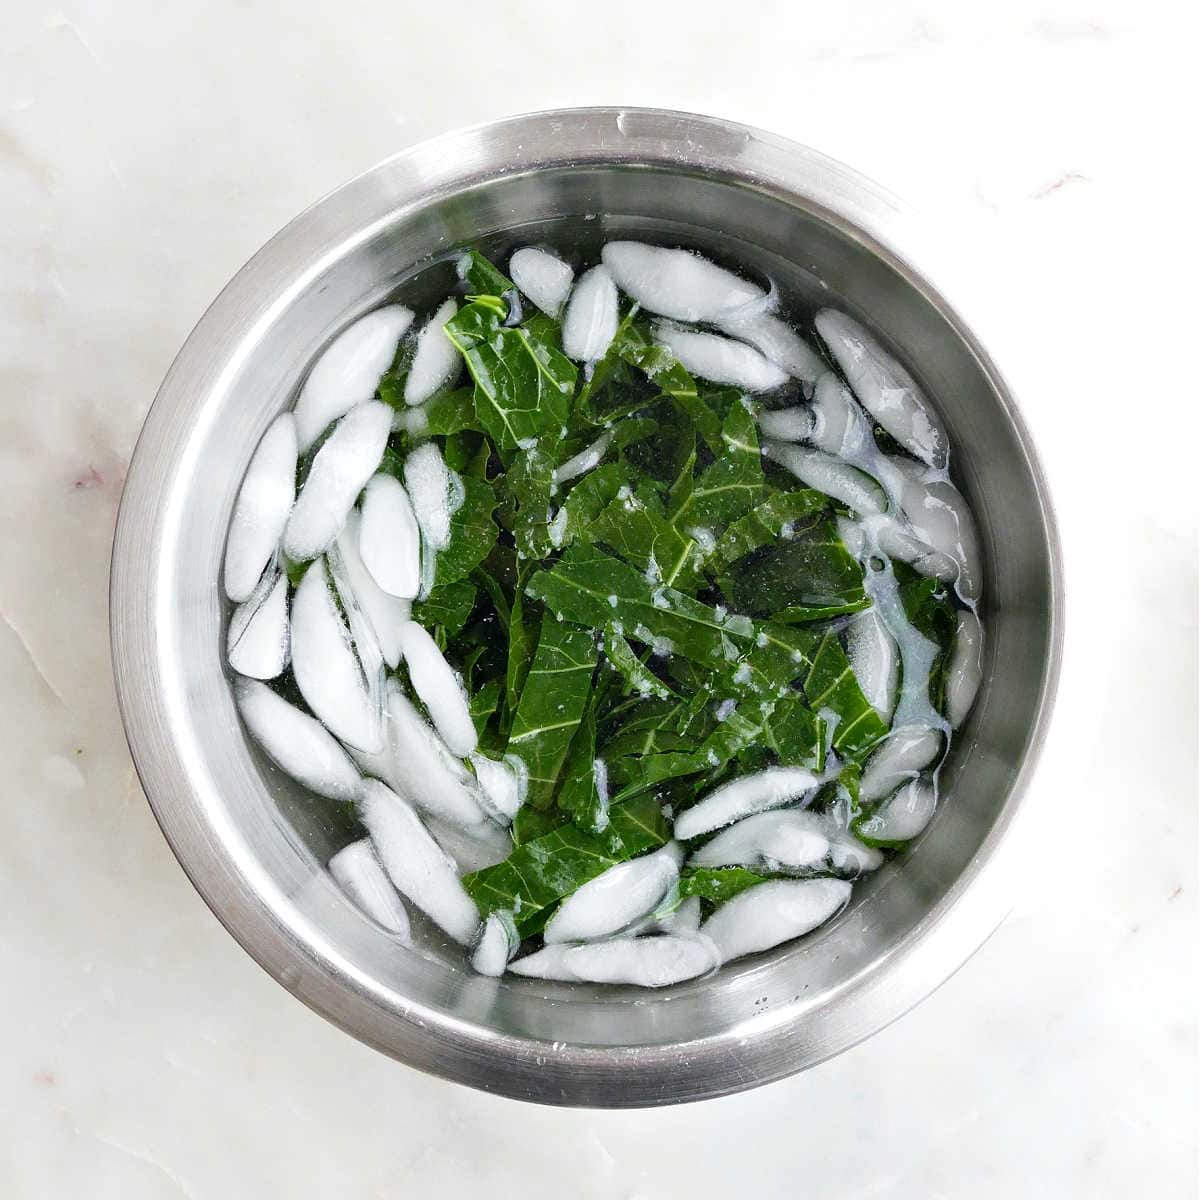
Immediately transfer the blanched collard greens to a bowl of ice water. I prefer to use a slotted spoon, but you can drain them in a colander and then transfer to the ice water if needed. Let them sit in the water for a few minutes to stop the cooking process.
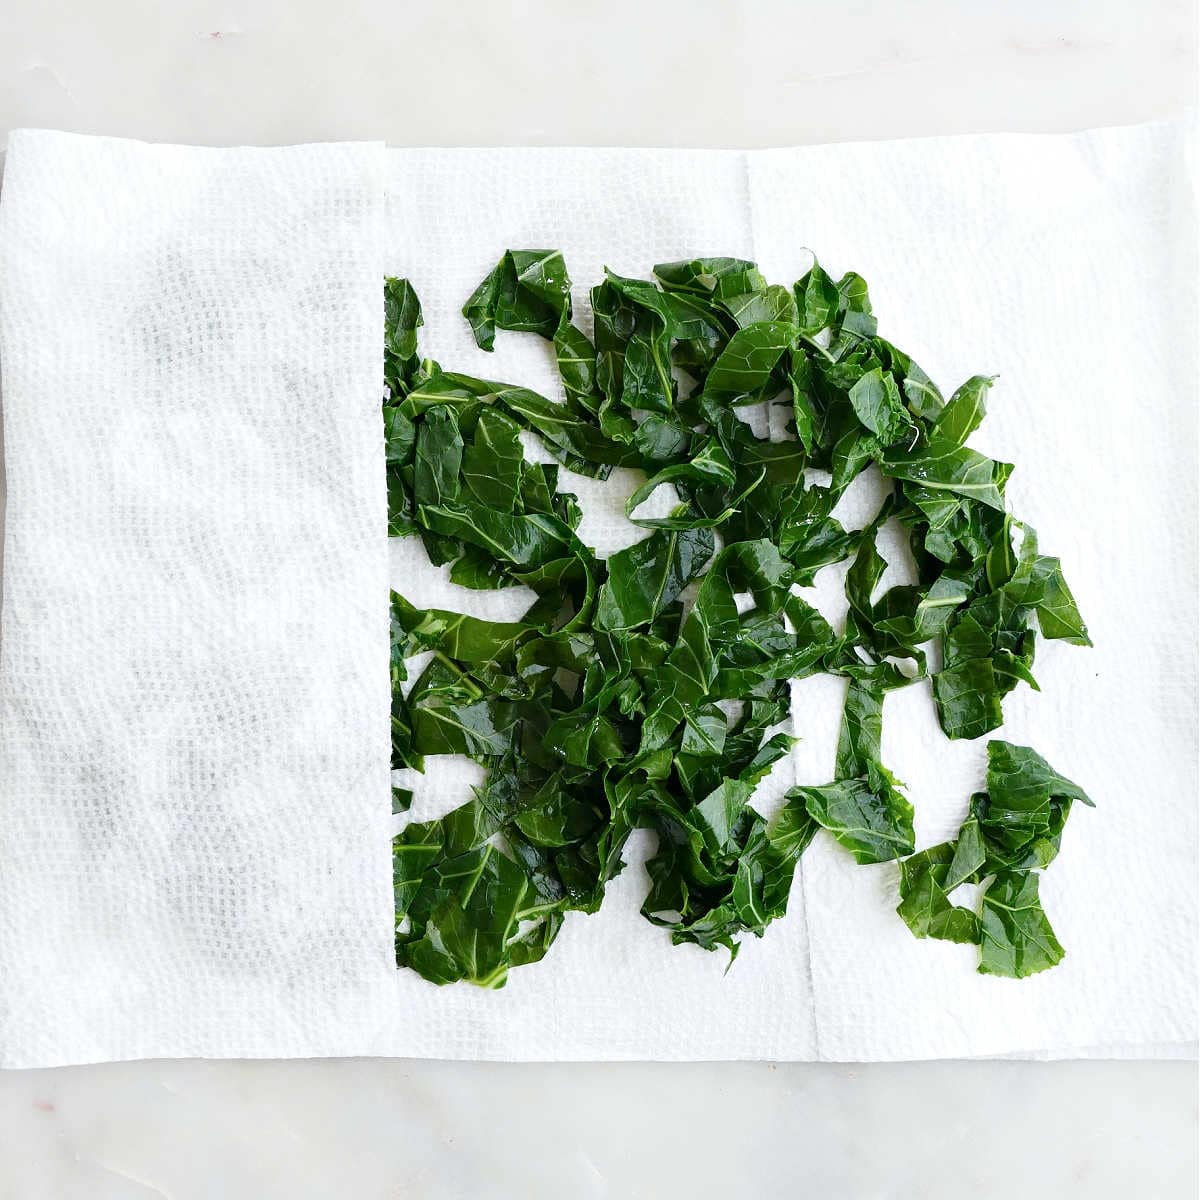
Drain the greens and remove as much water as possible. First, I like to pick up a bunch of greens and squeeze it in my fist over the sink. Then, I put all of the squeezed greens in between paper towels and blot out the rest of the water. You could even use a salad spinner if you really want to remove as much water as possible.
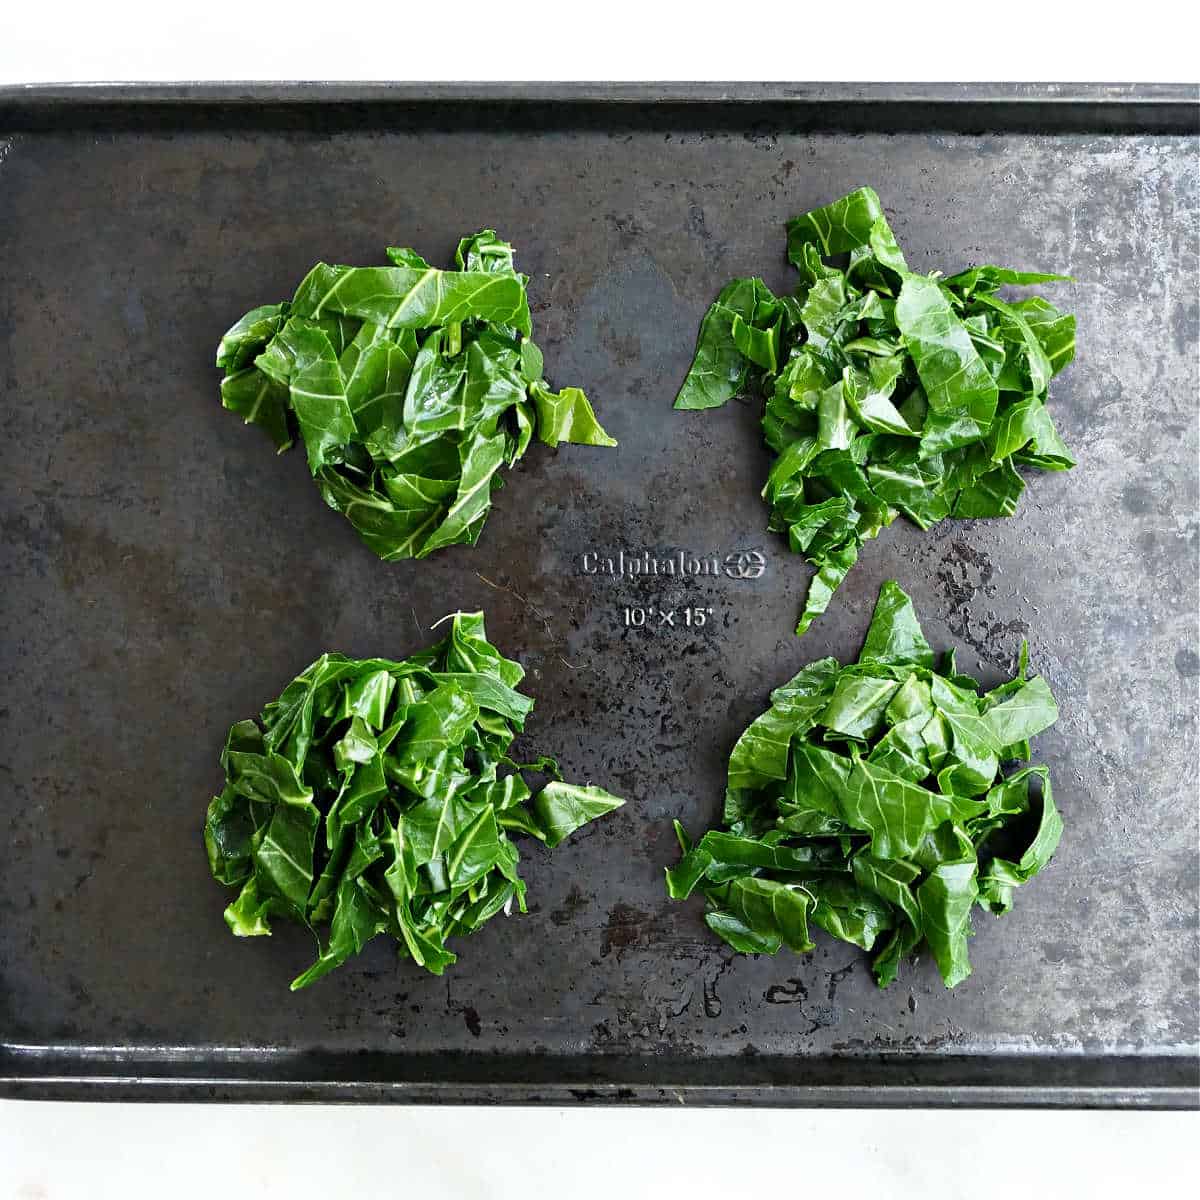
Arrange the greens into balls and place on a baking sheet. Put the baking sheet in the freezer until frozen solid, about 1 to 2 hours. You can skip this step if you don’t have the time.
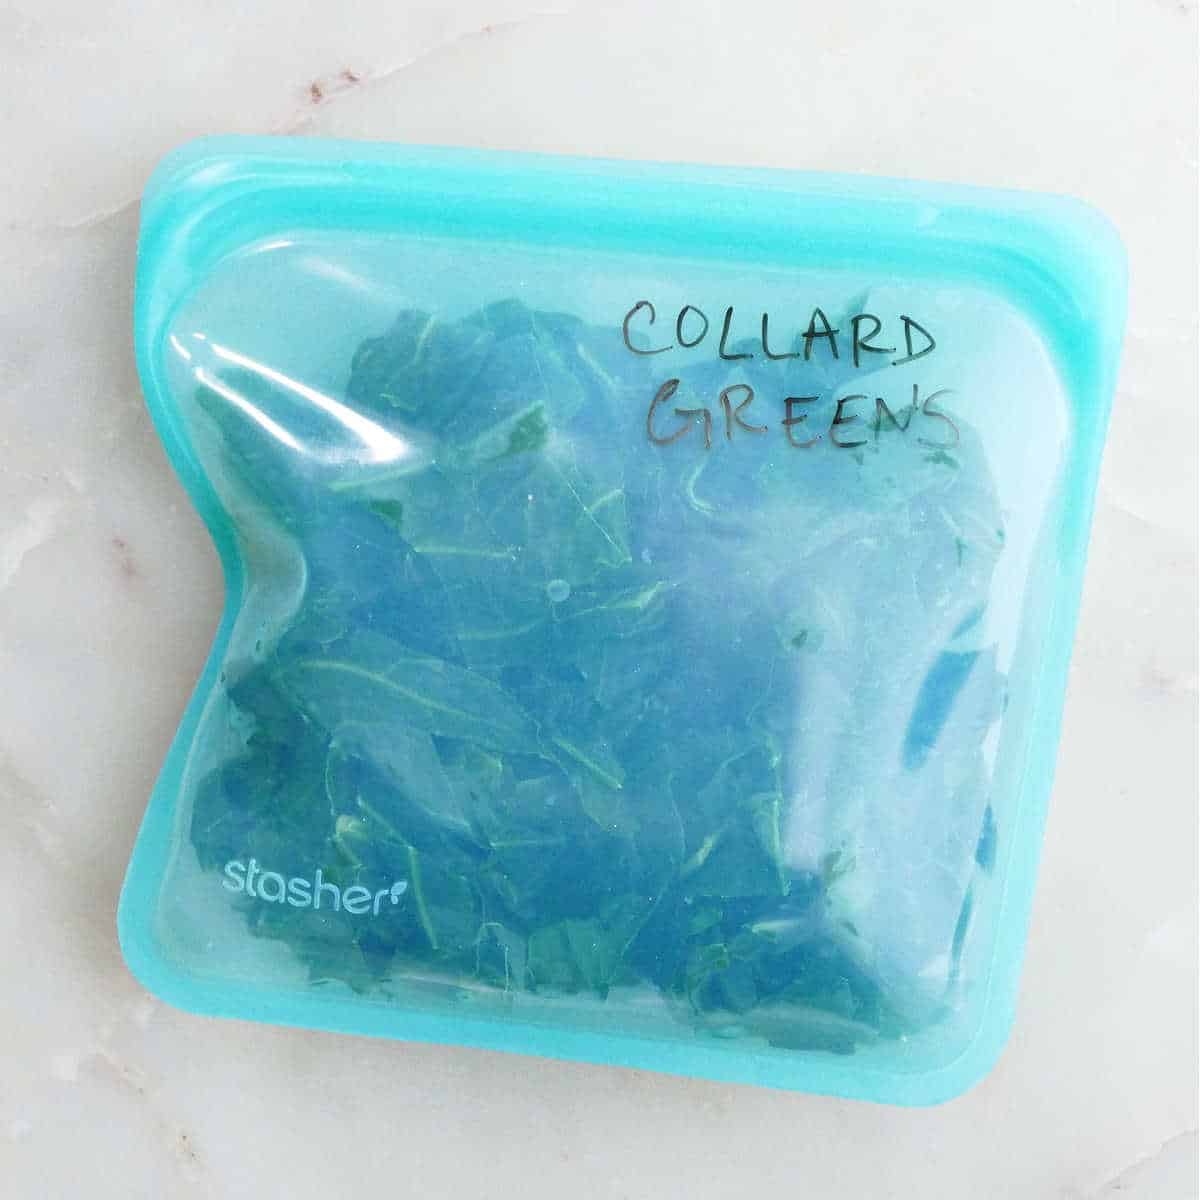
Transfer the greens to a freezer-safe bag or container, such as a Stasher bag (my favorite!). Remove as much air as possible and seal tightly. You can also vacuum seal them if you have the equipment. Store frozen collard greens for up to 6 months in the freezer, but use within 3 months for best results.
Freezing Collards Without Blanching
If you’re wondering if you can freeze raw collard greens and skip the blanching step, the answer depends on your preferences. I think blanching collards before freezing preserves their overall quality, texture, and nutrition and also softens them a bit so they cook better when used in recipes.
However, you can technically freeze them without blanching. To do so, wash and dry the greens, chop, and transfer to a freezer-safe bag or container. Seal tightly, removing as much air as possible, and label. Store in the freezer and use within 1 month for best results.
Freezing Cooked Collard Greens
You can also freeze cooked collard greens, including ham hocks and any broth or other ingredients you used to cook them. Let them cool completely then transfer to freezer-safe bags or containers. Remove as much air as possible, seal tightly, and label. Keep in the freezer for 3 to 6 months.
When you want to use frozen cooked collards, just pop them right into a pot on the stovetop. Add a little broth if needed to prevent scorching and reheat over medium heat, stirring frequently, until warmed through.
Frozen Collard Greens Recipes
Now that you know how to freeze collard greens, let’s talk about ways to use them! Frozen collards work best when used in recipes that are going to be cooked. I don’t recommend using them in raw preparations, with the exception of my Collard Greens Smoothie!
You can use frozen greens right from the freezer in these dishes. Do not thaw them first or they will get mushy.
I’d love to hear how you like this recipe! Rate/review using the stars on the recipe card or in the comments, and follow the Veg World on YouTube, Instagram, Facebook, and Pinterest. Looking for something totally different? Browse the recipe library.
📖 Recipe
How to Freeze Collard Greens
Equipment
- large pot
- Mixing bowl
- Colander
- Freezer-safe bag or container
Ingredients
- 1 bunch collard greens
Instructions
- Bring a large pot of water to a boil while you prepare the collards.
- Start by washing the greens under running water. Pat dry. Remove the leaves from the stems and discard the stems.
- Cut the leaves into strips or roughly chopped pieces.
- When the water is boiling, drop the collards into the pot and cook for 3 minutes. In the meantime, fill a mixing bowl with ice water.
- After 3 minutes, immediately transfer the collards to the ice water. You can use a slotted spoon or drain them first in a colander then transfer. Let them sit in the water for a few minutes to completely stop the cooking process.
- Drain the collards. Then, take a fistful and squeeze any excess water out of the greens over the sink. Repeat until all of the greens have been squeezed.
- Place the greens on paper towels or clean dish towels and pat them dry.
- Arrange the greens into piles/balls of your desired size. Place the piles on a baking sheet. Transfer the baking sheet to the freezer, somewhere it won't get bumped, and flash freeze for 1 to 2 hours until frozen solid. You can skip this step if you're short on time.
- Transfer the frozen balls to a freezer-safe bag or container (or a vacuum sealed bag if you have the equipment). Seal tightly, removing as much air as possible, and label.
- Store in the freezer for up to 6 months. Using them within 3 months typically yields the best results.
- Add frozen collards straight from frozen to soups, rice dishes, braised collard green recipes, or smoothies. Enjoy!
Notes
- Yield: A bunch of collard greens typically yields 4 to 6 cups roughly chopped. It depends on how big the leaves are.
- Uses: Frozen collards work best in cooked dishes. You can use them in smoothies, but I don’t recommend them in other raw dishes like salads.
- Freezing cooked collards: Let them cool completely then transfer to freezer-safe bags or containers. You can include ham hocks, broths, or other ingredients you used to cook them. Seal tightly, label, and store for 3 to 6 months in the freezer. Reheat straight from frozen in a pot on the stovetop. Add some broth if needed and stir frequently to prevent scorching until warmed through.



Betsy Mackey
Thankyou you so much. These are actually for my service dog Zeke. He has been critically ill. This wonderful blue 5year old pit bull. Has literally saved my life. He’s more a beloved child to me. I can’t imagine life without him. Thankyou from all my heart and soul. BetsyMackey