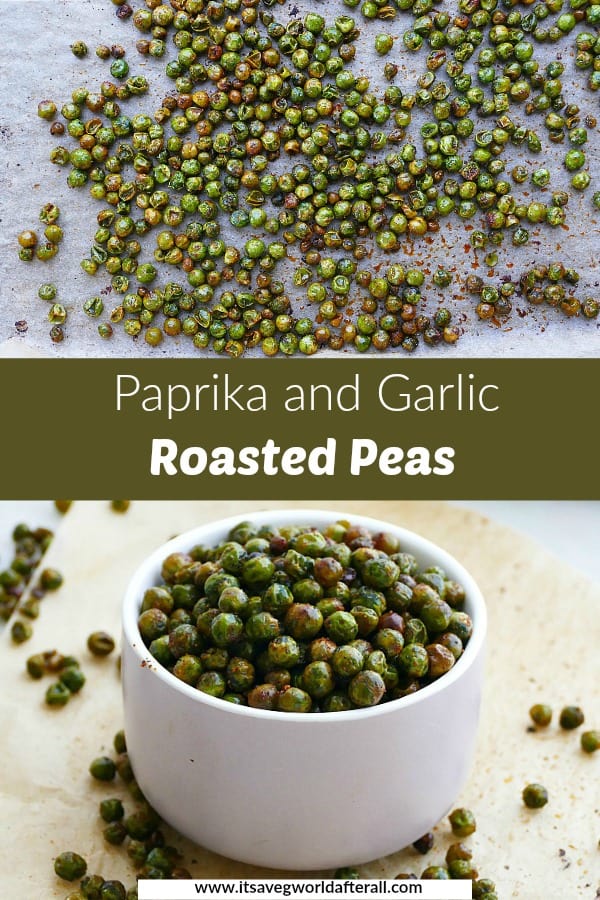
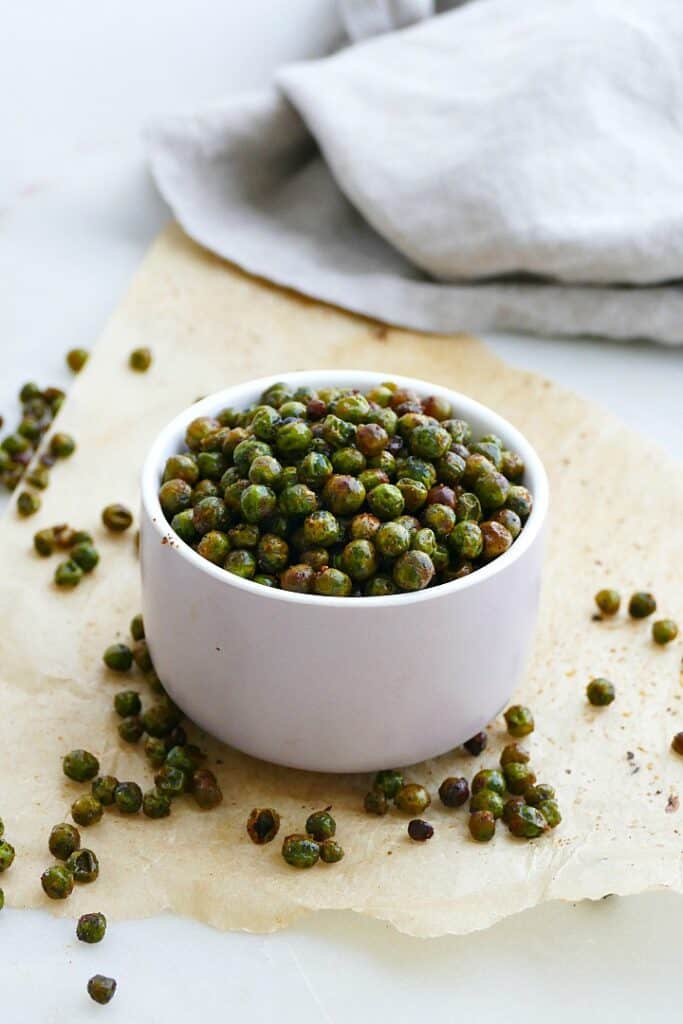
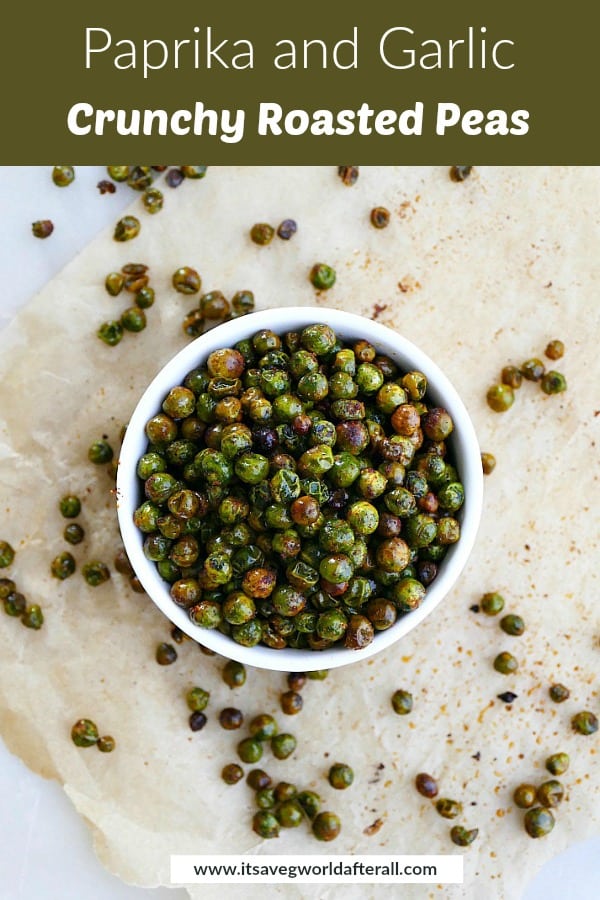
These crunchy roasted peas make a fantastic snack for kids and adults alike! Frozen green peas are thawed then seasoned with paprika and garlic salt before being baked to perfection in the oven.
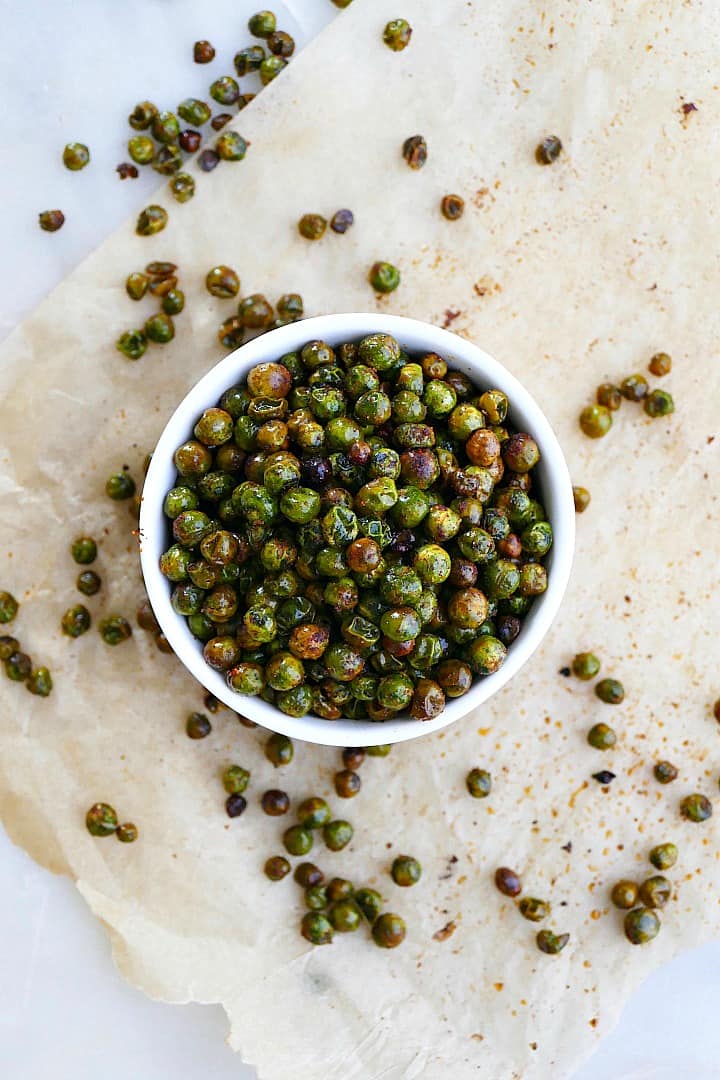
Hey Veg World! I’m back this week with another recipe that uses frozen, but still seasonally relevant, produce. This time, I’m celebrating spring peas!
I’ve been dropping tips for making the most out of long-lasting veggies while we all try to limit trips to the grocery store. Check out the Roasted Frozen Broccoli (with 5 seasoning ideas!) and Roasted Frozen Brussels Sprouts for some inspiration.
But while I love both of those recipes, I’m REALLY smitten with these roasted peas! They’re seriously so delicious. Will and I ate the whole tray within minutes. This, by the way, is totally fair game, because peas are loaded with fiber and make a great healthy snack. #Winning.
Just remember to dry the peas off as best you can before baking, so that they can dry out even more in the oven and transform into a crunchy snack. Don’t skimp on the paprika and garlic salt either. These seasonings make roasted peas super flavorful and pretty addicting, to be honest.
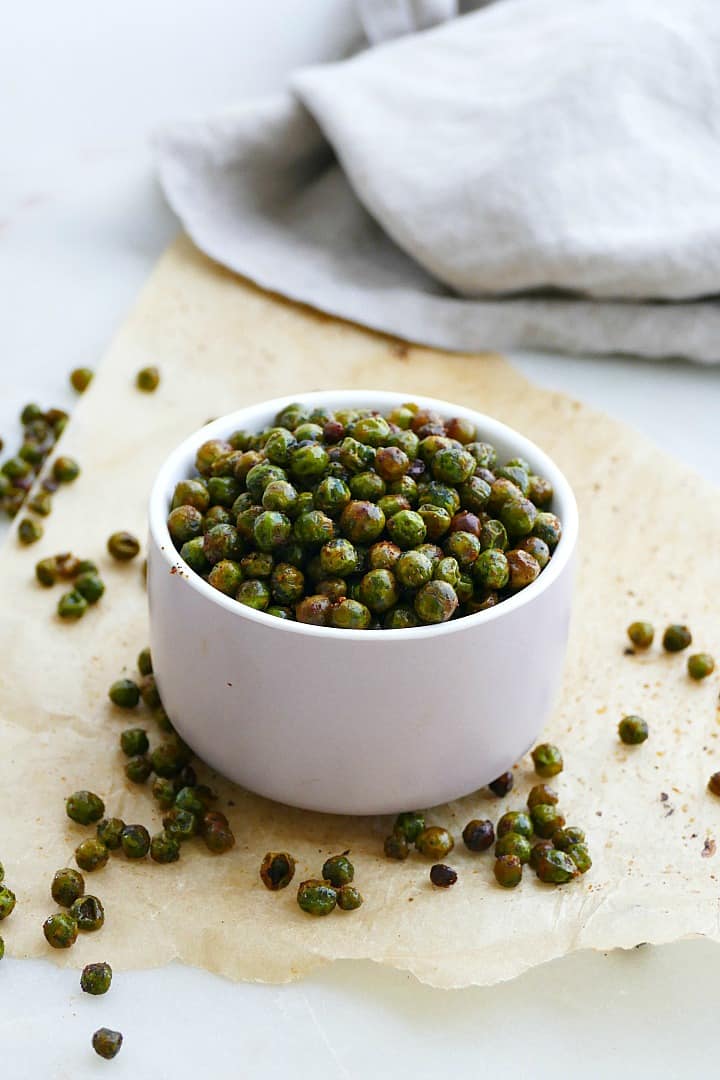
How to Make Roasted Peas
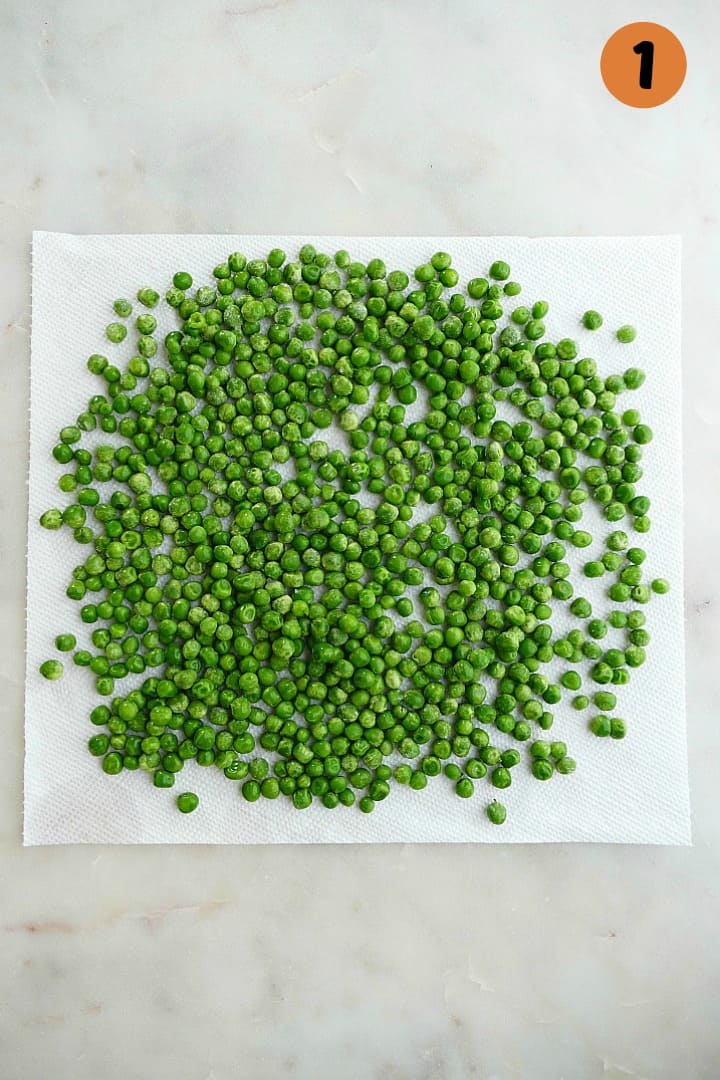
- Let the peas thaw in a bowl, colander, or on a paper towel. This can take anywhere from 20 to 40 minutes at room temp.
- Place the peas between two paper towels and gently press the top towel down to soak up excess moisture. Repeat until the peas are noticeably drier.
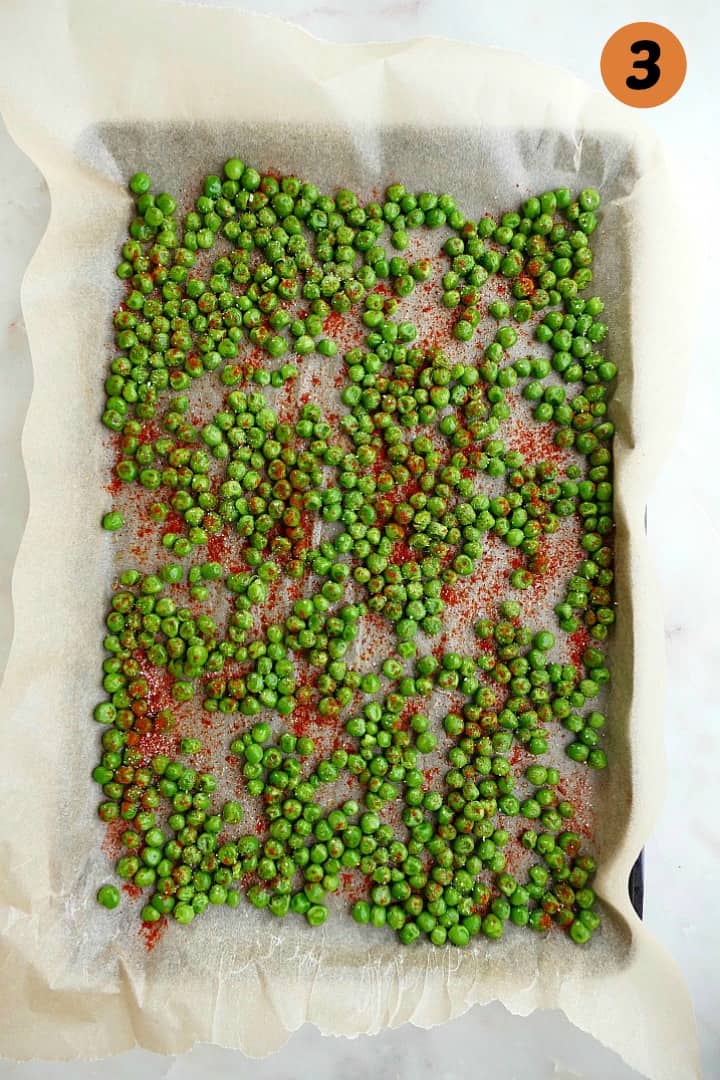
- Transfer the peas to a lined baking sheet and toss in olive oil, paprika, and garlic salt. Bake!

Expert Tips
To get the best possible result for this recipe, follow these tips:
- Let the peas thaw completely. Partially frozen peas have too much water in them. They’ll steam in the oven instead of crisping up.
- Press as much water as possible out of the thawed peas in between paper towels. But do this gently…you don’t want the peas to be smushed.
- Feel free to mix up the seasonings. I love the combination of paprika and garlic, but you may prefer salt and pepper, chili powder, cayenne pepper, or other spices.
- Don’t overcrowd the peas on the baking sheet. They need room to release moisture.
- Shake the baking sheet every 10 to 15 minutes to promote even cooking.

Ok, I’m getting hungry just looking at these photos. I hope you love this crunchy pea snack as much as I do and that it helps you get more creative with frozen produce!
More Pea Recipes
- Pea and Bok Choy Tacos
- Sugar Snap Pea Quinoa Salad
- Parmesan Peas and Shallots
- Green Pea Smoothie with Mint
- Spring Pea Orzo Fried Rice
📖 Recipe
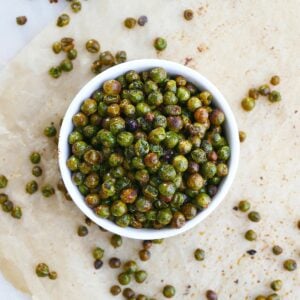
Paprika and Garlic Roasted Peas
Ingredients
- 2 cups frozen peas - thawed
- 1 teaspoon olive oil
- ½ teaspoon smoked paprika
- ½ teaspoon garlic salt
Instructions
- Preheat the oven to 375 degrees F. Line a baking sheet with parchment paper.
- Thaw the peas in a colander or on a paper towel. When they are no longer frozen, spread them out on a clean paper towel and gently press another towel on top. Blot out any moisture and repeat this step as needed until the peas are noticeably drier. Be careful not to smush them.
- Transfer the peas to the baking sheet and toss in the olive oil, paprika, and garlic salt. Spread them out in a single layer, being careful not to overcrowd.
- Bake for 30 to 40 minutes until the peas are browned and some of the smaller ones are shriveled. Shake the baking sheet every 10 minutes to promote even cooking. Remove from oven and enjoy!
Notes
- Do not skip thawing and blotting the peas. If the peas are holding excess water, they will steam in the oven instead of getting crunchy.
- Other seasoning ideas include salt and pepper, chili powder, cayenne pepper and garlic powder, and even nutritional yeast.



Aimee
Yum! How long do you think these could be stored at room temperature or in the fridge?
Lizzie Streit, MS, RDN
Hi Aimee, they can be stored at room temp for a couple of days and in the fridge for probably up to 5 days. However, they do lose their crispiness over time.
Abbey
Loved this, so nice to have a new way to eat peas!
Lizzie Streit, MS, RDN
Hi Abbey, thank you! I’m so glad that you enjoyed this recipe. Thanks for leaving a review :).