In this post, I share my first update of the 2020 growing season with details on how I planned, planted, and maintain my vegetable garden.
This post may contain affiliate links. For more information, see my affiliate disclosure.
Hello Veg World!
Welcome to the first of many posts that will chronicle my backyard vegetable gardening adventures! I’m so excited to create this new category of blogs, and I hope you enjoy reading them as much as I enjoy writing them.
When I started It’s a Veg World After All, it was very much a hobby blog. I posted recipes using vegetables that my mom and I received in a CSA share. I took photos of said recipes on an iPhone 5S (remember those?!). I didn’t even know what SEO was. And I wrote the posts with a “diary” tone. It was a lot of fun, and while I don’t regret transitioning this blog into a business (not in the slightest!), I do miss those days sometimes.
So that’s what inspired me to add a new, diary-like series to my content calendar. Every so often, I’ll pop in with a post about my vegetable garden. Since vegetable gardening is very hot right now (#StayHome), I thought it would be fun to engage with those of you who are also experimenting with growing your own food. In addition to my diary series, I plan to write some how-to posts that will hopefully help fellow amateur gardeners.
In other words, I’m getting back to the “roots” of the Veg World. You’ll hear more about my personal experience with vegetable gardening, and my tips will stem from my trial and errors, rather than a degree in horticulture. And of course, I’ll still be creating a ton of recipes with my homegrown (and store-bought) veggies this summer!
Planning our Vegetable Garden: Seeds, Companion Plants, and Critter Control
Will and I moved into our house a little over a year ago. Since we were just getting settled at the start of the growing season, we didn’t do much planning. Our summer was very busy with travel, and we decided to take it easy, get to know the perennials we inherited, and save any landscape design until the following year.
However, we did have the opportunity to do some vegetable gardening. The couple who owned the home before us left behind 3 raised veggie beds, and I was PUMPED about this. I planted a whole slew of tomatoes, some zucchini, eggplant, herbs, and beets.
My harvest was fairly fruitful, but the beds were overcrowded, and the darn rabbits ate all of my beet leaves. I didn’t even get a single beet! (For those of you who don’t know, beets are my favorite vegetable.) I was determined to take the time to plan my garden this year and not repeat my mistakes.
Which brings me to April 2020. We had an early spring in Minneapolis this year, and I got the itch to plan my vegetable garden right around Easter. Plus, we were under a Stay Home order at this time, and I knew that the summer would be low-key, with lots of time spent at the house. It’s the perfect scenario to experiment with veggies!
After spending a few hours on the University of Minnesota and Farmer’s Almanac websites, I had a good idea of the veggies that do well in our growing zone (4b in Minneapolis). In addition to this info and our personal veggie preferences, here’s what else I kept in mind when planning the vegetable garden.
- Spacing: Last year, I did not pay attention to spacing, and my plants suffered as a result. This year, I measured out the square footage of the veggie beds and planned accordingly. I also figured that I would grow plants in pots to create more room.
- Seeds vs. Seedlings: I’m not at the level yet where I start seeds indoors, put them under a grow light, and then transplant them outdoors. Maybe next year?! Instead, I spent some time identifying seeds that I could sow directly into the ground in early spring. After I figured out those, I made a list of a few other veggies that I would plant from seedlings later in the season.
- Ease of Growing: As much as I would like to grow the most unique veggies on the planet, I wanted to stick with the basics. I asked myself (and Google) which vegetables I thought I could handle and went from there. Then I made sure these veggies would fare well in growing zone 4b.
- Companion Plants: The concept that some veggies don’t grow well near others is intuitive, but I had no idea about the specifics. TG for the Internet, am I right? After some research, I figured out which veggies work well with each other (and which ones don’t!) and was able to solidify my garden plan.
- Critter Control: Oy vey, the bunnies and squirrels did a number on my veggies last year. So much so that I was compelled to come up with a plan to keep them away as much as possible before we even got anything into the ground. With the help of my husband, we created cages made from PVC pipes and wire to place on top of the veggie beds. The cages are removable, so I can get to the veggies when needed. (See this post for details and a photo of the cages below.) Six weeks into this year’s garden, and there hasn’t been a single veggie casualty at the hands of wildlife! The cages work great. The addition of these cages also informed my planning. We made one taller cage for a bed that would house my pea plants and other veggies that grow high, and I put root veggies and smaller plants in the other beds.
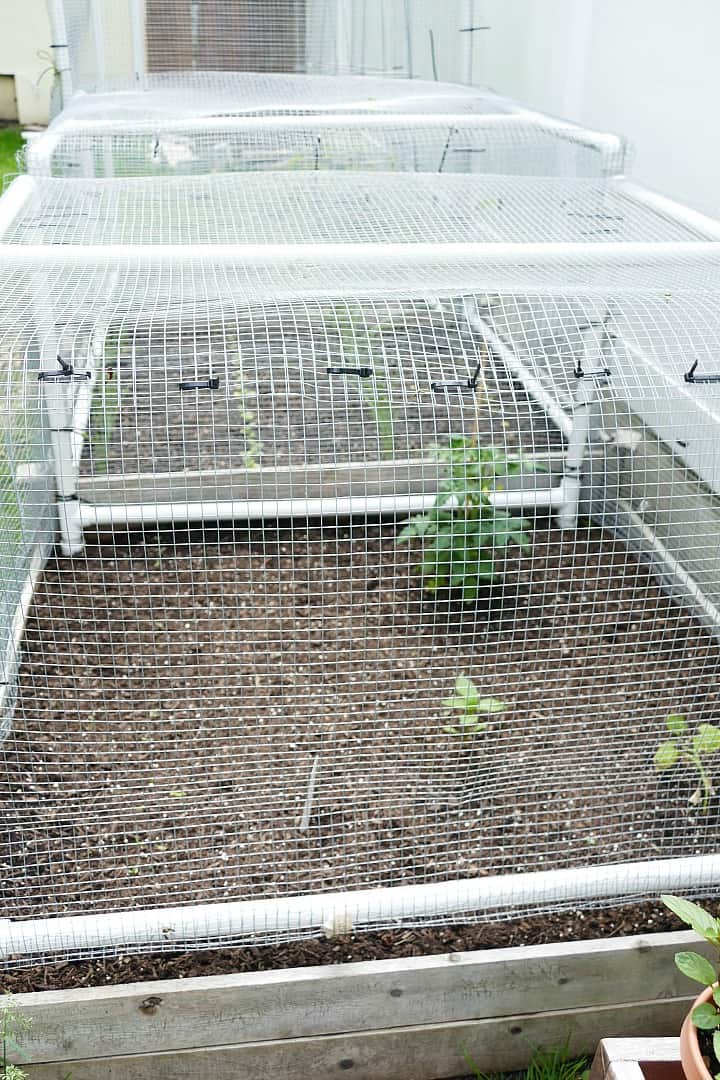
Considering all of these factors, I came up with the following plan for this year’s vegetable garden. I added links to the seeds I used and provided the names of the varieties I chose where I could.
- Raised Bed 1 (tall cage): sugar snap peas started from seed in one half, Early Wonder beets from seed in the other half. These two are good companion plants, according to my research.
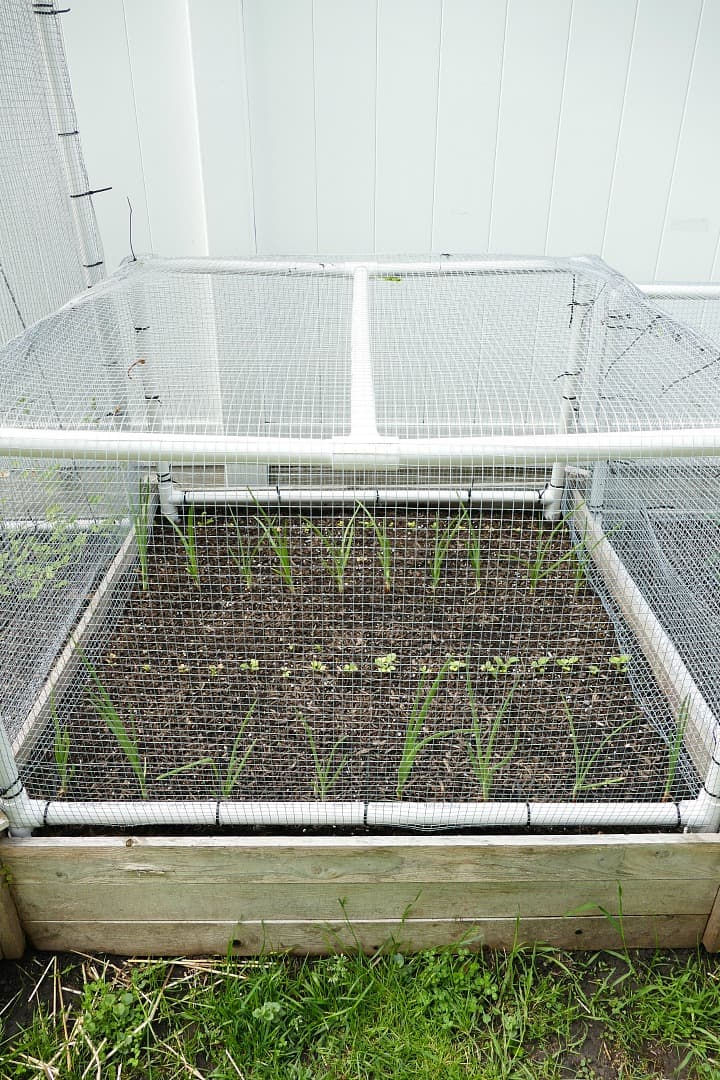
- Raised Bed 2 (smaller cage): alternating rows of Easter Egg radishes from seed and yellow onions from bulbs. According to my research, Easter Egg radishes do well in the early spring. So do peas. Like I said, I wanted to get started early this year!
- Raised Bed 3 (smaller cage): a small bush variety of tomatoes (known as Husky Red Cherry; apparently it doesn’t grow as tall as others), cucumber, green bell peppers, and a row of rainbow chard and arugula.
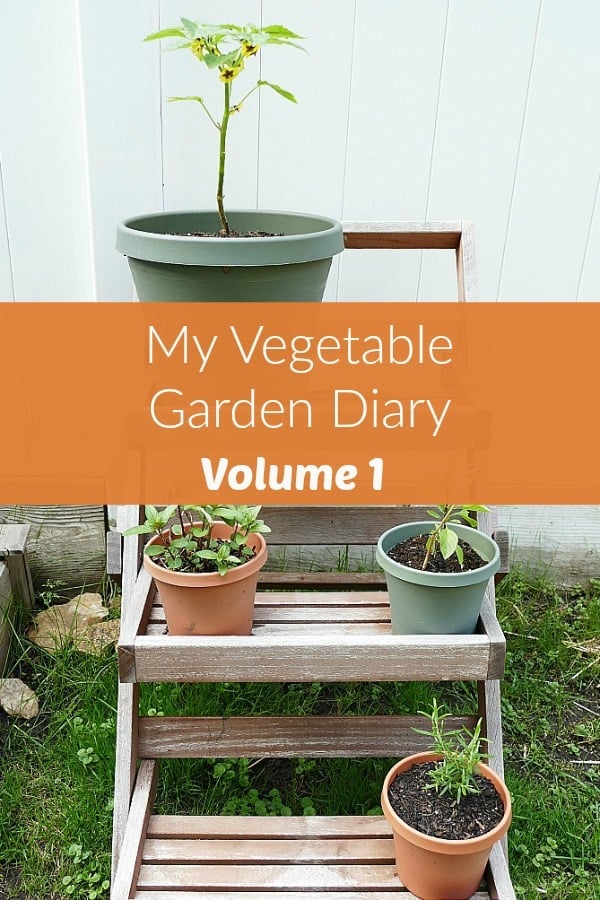
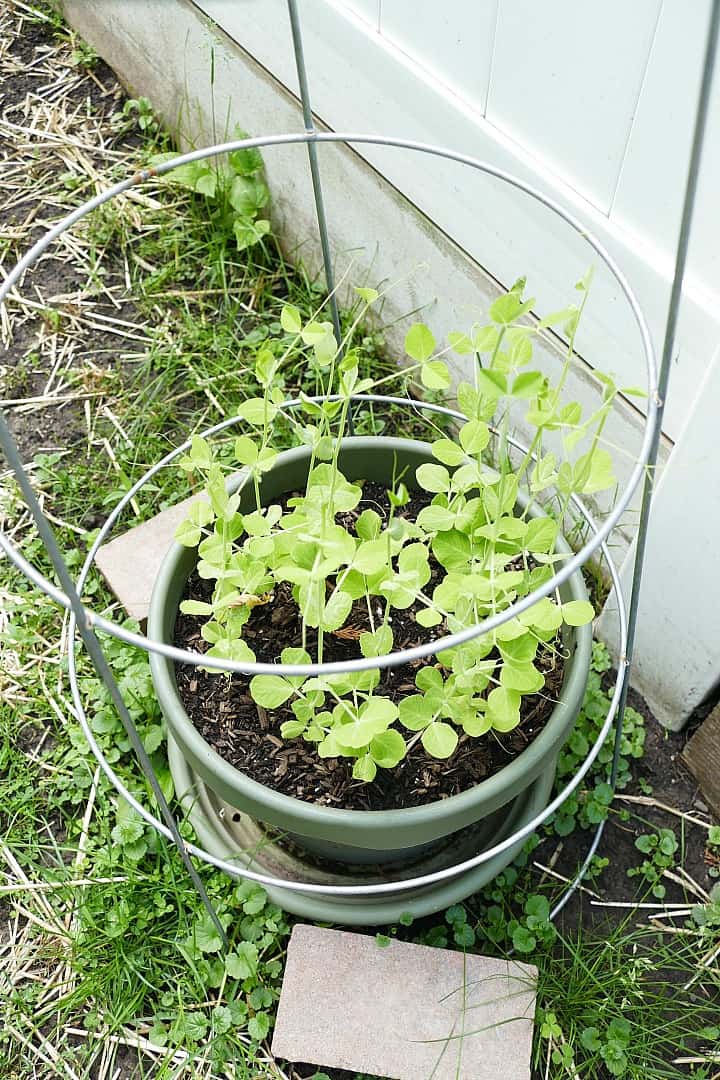
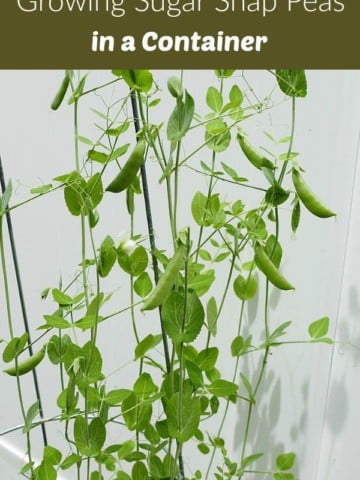
- Pots outside of the beds/cages: herbs (mint, rosemary, basil, and Fernleaf Heirloom dill this year), an experimental pot of sugar snap peas (to compare how they grow to the ones in the beds; learn more in my post on Growing Sugar Snap Peas in Containers), and a bonus pot of tomatillos (from a friend!). In my experience, critters don’t touch herbs, so I figured they will be safe outside the cages. I put the pot with the tomatillos on the tallest shelf of a tiered plant holder. I hope that deters the bunnies, but we’ll see if the squirrels get to them!
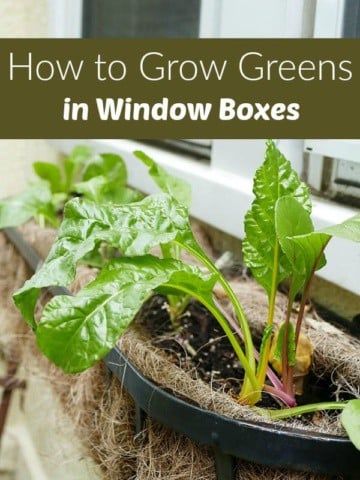
- Window boxes at the front of the house: I’m considering planting chard and arugula in our window boxes in June. While some greens don’t do well in the summer heat, these two tend to do OK and can be sowed throughout the season. I’ll keep you posted! Rainbow chard is so pretty, that I thought it would be a great option for an edible but decorative window box display. Plus, greens can grow in window boxes since they don’t have deep roots.
Putting our Vegetable Garden Plan into Action
Once we had our plan, I was so excited to start the garden! On a warm day in mid-April, we placed a pick-up order from Home Depot for soil and fertilizer. We used this soil to fill the raised beds, with the appropriate amount of Garden-Tone fertilizer mixed in.
Once the beds were tilled and ready to go, I planted the sugar snap peas and beets in the bed that would have the tall cage. Then I planted four rows that alternated between yellow onions and radishes in another bed. I left the last bed open for the veggies I planned to get as seedlings.
The weekend after we put the seeds in the ground, we built the cages. It took a LONG time…a full weekend. And it was difficult. But I have to say that it was SO worth it…they work so well! If you plan to build something similar, make sure to plan your time accordingly.
A week or so after I put the first seeds in the ground, I started to see some seedlings. That’s always an exciting moment! As of right now, things are looking great, but we’ll see how the season progresses.
Fun Surprises and Helpful Tips
As I mentioned, I’m a newbie when it comes to vegetable gardening. I learn something new pretty much every day. Here are the most fun and helpful things I’ve come to know so far.
- Peas need support to grow. You may have heard of a pea trellis or know that peas need some type of supporting structure to grow up. I came upon this in my research, but instead of purchasing a new pea trellis, I used upside down tomato cages for support. This seems to be working great! I planted the peas in a circle at the base of the tomato cage so that they would grow up the middle of the cage, and I’m “training” any wayward sprouts up the sides. Also, did you know that pea “seeds” are just shriveled up peas? Amazing!!!
- Radishes and beets need to be thinned. Spacing is key when planting root vegetables, since they need room to expand underneath the soil. I was very particular when I sowed the seeds for my radishes and beets this year, and even brought out my ruler to make sure I adhered to the recommended distances. What I didn’t realize is that you also need to thin these veggies before they get too big, or else you end up with immature and tangled roots that don’t grow to their fullest. I used a small pair of garden scissors to thin clusters of radish seedlings once they were a couple inches tall, leaving just one seedling every inch. I’ll write a post on this sometime soon with more info.
- Radishes don’t grow as quickly as I thought. I put the radish seeds in the ground at the end of April, and I thought we’d have some to eat at this point. We still don’t, even though most sources say that you can harvest radishes 3 to 5 weeks after sowing. They look healthy, though, so that’s a good sign!
- Mint is a perennial! Say whaaaa??? I didn’t know this, and it was the most exciting development in our garden thus far. My husband’s boss was looking to get rid of some mint last year and gave us some. Knowing that mint can take over its growing area and thwart the growth of other veggies, I transplanted our borrowed mint to a pot and then buried the pot in the soil of one of the veggie beds. I didn’t think it would grow, because it didn’t look healthy when we planted it. But to our surprise, it grew beautifully until the fall. When I cleaned out the beds at the end of last season, I unintentionally left the pot that had the mint in the bed instead of cleaning it out. I was shocked to see small mint leaves growing in the pot again this April. I’ve since transferred the pot out of the veggie beds to be with the other herbs, and we already have several inches of fresh mint to harvest!
- Don’t cover dill seeds with soil when sowing. I decided to plant some dill from seed this year, mostly because a lot of the nurseries around us were out of seedlings for other herbs and I read that dill was very easy to grow from seed. (Plus, I’ll need some for when I make pickles out of my cucumbers!!) Before planting, I read the back of the seed packet and was surprised to see that you sow dill seeds directly on top of soil without covering them. Apparently they need sun to germinate. A few days later, I checked on my pot of dill and saw that the seeds sprout in a really cool way. A little green sprout grows out of the seed and pushes the seed upwards. Unlike a lot of other veggies, the seeds don’t grow down into the ground. Very cool.
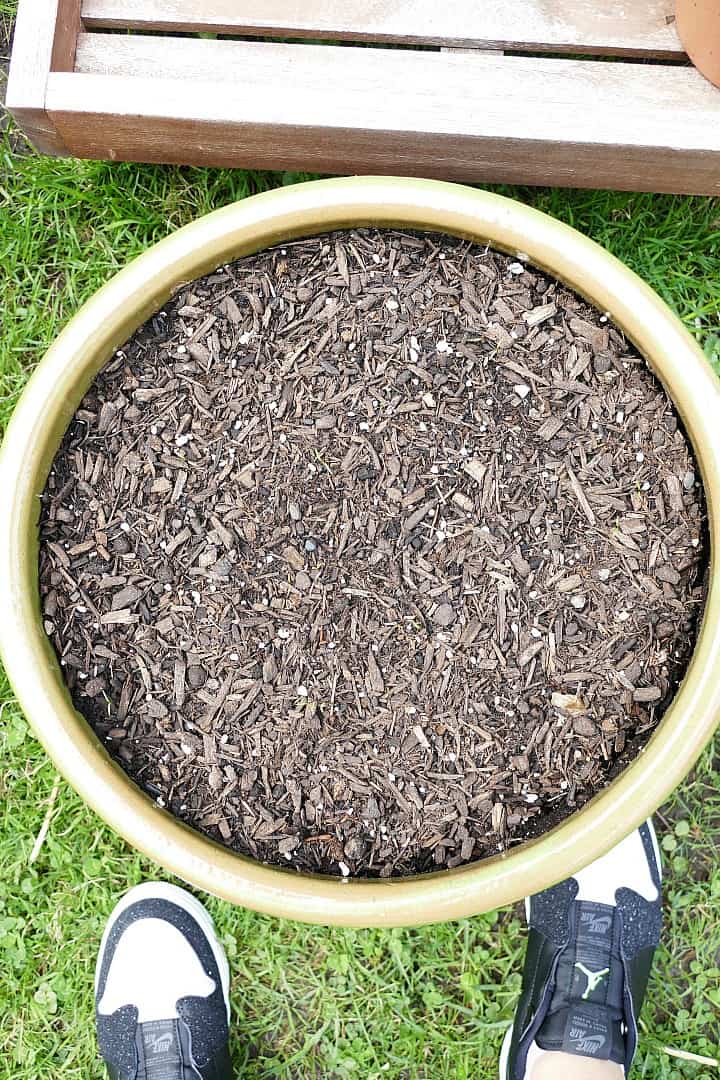
Here’s our pot of dill. You can barely spot the seedlings. I’m putting it here so we can compare this photo to what it looks like later! (Side note, I bought my first pair of Jordans, pictured here, after watching the Last Dance, #LikeMike.)
Helpful Resources
I mentioned some of these already, but here’s a summary list of the resources that helped us plan and implement this year’s vegetable garden. I hope they’re useful to you too!
- Growing Zone Finder – Very helpful in the initial stages of planning, so that you can do more specific research into what grows in your zone.
- University of Minnesota website – Helpful for pretty much every aspect of planning, but I especially enjoyed the tabs on growing radishes and peas.
- Building a raised bed – I specifically liked the info about what soil combos to use for raised beds. We were lucky to inherit veggie beds, so we didn’t need to build them, but there’s some good info on building beds in there too.
- Companion planting chart – Planting veggies together helped us make the most out of our raised beds, and I’m glad we figured out which veggies work well together before planting.
- Info on making cages to protect against critters – Our cages are amazing and work really well! But it is quite a process to make them. This post was hugely helpful.
And that’s a wrap! I’d LOVE to hear if you’re growing your own food this summer too! Let me know how it’s going in the comments section. And while you’re here, subscribe to the weekly newsletter so you don’t miss a post. If you already have some veggies to harvest, check out my recipes.
Happy veggie growing! – Lizzie

Alba
Good morning Lizzie. It’s 6:30 am here in Florida. I just finished reading your post. Very cool interesting. I subscribed to continue to read more of your post. I am a newbie gardener . I have tomatoes, peppers, herbs and cukes. I also have a small mango tree, no mangos yet. I have a pomegranate tree also. I also have 3 Musa trees. Everything is recent, so I still don’t have any flowers. Reading your post gave me ideas also. Thank you Lizzie. I’ll be waiting anxiously for your next post. Happy gardening