Bolstered with protein-packed white beans and peanut butter, these s’mores balls are a healthy twist on a classic dessert! Store them in the freezer to have on hand when you need an energy boost or sweet treat. They’re also a great dessert for a crowd, especially for 4th of July or other summer gatherings!
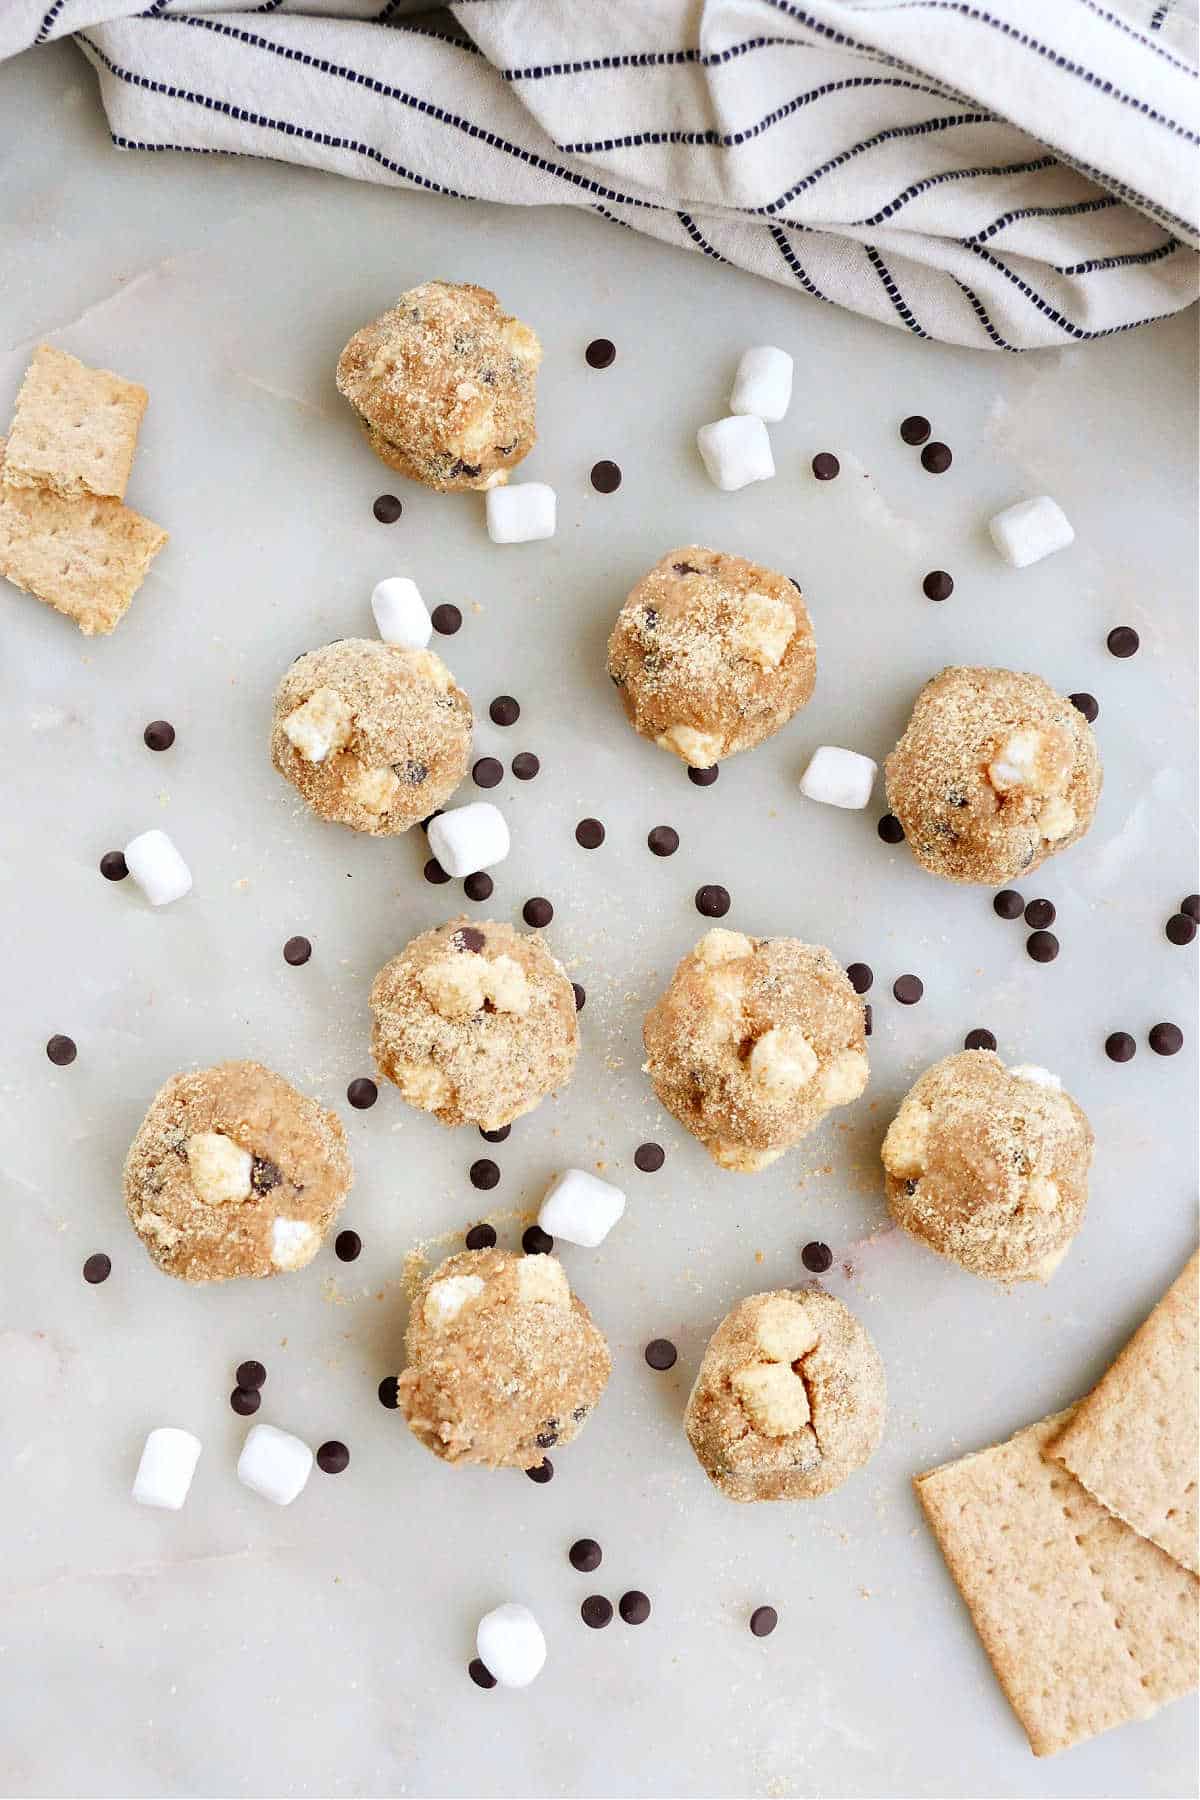
Every 4th of July, we go to my husband’s parents’ house in a lake town located northwest of Chicago. It’s a highlight of summer, complete with boat rides, fireworks, a town festival, and the best ever s’mores cookies made by my mother-in-law! I love sinking my teeth into one her delicious cookies after a day in the sun. The 4th wouldn’t be the same without them, and they’re the inspiration for these s’mores balls.
This recipe features similar ingredients to the s’mores cookies (and classic s’mores) with some additions on brand for the Veg World. Alongside graham crackers, marshmallows, and chocolate chips, I added white beans and peanut butter. These two foods contribute protein, fiber, and healthy fats, which make for a filling and balanced treat!
Each ball still packs a ton of s’mores flavor but with a little extra nutrition. I know, I know…I totally dietitian-ified a classic dessert, just like I did with the Coconut Chickpea Cookie Dough Balls (these are pretty similar). But don’t knock ’em ’til you try ’em, friends. I think you’re going to love them! And trust me, I’ll still be enjoying s’mores cookies and classic s’mores this summer too, even with these balls added to the mix.
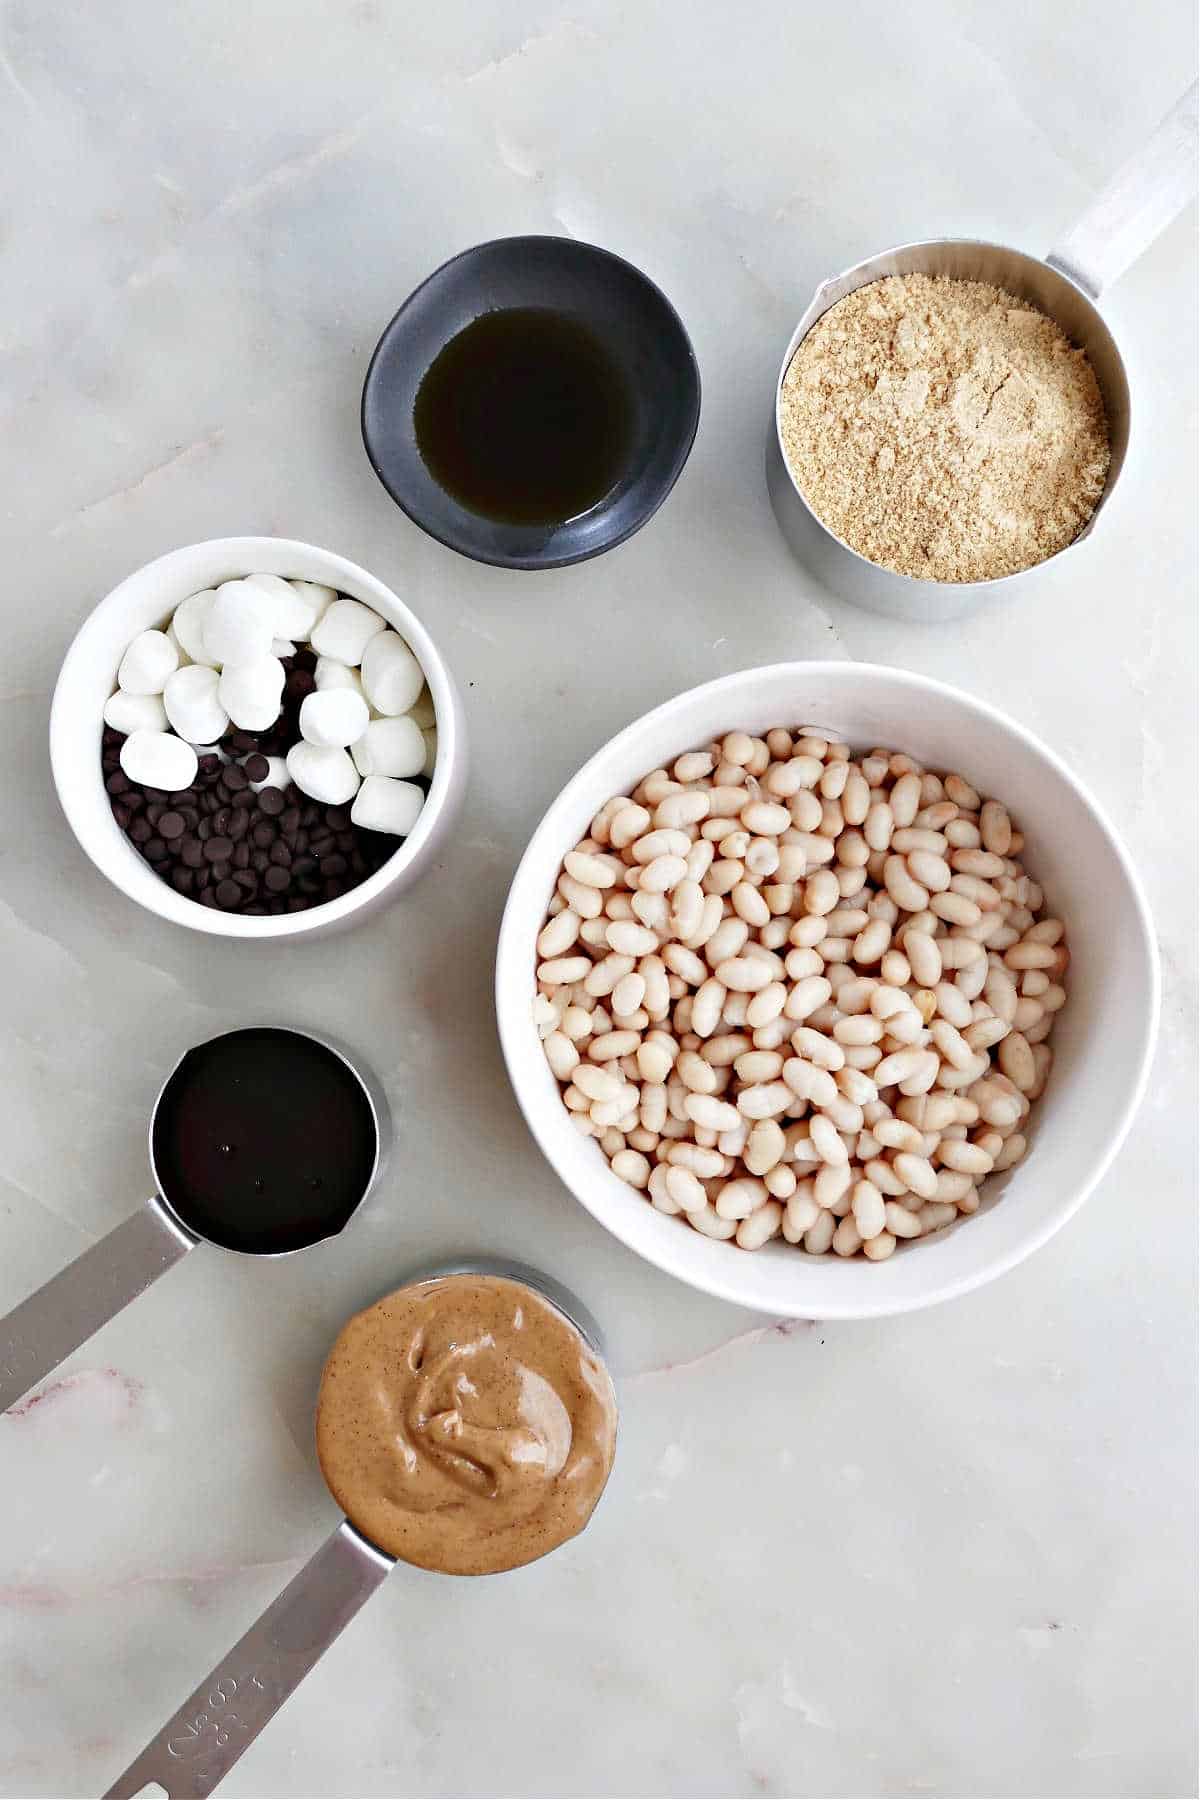
Ingredients and Substitutions
- Graham crackers: You’ll blend these into crumbs to add to the batter and to dust the s’mores balls when you’re finished rolling them. Many brands use honey to sweeten graham crackers, so if you want this recipe to be vegan, use a vegan brand such as Nabisco.
- Peanut butter: Use creamy peanut butter with a single ingredient (peanuts…or peanuts and salt if it’s salted). I love Once Again peanut butter or Trader Joe’s organic creamy peanut butter. Both have an excellent consistency for making energy bites. Creamy almond butter would also work in this recipe, but peanut butter really contributes to the s’mores taste in my opinion. For a nut-free option, try sunflower seed butter.
- White beans: I prefer to use navy beans, but cannellini, great Northern, and chickpeas all work as substitutes.
- Maple syrup: You can substitute honey if needed. If you want the bites to have less sugar, cut back on the amount of maple syrup you add.
- Vanilla extract: This adds a lot of flavor!
- Mini marshmallows: If you want the recipe to be vegetarian or vegan, use a vegan brand of marshmallows.
- Mini chocolate chips: I like to use Enjoy Life semi-sweet mini chips (these are dairy-free and free of allergens if that’s what you need), but you can use any brand. You can also substitute cacao nibs.
Instructions
The full recipe for s’mores balls is at the bottom of the post in the recipe card. Here’s a preview of the easy steps! For this recipe, you will need a food processor (I use an 11-cup Cuisinart) or a high-powered blender.
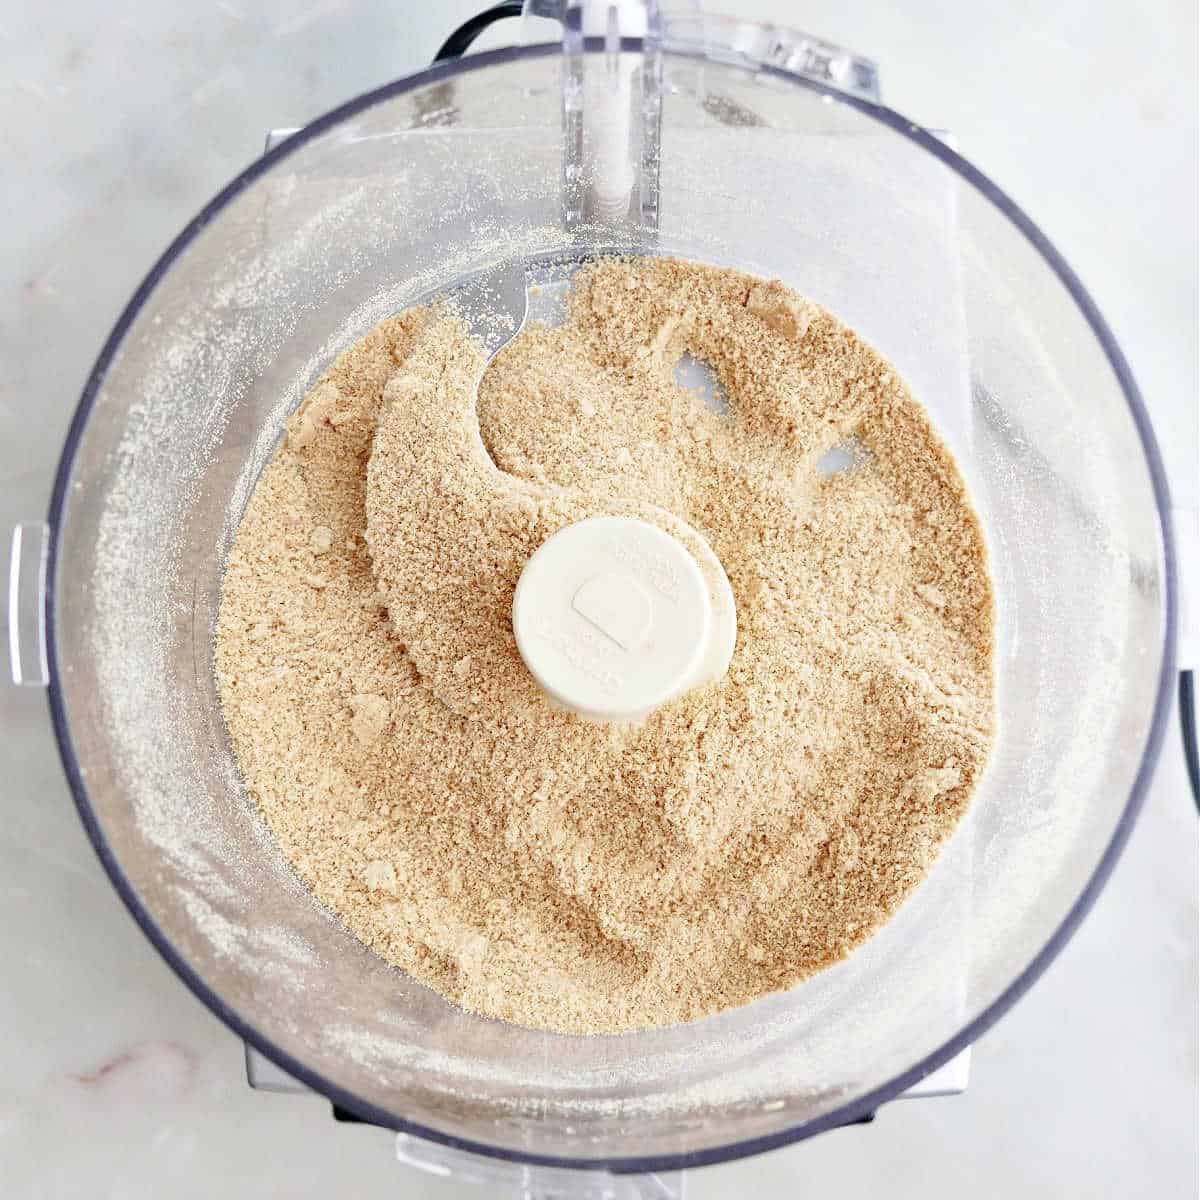
Add the graham crackers to a food processor. Blend until you get fine crumbs.
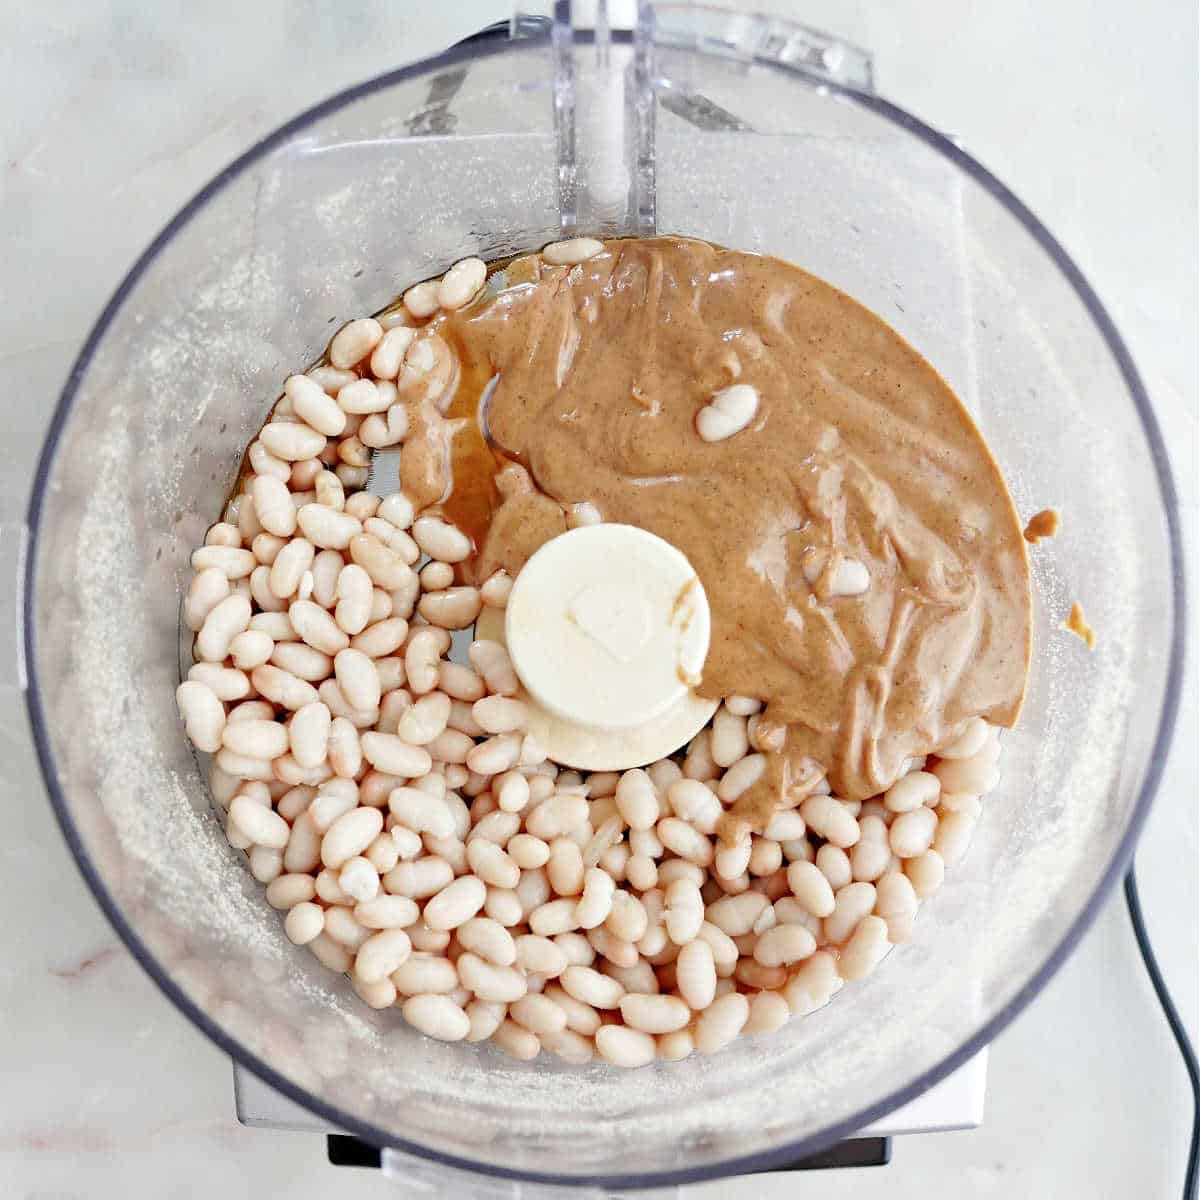
Keep ½ cup of the graham cracker crumbs on the food processor. Remove the rest of them and reserve for later. Add the beans (drained and rinsed), peanut butter, maple syrup, and vanilla extract. Blend until smooth.
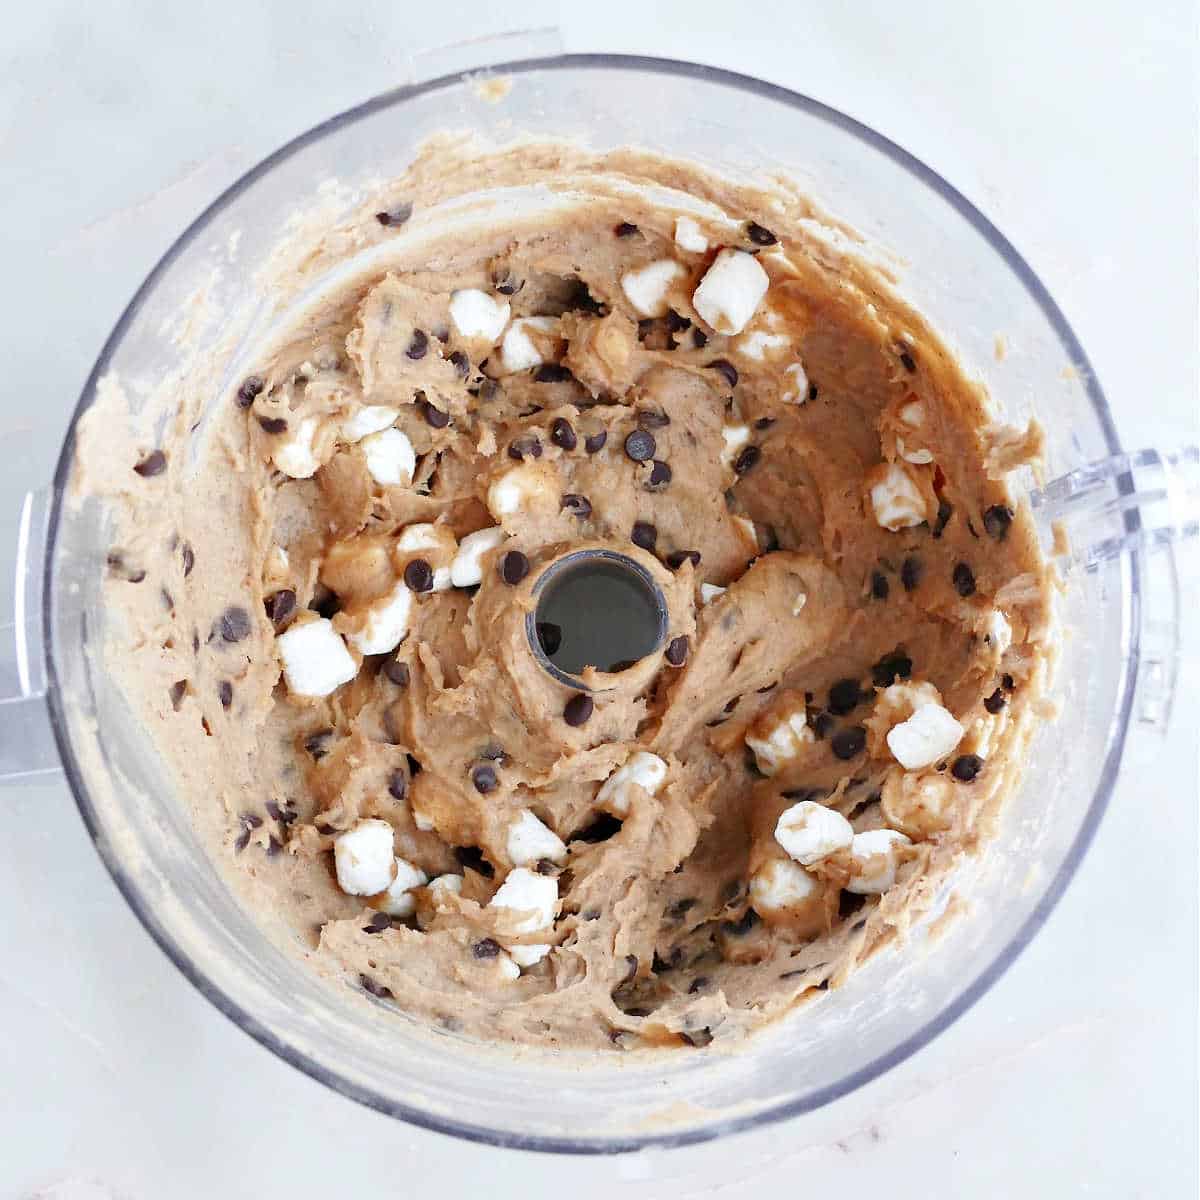
Remove the bowl from the food processor. At this point, you can cover the bowl of batter and put it in the refrigerator without the chocolate chips and marshmallows or you can add them before refrigeration. I like to add the marshmallows after refrigeration, since they can lose some of their texture if they sit in the batter too long. I’m indifferent on when to add the chocolate chips. Refrigerate for at least a half hour.
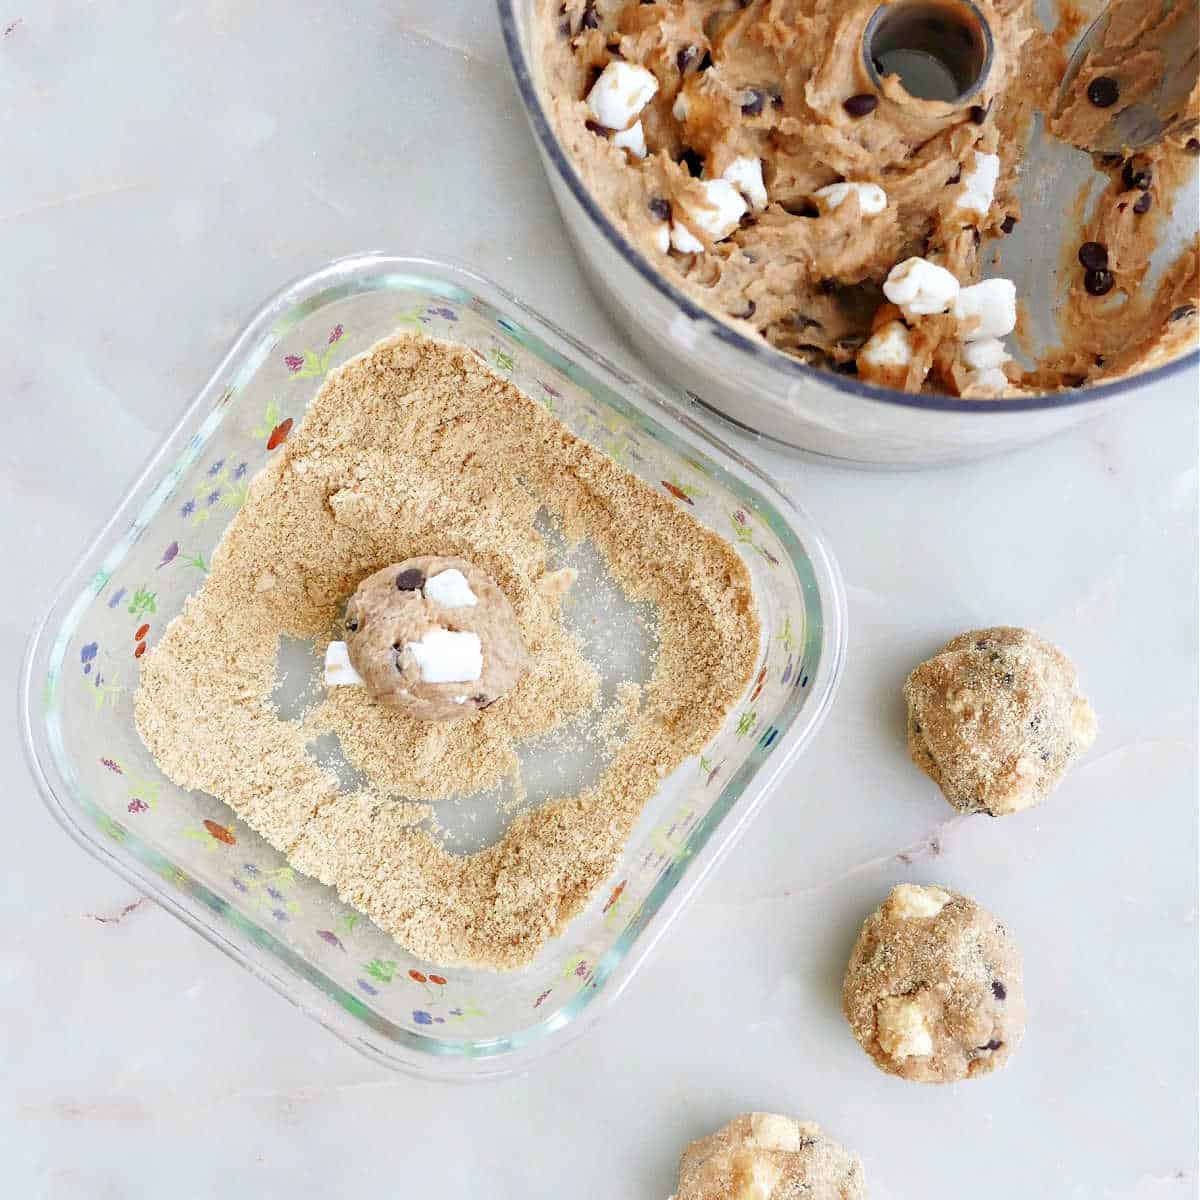
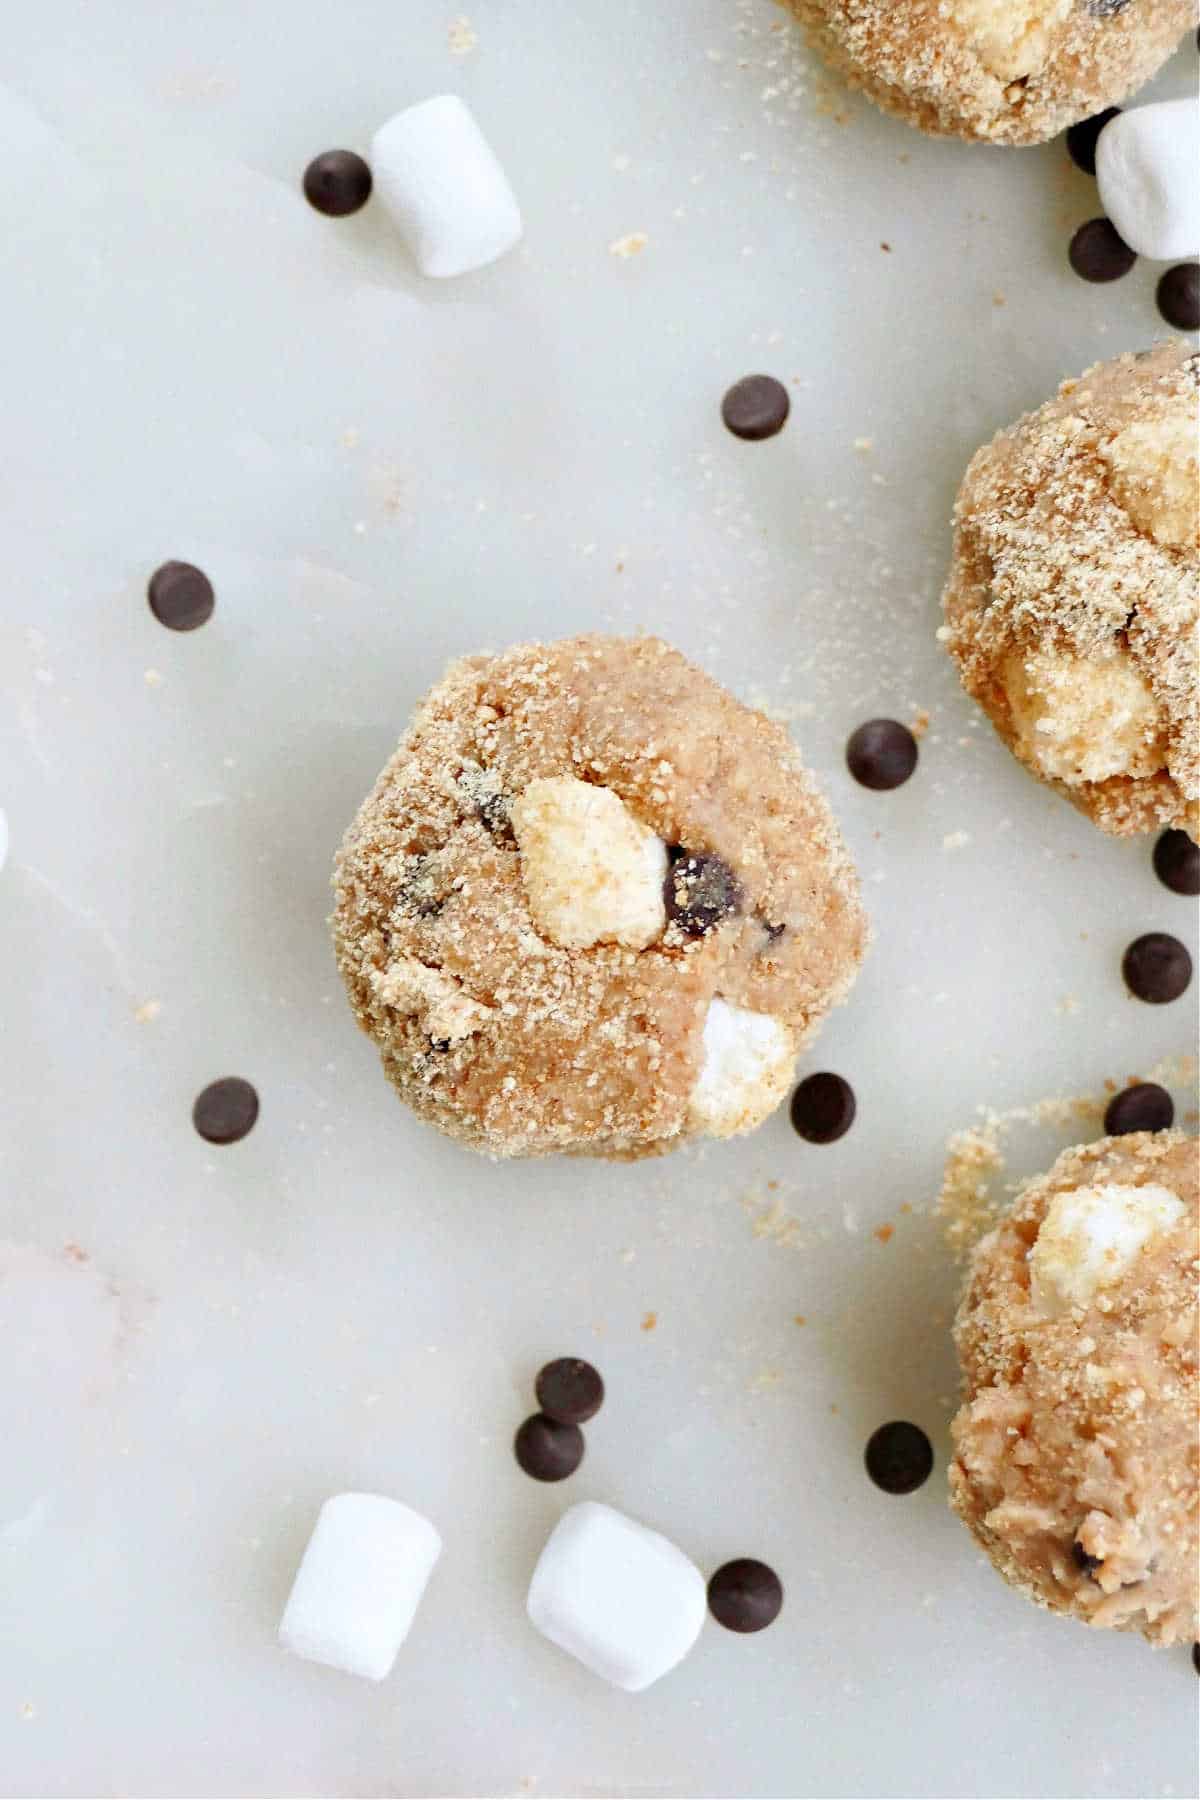
Once the batter is firm enough to roll, scoop out a tablespoon and roll into a ball. Then, roll the ball in the reserved graham cracker crumbs on a plate or in a bowl. Try to roll the balls quickly, since the batter will soften and get stickier/harder to roll the longer it sits out. Put the completed balls in a freezer-safe container. Freeze for at least an hour before enjoying!
Storage
These s’mores balls are intended to be kept in the freezer. I like to store them in reusable silicone bags (like Stasher) with as much air as possible removed before sealing. I keep the balls in single layers and lay the bag flat in the freezer so they don’t freeze stuck together. You can also store them in a freezer-safe plastic or glass container, with parchment paper separating layers of balls if needed.
When you want to eat one, remove it from the freezer and let it thaw at room temperature for about 10 minutes before enjoying. The balls will last for up to 3 months in the freezer but are best when enjoyed within 1 month.
More Healthy Desserts
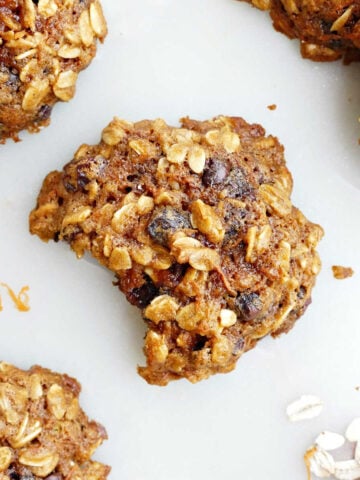
- Easy Oatmeal Raisin Carrot Cookies
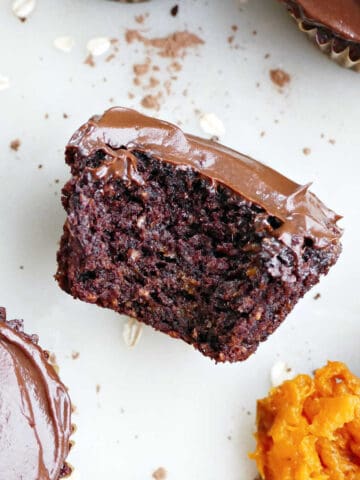
- Almond Flour Chocolate Cupcakes (with sweet potato!)
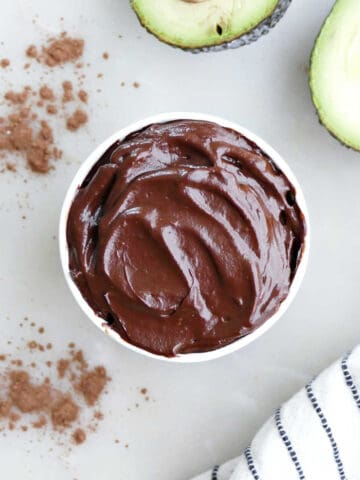
- Avocado Chocolate Frosting
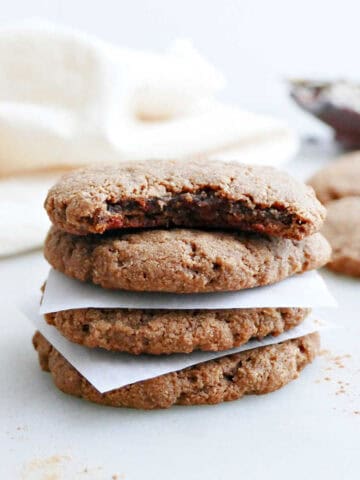
- Almond Flour Ginger Cookies
I’d love to hear how you like this recipe! Rate/review using the stars on the recipe card or in the comments, and follow the Veg World on YouTube, Instagram, Facebook, and Pinterest. Looking for something totally different? Browse the recipe library.
📖 Recipe
Healthy S’mores Balls
Equipment
Ingredients
- 8 sheets graham crackers - 32 total small rectangular crackers, about 1 cup ground
- 1 15-ounce can navy beans - drained and rinsed
- ½ cup creamy peanut butter
- 3 tablespoons maple syrup - decrease to 1 or 2 tablespoons for less sugar
- 1 tablespoon vanilla extract
- ½ cup mini marshmallows
- ¼ cup mini chocolate chips - can sub cacao nibs
Instructions
- Add the graham crackers to a food processor. Pulse until ground into fine crumbs. Keep ½ cup of the crumbs in the food processor. Transfer the rest to a plate or bowl for later.
- Add the beans, peanut butter, maple syrup, and vanilla extract to the food processor with the crumbs. Pulse until a smooth batter forms. It will be sticky.
- Remove the bowl with the batter from the food processor. You can remove the blade at this point too. Cover the bowl and refrigerate for at least a half hour until firm enough to roll.
- After refrigeration, stir in the mini marshmallows and mini chocolate chips. You can also add these before you refrigerate the batter, but the texture of the marshmallows holds up better if you add them after refrigeration.
- Scoop out a rounded tablespoon of the batter and form it into a ball with your hands. Roll the ball in the reserved graham cracker crumbs. Place the ball into a freezer-safe container. Repeat this step with the rest of the batter. Your hands will get sticky during this step, FYI. Try to roll the balls quickly because the batter will get softer/stickier and harder to roll the longer it's at room temperature. You should have between 12 and 15 balls.
- Seal the container with the balls and transfer it to the freezer. Let the balls freeze for at least an hour before enjoying. Once the balls are frozen solid (if they've been in the freezer overnight, for example), I like to let them thaw for 10 minutes at room temperature before enjoying to make them easier to eat. They will last for up to 3 months in the freezer but are best when enjoyed within 1 month.
- Leave a rating or review by tapping the stars on this recipe card (above) or in the comments section (at the end of the post)!
Notes
- If you need this recipe to be strictly vegetarian or vegan, use a vegan, honey-free brand of graham crackers (such as Nabisco), dairy-free/vegan chocolate chips (such as Enjoy Life), and vegan mini marshmallows (such as Dandies).
Nutrition
Happy summer! – Lizzie



Miranda
These were really good! My dough was a bit sticky, so I added all the graham cracker crumbs to the dough instead of rolling the dough in any crumbs. I’ve made healthy desserts with garbanzo beans that tasted gross and gritty, so was a bit worried about using navy beans in this recipe, but you can’t taste them at all and they make the energy bites really creamy. Also, I used almond butter instead of peanut butter for a more neutral flavor. Thank you for the recipe!
Lizzie Streit, MS, RDN
Hi Miranda, I’m so glad to hear you enjoyed the recipe! Thanks so much for leaving a review!