

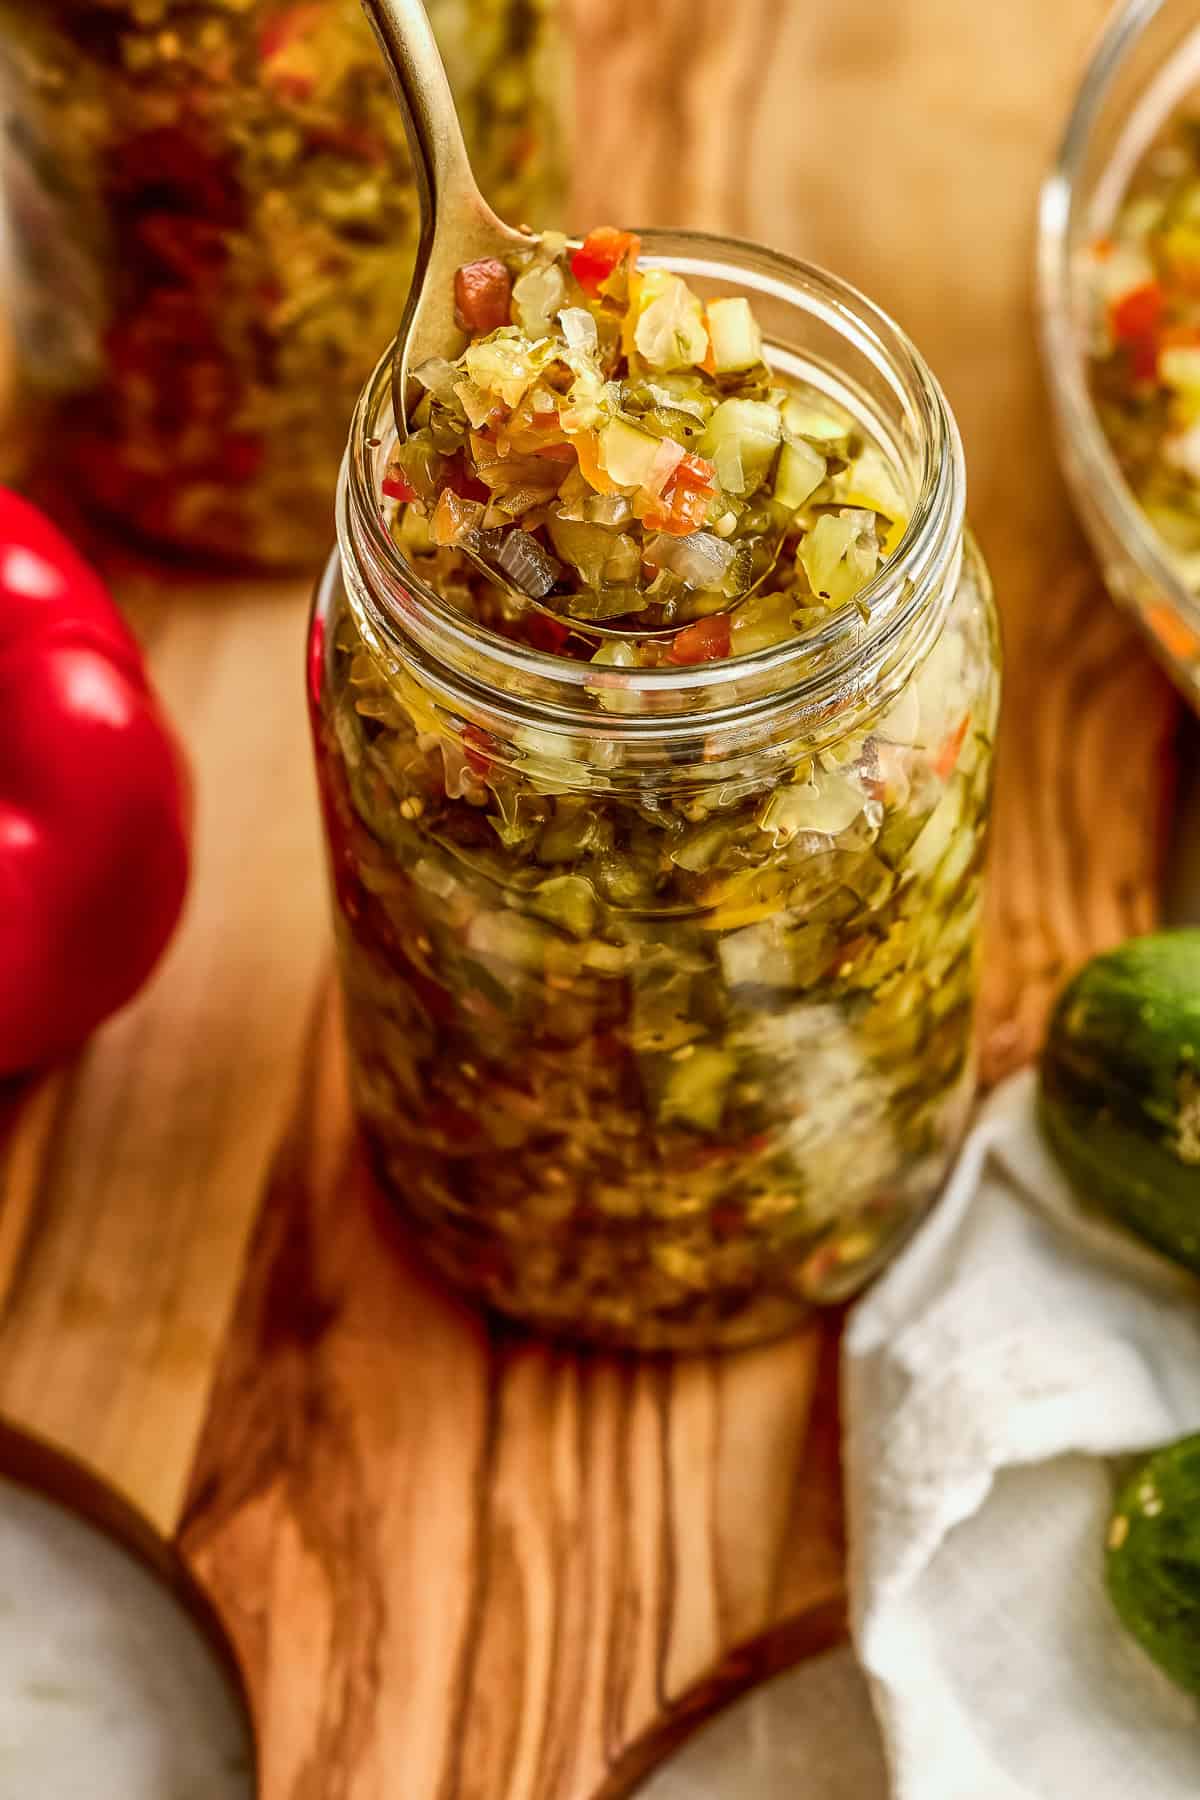
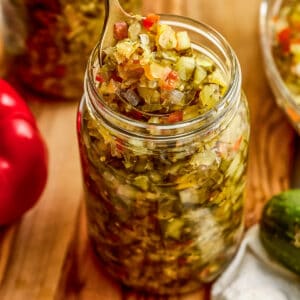
Calling all home gardeners, farm share recipients, and cucumber fanatics! This sweet relish recipe is the best way to use up your summer cukes. It has all the classic sweet pickle relish flavor without the canning hassle. Store in the refrigerator for easy access to a flavorful topping and condiment all season long!
Jump to:
Lizzie’s Notes
One of my favorite parts of summer is creating recipes that help all of you make the most out of the season’s bounty! So many readers tell me that they often wind up with an overload of certain vegetables, whether from their home garden surplus, farmers market haul, or CSA share. Pickling cucumbers tend to be a common one!
If you’re up to your ears in pickling cukes or just looking for a fun reason to buy them when they’re in season, this sweet relish recipe is just perfect. Even though the soaking process takes some time, the hands-on work is hassle-free! I intentionally made a refrigerator version instead of a canned one and relied on my food processor to (greatly!!) speed up the process of chopping the veggies. I’m a big fan of quick pickling.
At the end, you’ll enjoy all the flavors of classic sweet relish without boiling jars or getting special pickling salt. Sure, it won’t last as long as properly canned versions. But in my experience, it goes fast! Make a batch, and you’ll see. It’ll be gone before you know it!
Ingredients and Substitutions
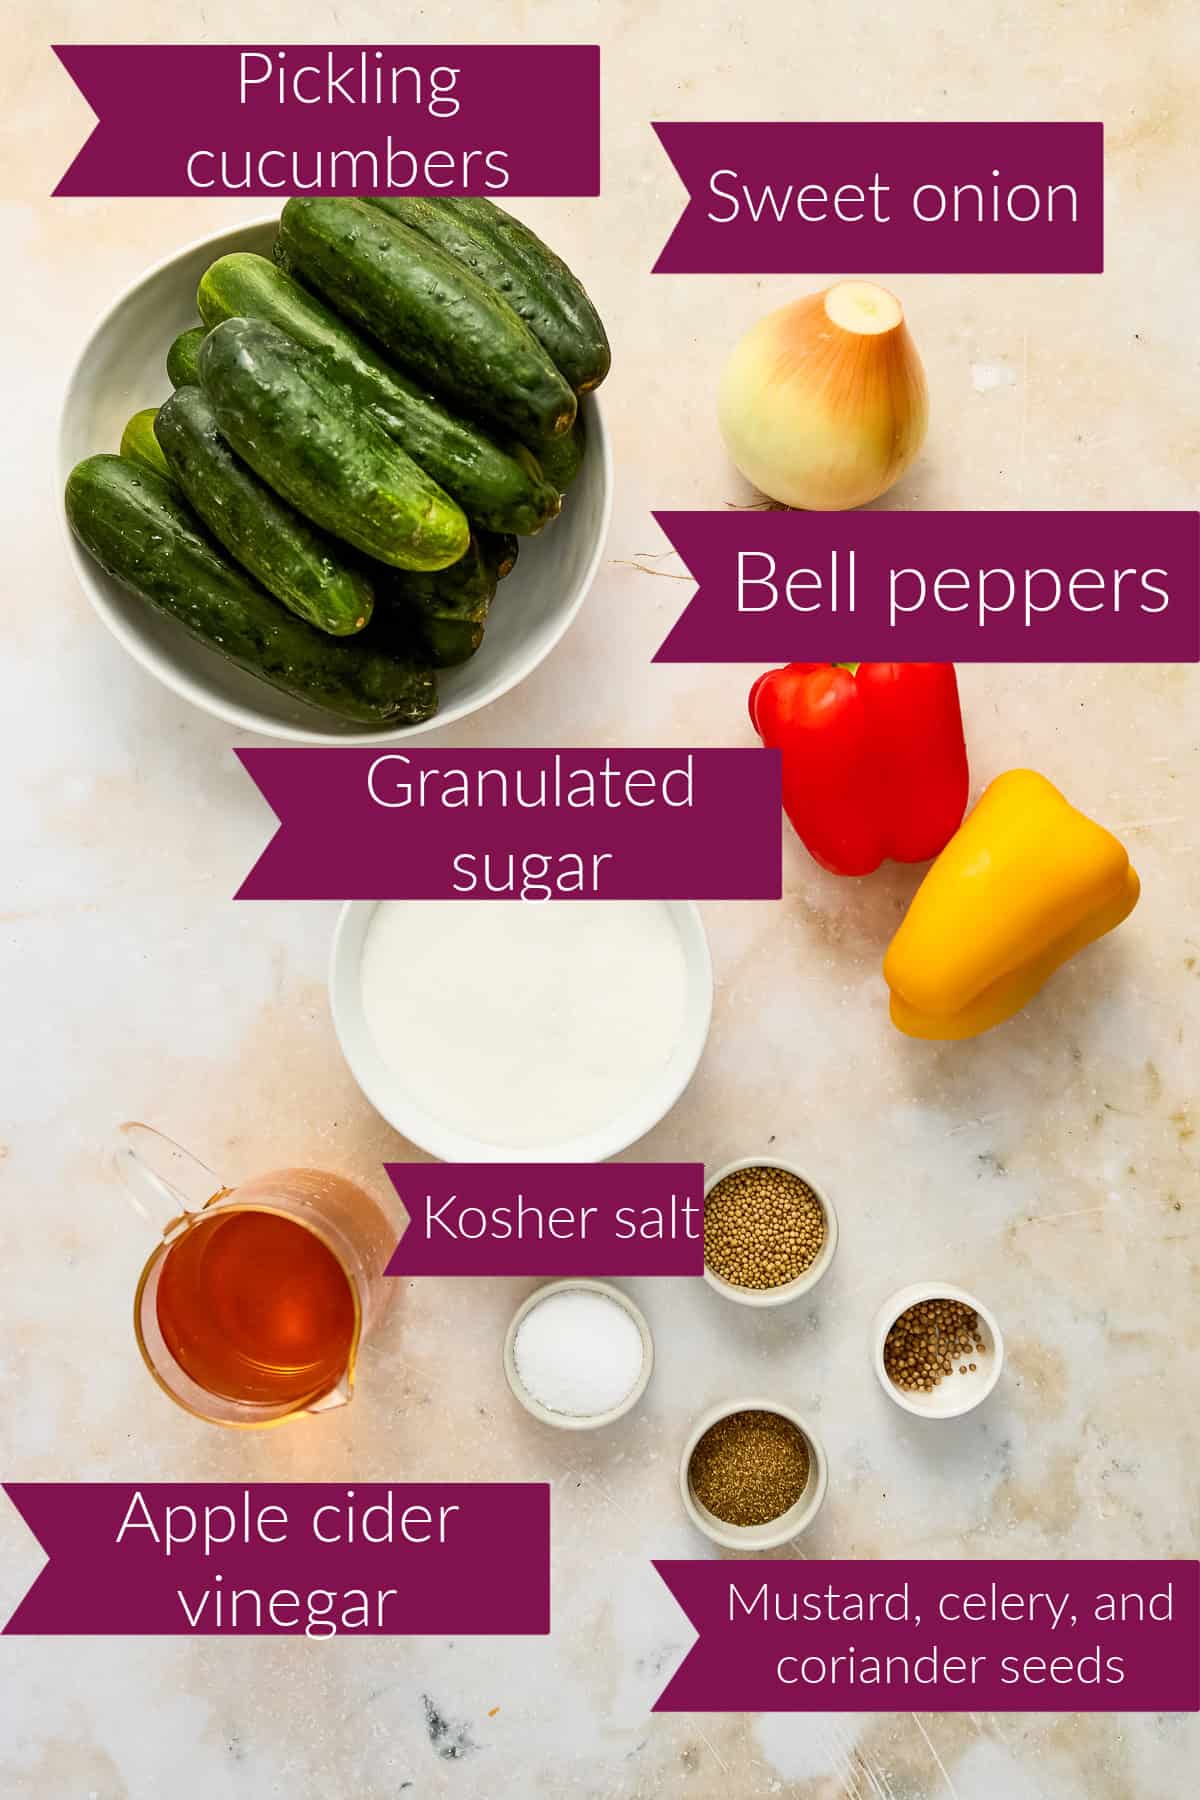
- Pickling cucumbers: I highly recommend using cucumbers specifically grown for pickling. They have a thick skin that holds up well in brine so they stay crunchy. Plus, their seeds are small and don’t need to be removed. However, you can use other varieties of cucumbers. You should peel the skin of garden cucumbers, but you can leave the thin skin of English and hothouse cucumbers. Since some varieties have large, goopy seeds, you may want to remove them to preserve the classic relish texture.
- Sweet onion: Substitute white or red onion.
- Bell peppers: I like to use red bell pepper and yellow bell pepper to get the right colors, but you can sub green bell pepper too.
- Kosher salt: I recommend using Diamond Crystal kosher salt for this sweet relish recipe because it does not contain additives and dissolves easily into the vegetables. I have also made the recipe with Morton kosher salt and had no issues. You can sub pickling salt if you have it.
- Apple cider vinegar: This is key for boosting the sweetness of the relish, since it has a naturally fruity taste. If you don’t have it, substitute white vinegar. However, it will make the relish a little tangier and sharper.
- Granulated sugar: You cannot really make sweet relish without sugar, but you can dial it back to ¾ or 1 cup if you want less sugar. Cane sugar can be used in place of white sugar. If you are watching your sugar intake and need a substitute, try powdered monk fruit sweetener, sucralose, or stevia. Follow the instructions on the substitute you use for the right amount to add. Some monk fruit blends can be used in a 1-to-1 ratio, while liquid stevia typically should be added in a much smaller amount.
- Mustard, celery, and coriander seeds: While a little different than traditional versions, I like to add coriander seeds for an extra pop of flavor! You can add ½ teaspoon turmeric for color if desired.
How to Make This Sweet Relish Recipe
The full recipe card with ingredient amounts is at the bottom of the post. Here’s a preview of the steps with photos to guide you in the kitchen.
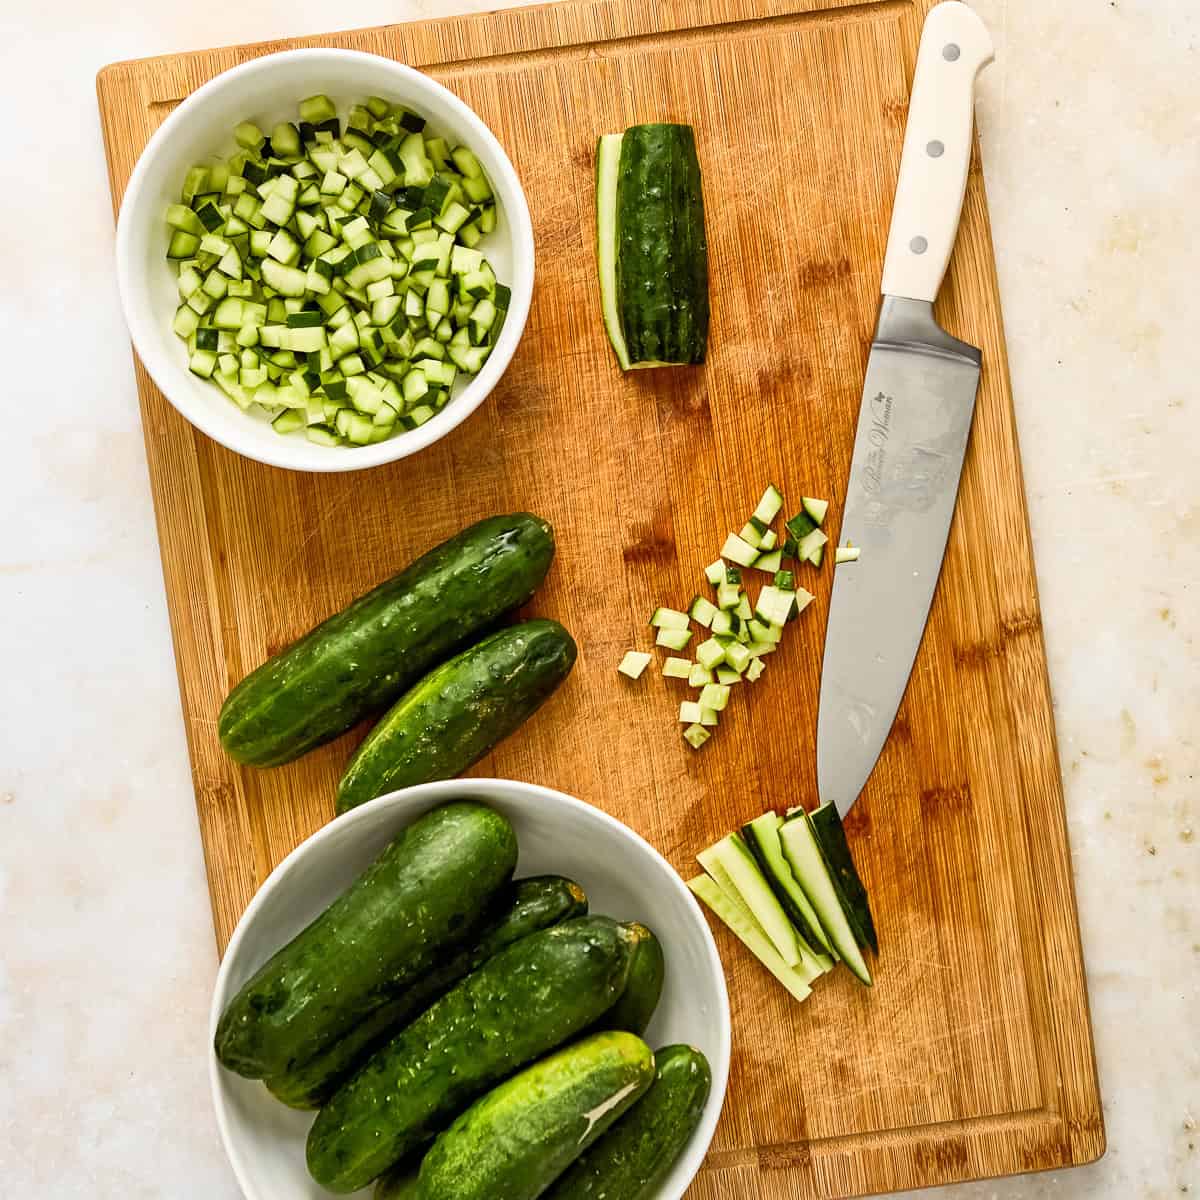
Chop the vegetables. If you have the time, you can do this by hand (see How to Dice a Cucumber). However, the veggies need to be chopped into very small pieces seen in classic relish. This can take a LOT of time by hand.
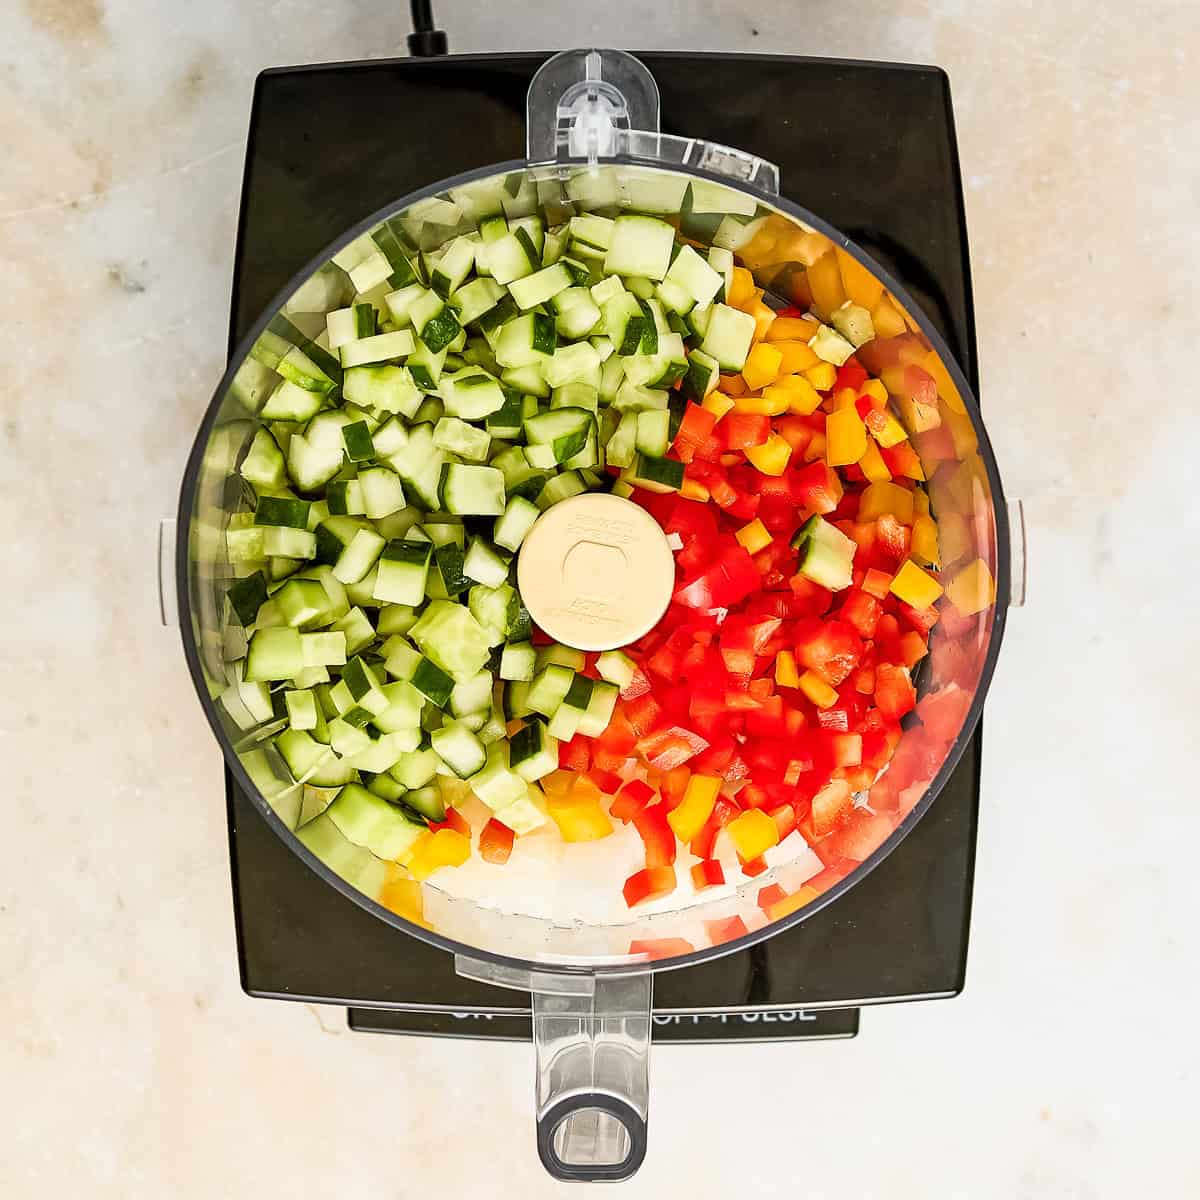
To save time, you can use a food processor to chop the vegetables instead. I recommend doing this in batches or pulsing one kind of vegetable at a time.
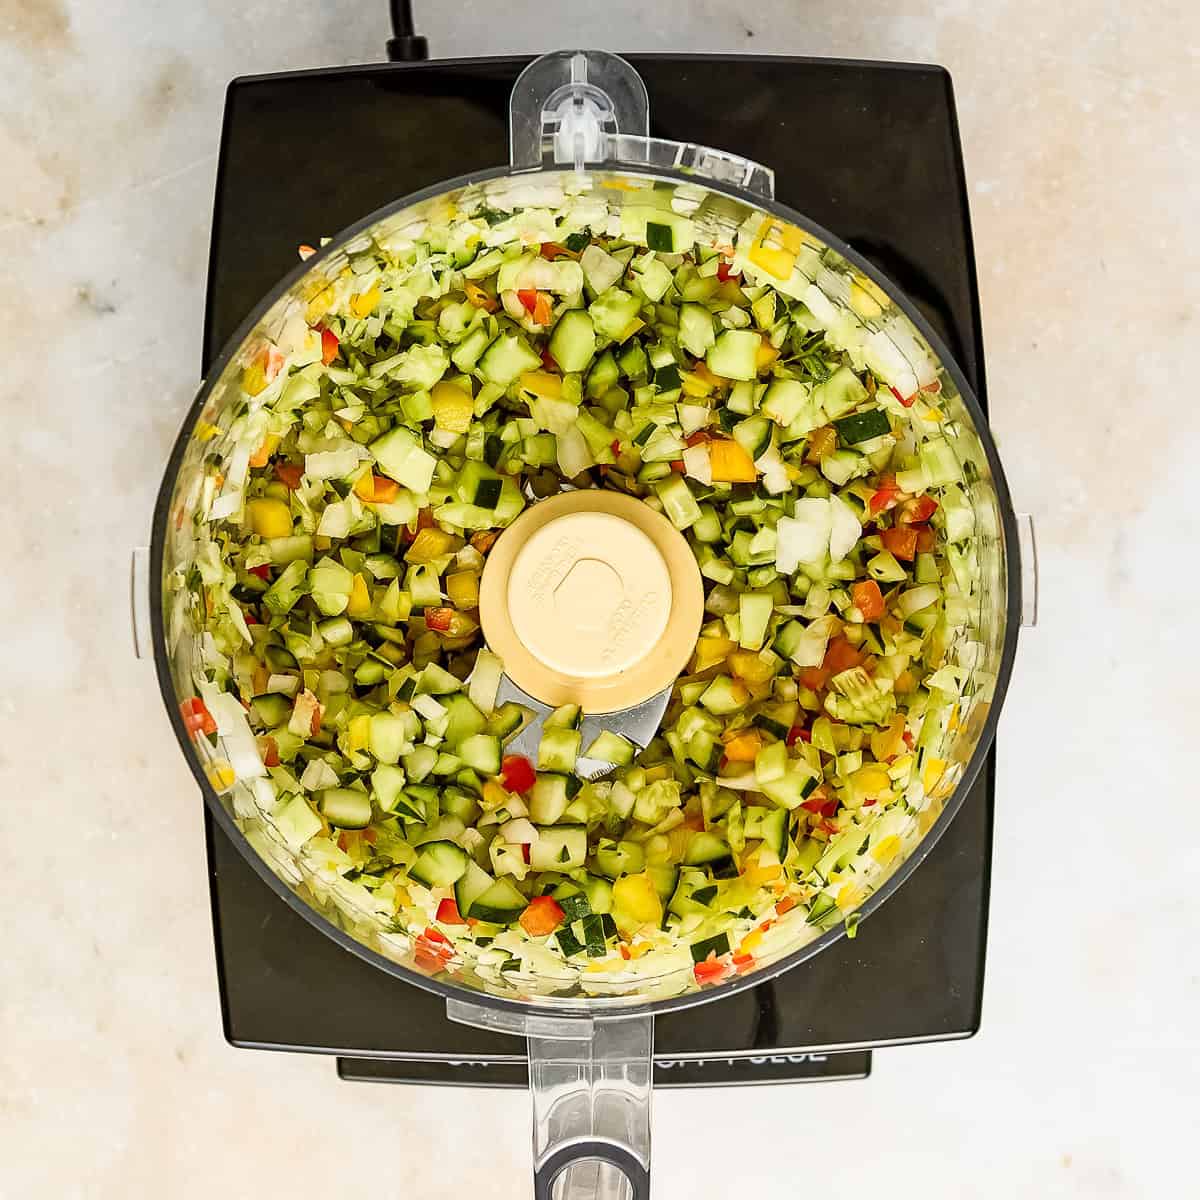
Pulse just enough to get the vegetables into finely chopped pieces of a similar size.
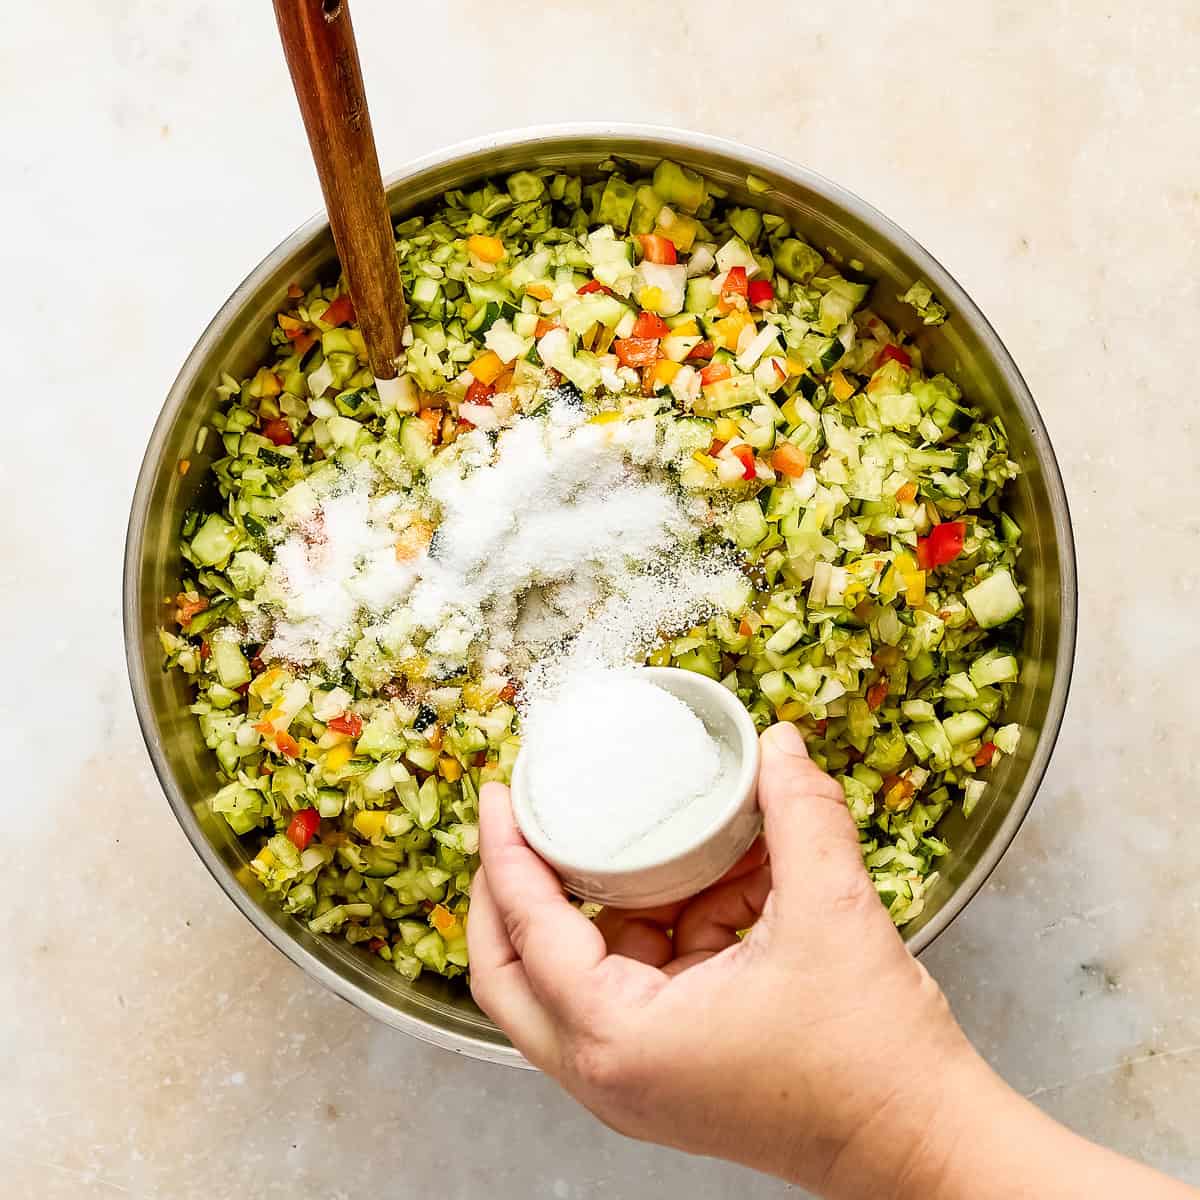
Add the vegetables to a large mixing bowl. Sprinkle with kosher salt to draw out moisture.
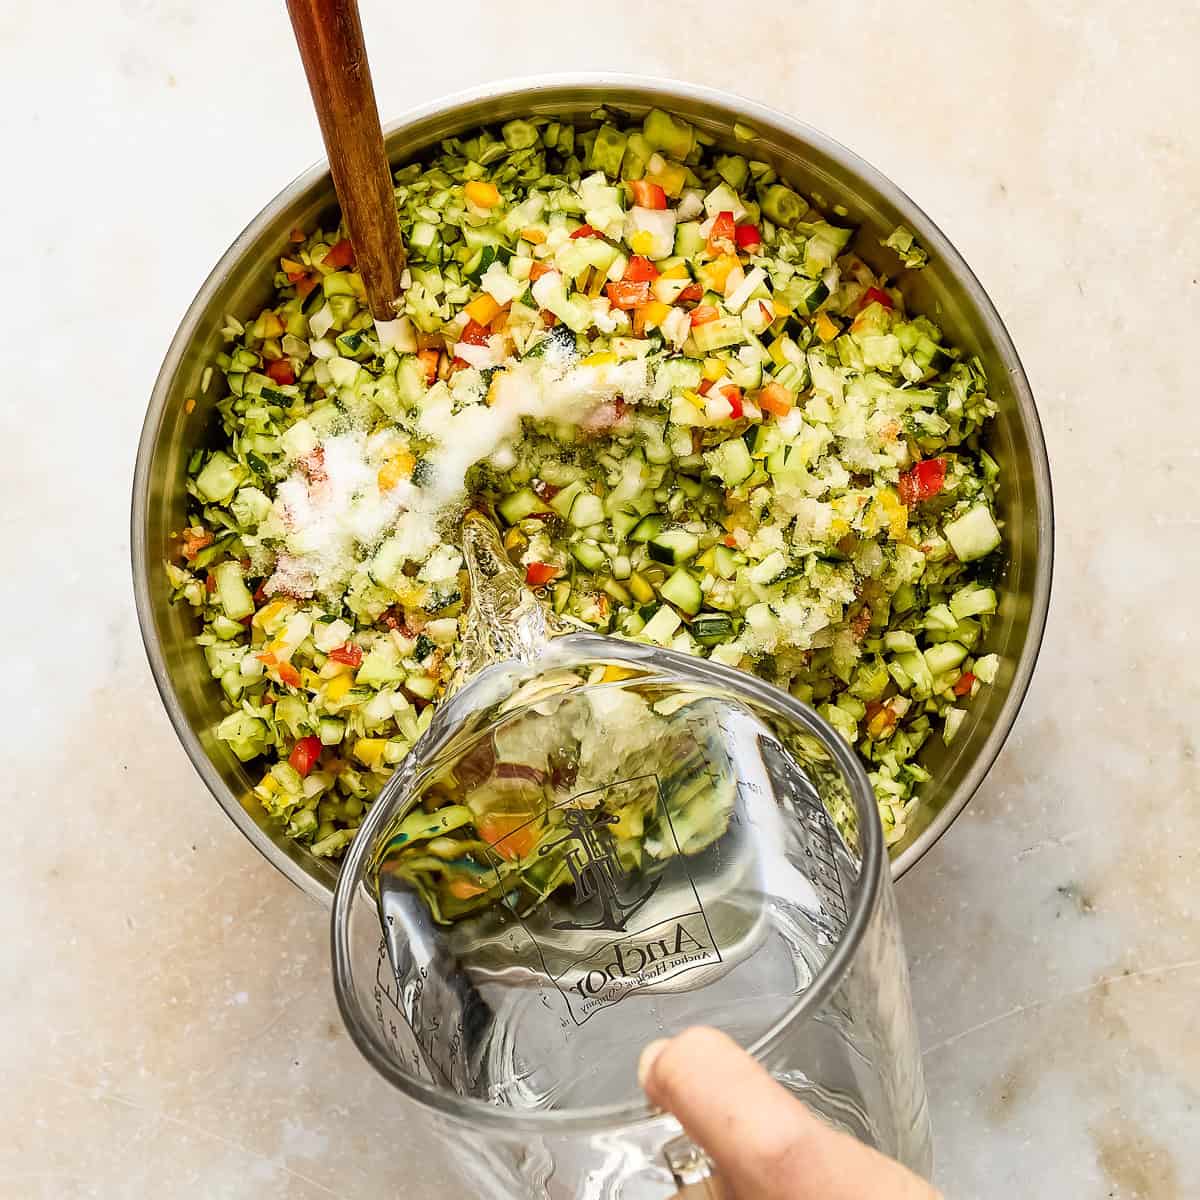
Pour water over the vegetables until submerged. Stir to ensure the salt dissolves and coats them.
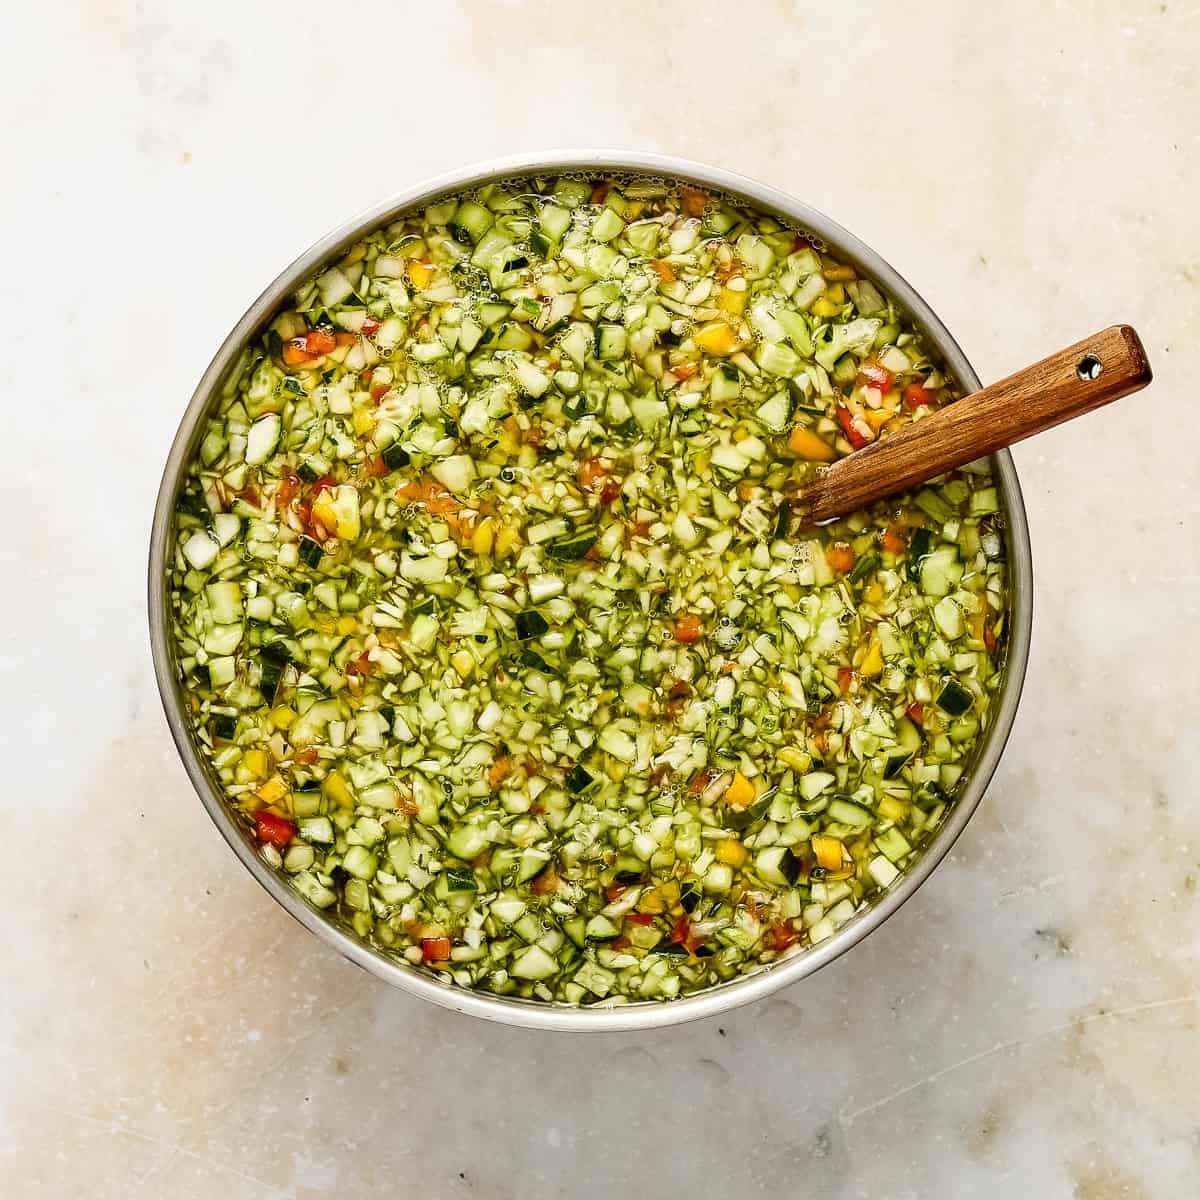
Let them sit for about 2 hours at room temperature. Stir occasionally if you can.
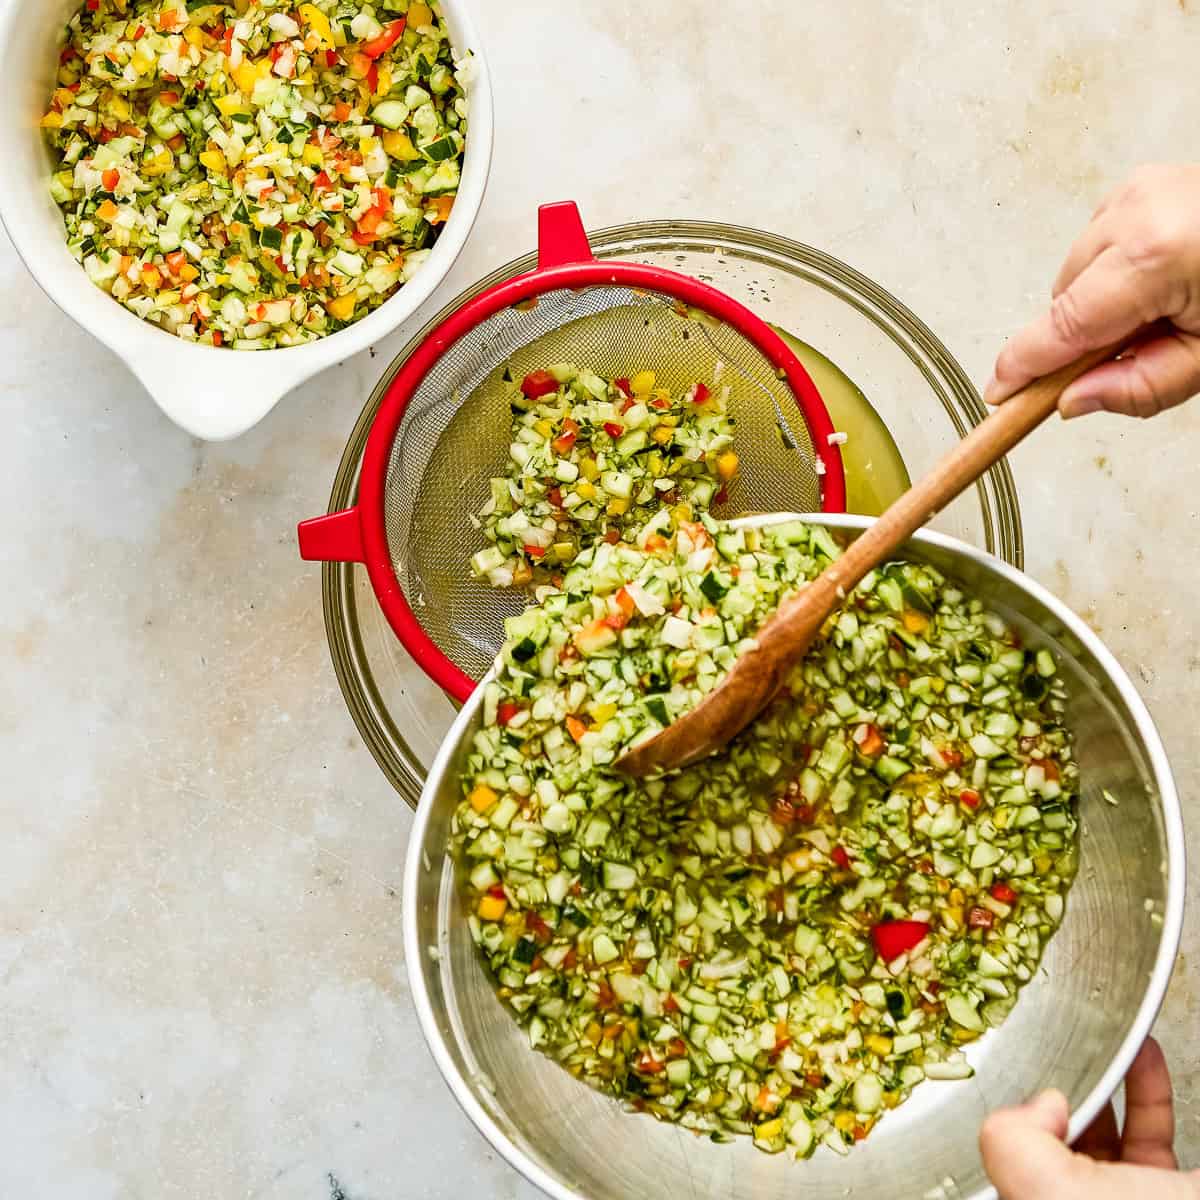
Spoon veggies (in batches) into a fine mesh strainer over a large bowl.
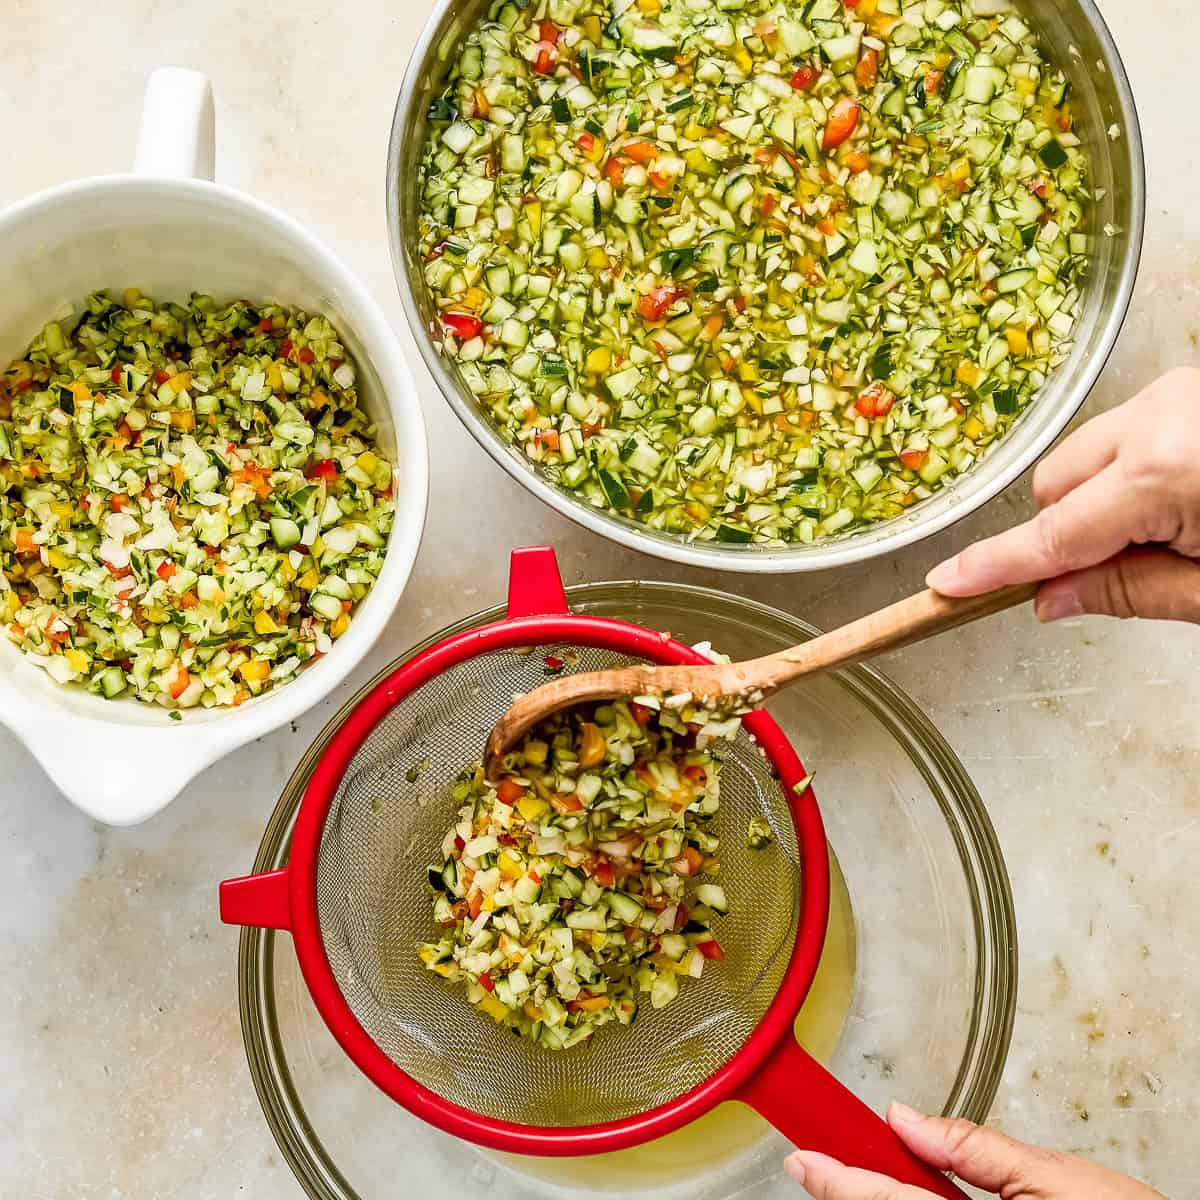
Press the veggies with the back of a wooden spoon to release as much water as possible. Transfer them to a clean bowl, and repeat until all the veggies have been drained.
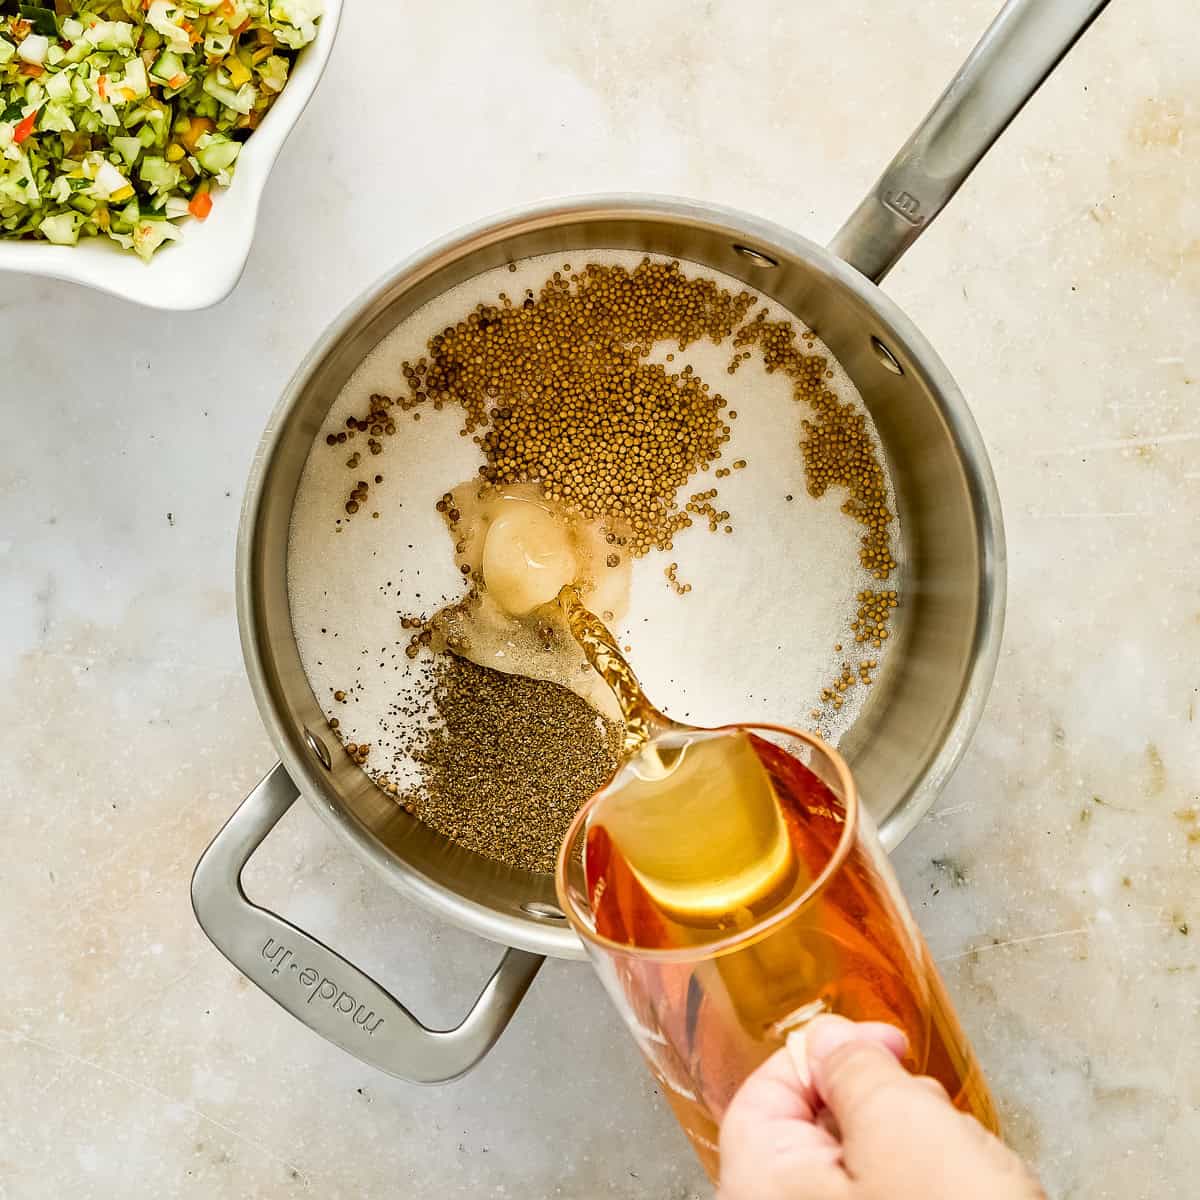
In a large stainless steel pot, combine the cider vinegar, sugar, and seeds. Bring to a boil while stirring to dissolve the sugar.
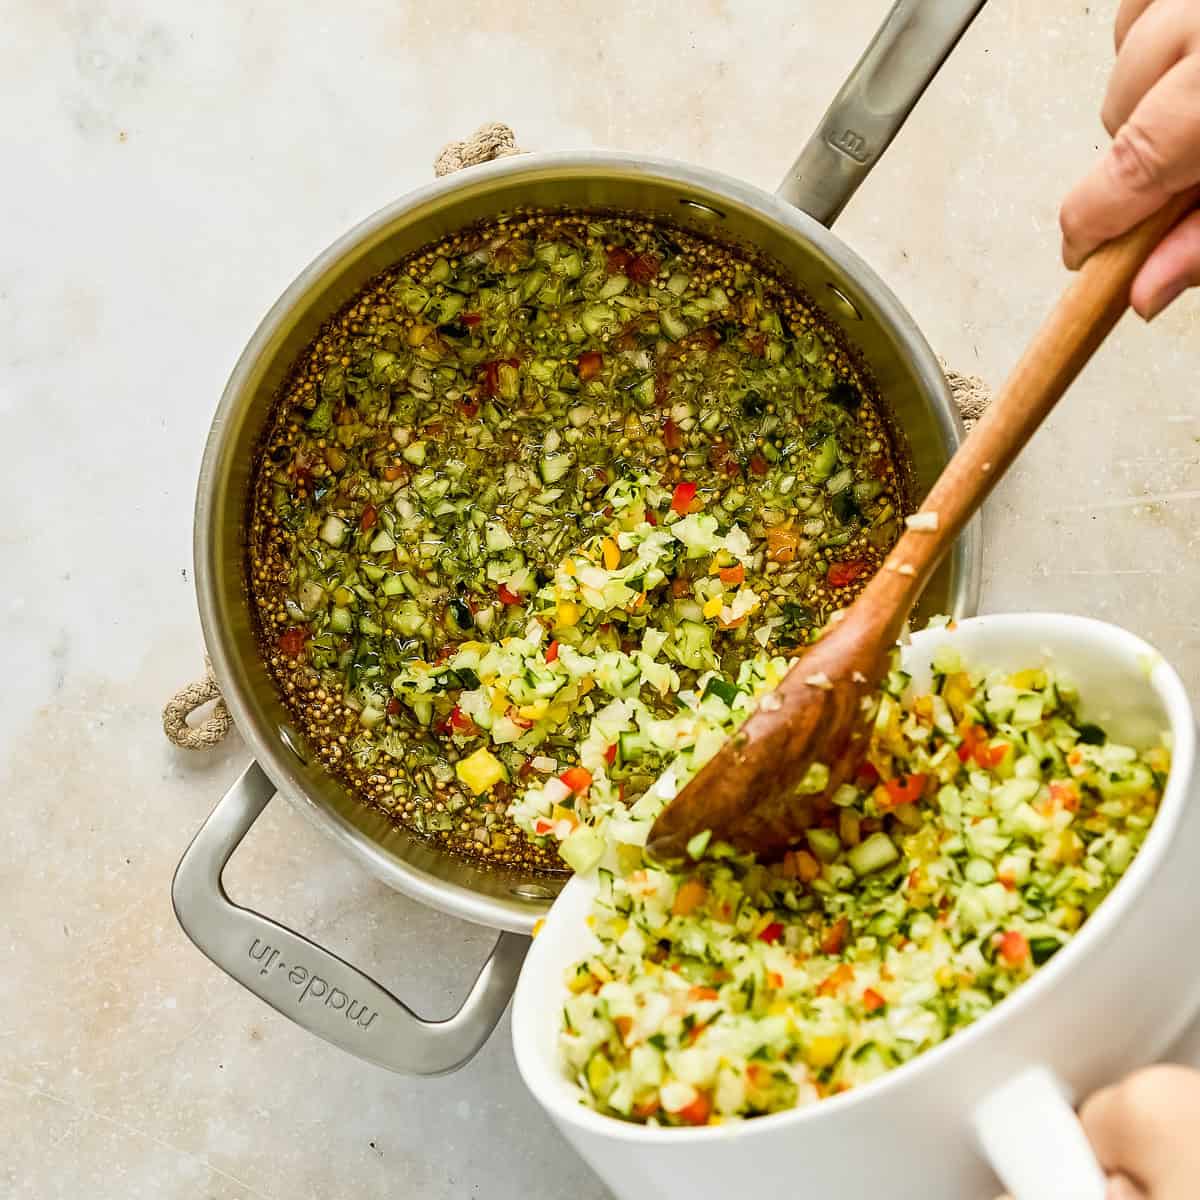
Add the drained veggies to the pot.
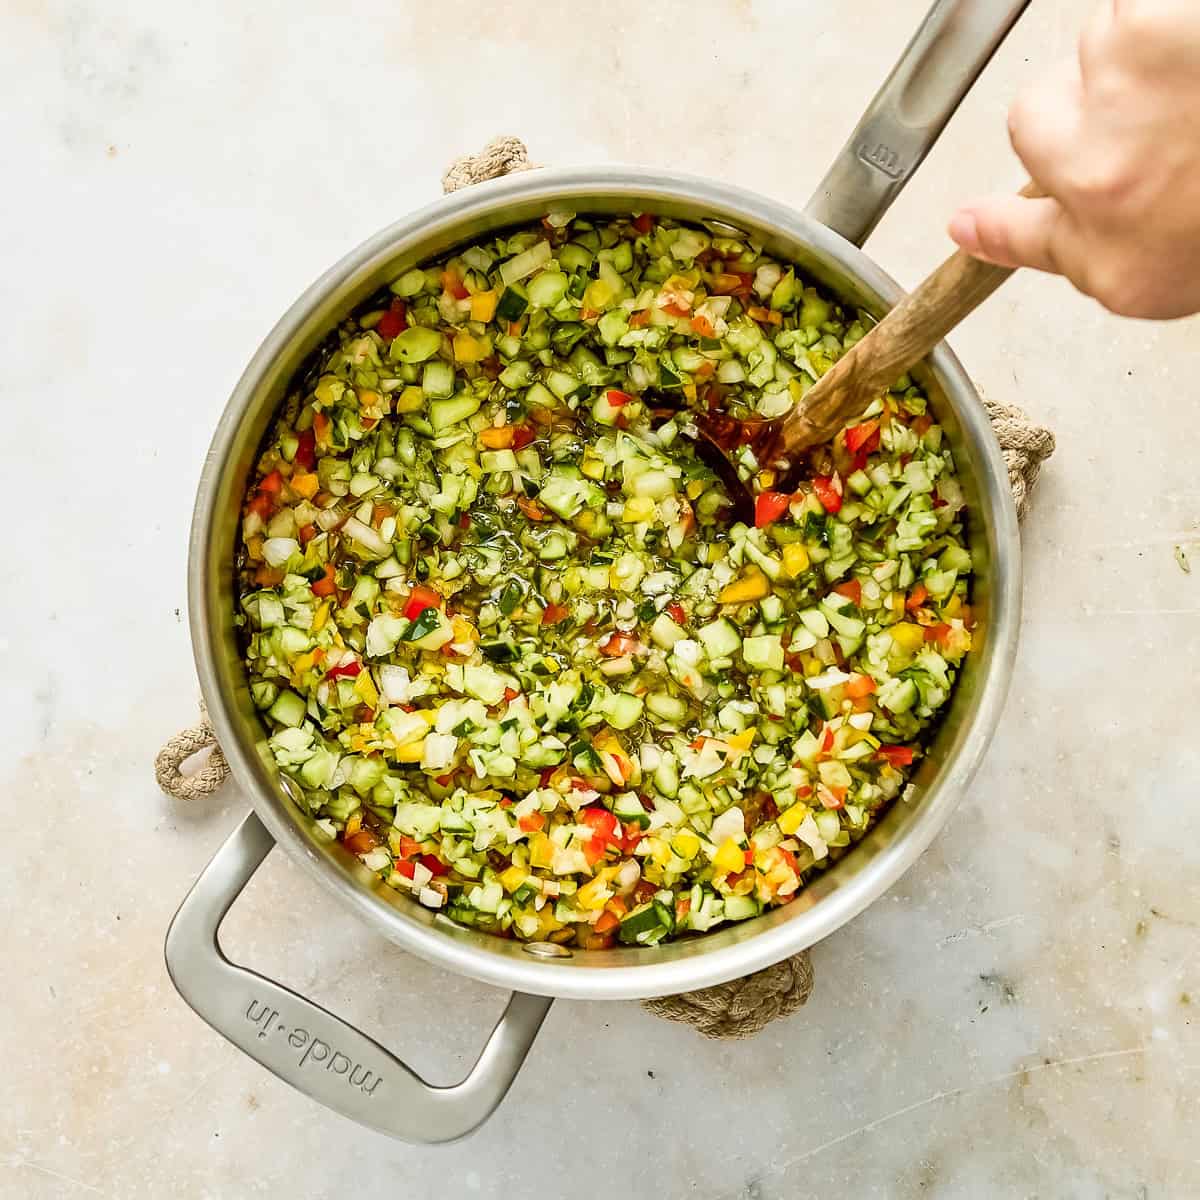
Bring back to a boil then reduce heat to maintain a simmer for 10 minutes. Avoid overcooking the veggies so that they don’t get mushy.
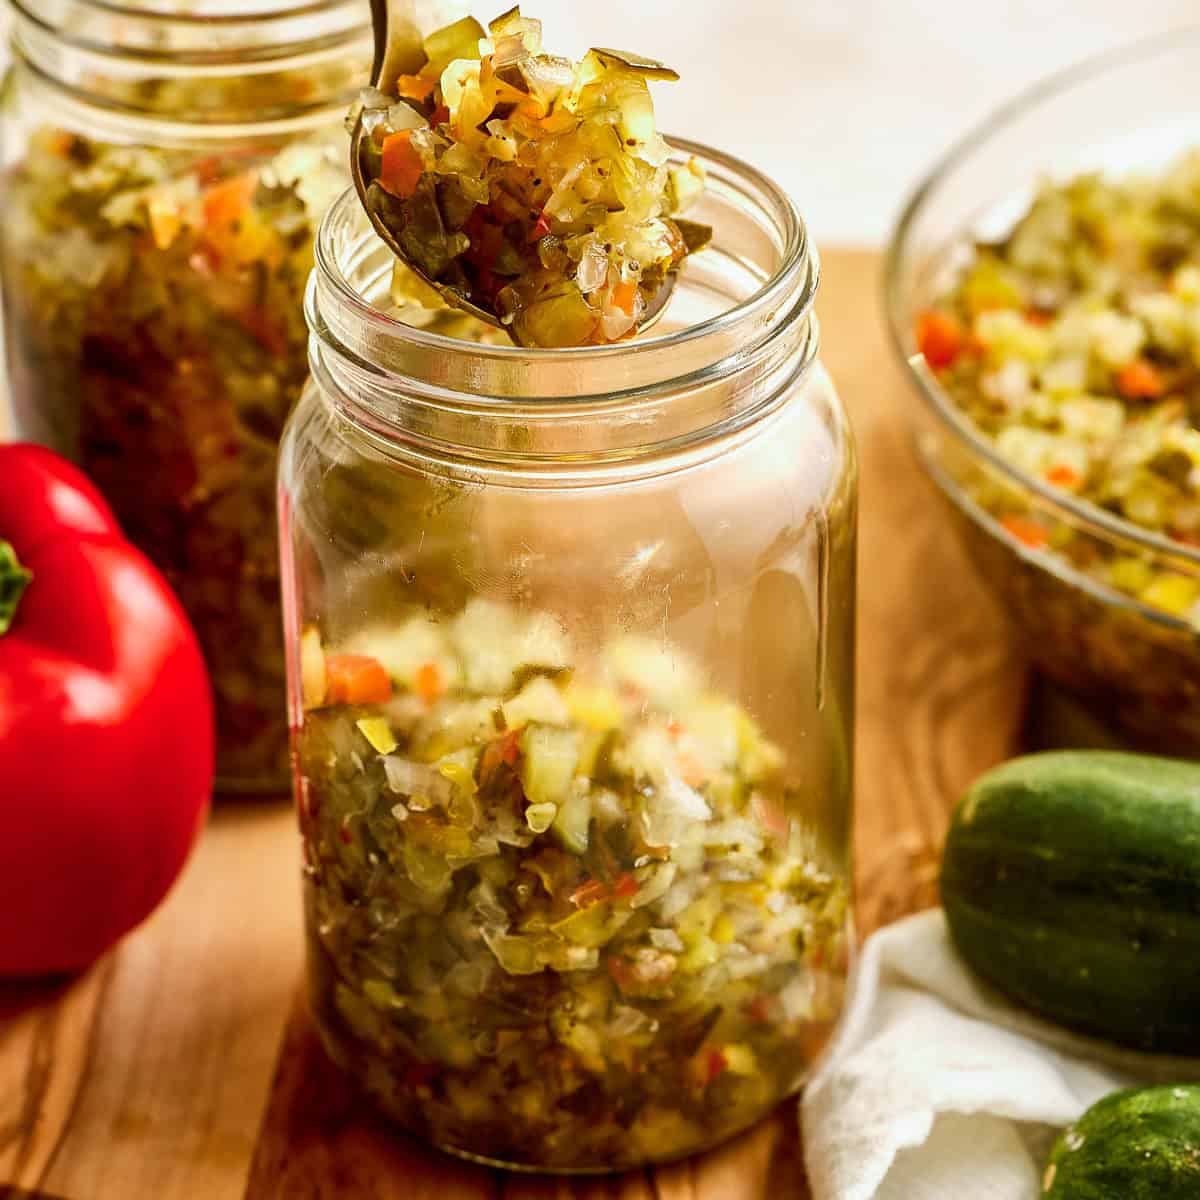
Remove veggies from heat. Spoon them into clean glass jars. Use a slotted spoon if desired, then add spoonfuls of brine in the amount you want. Let them cool completely before sealing.
Tips for Best Results
- Pulse instead of continuously processing veggies. To make sure the veggies don’t get over-processed and mushy, don’t pulse/blend continuously. Manually pulse to chop them into fine pieces. Stop to scrape down the sides as needed to promote even chopping.
- Add the veggies to the processor in batches. This will prevent overcrowding and uneven chopping.
- Drain veggies well. Excess water can make the brine less flavorful and cause your sweet relish recipe to be soggy instead of crunchy. Remove as much water as possible.
- Use a fine mesh strainer (sieve). If you don’t have one, you can try wrapping the veggies (in batches) in a cheesecloth or clean dish towel. Twist firmly to squeeze the bundle over the sink or a bowl to release water. This method does not work as well as the strainer but will be effective in a pinch. The veggies may get a little squished as well.
- Let the relish chill overnight. You can enjoy the relish right away, but the flavors get even more concentrated if you let it chill overnight.
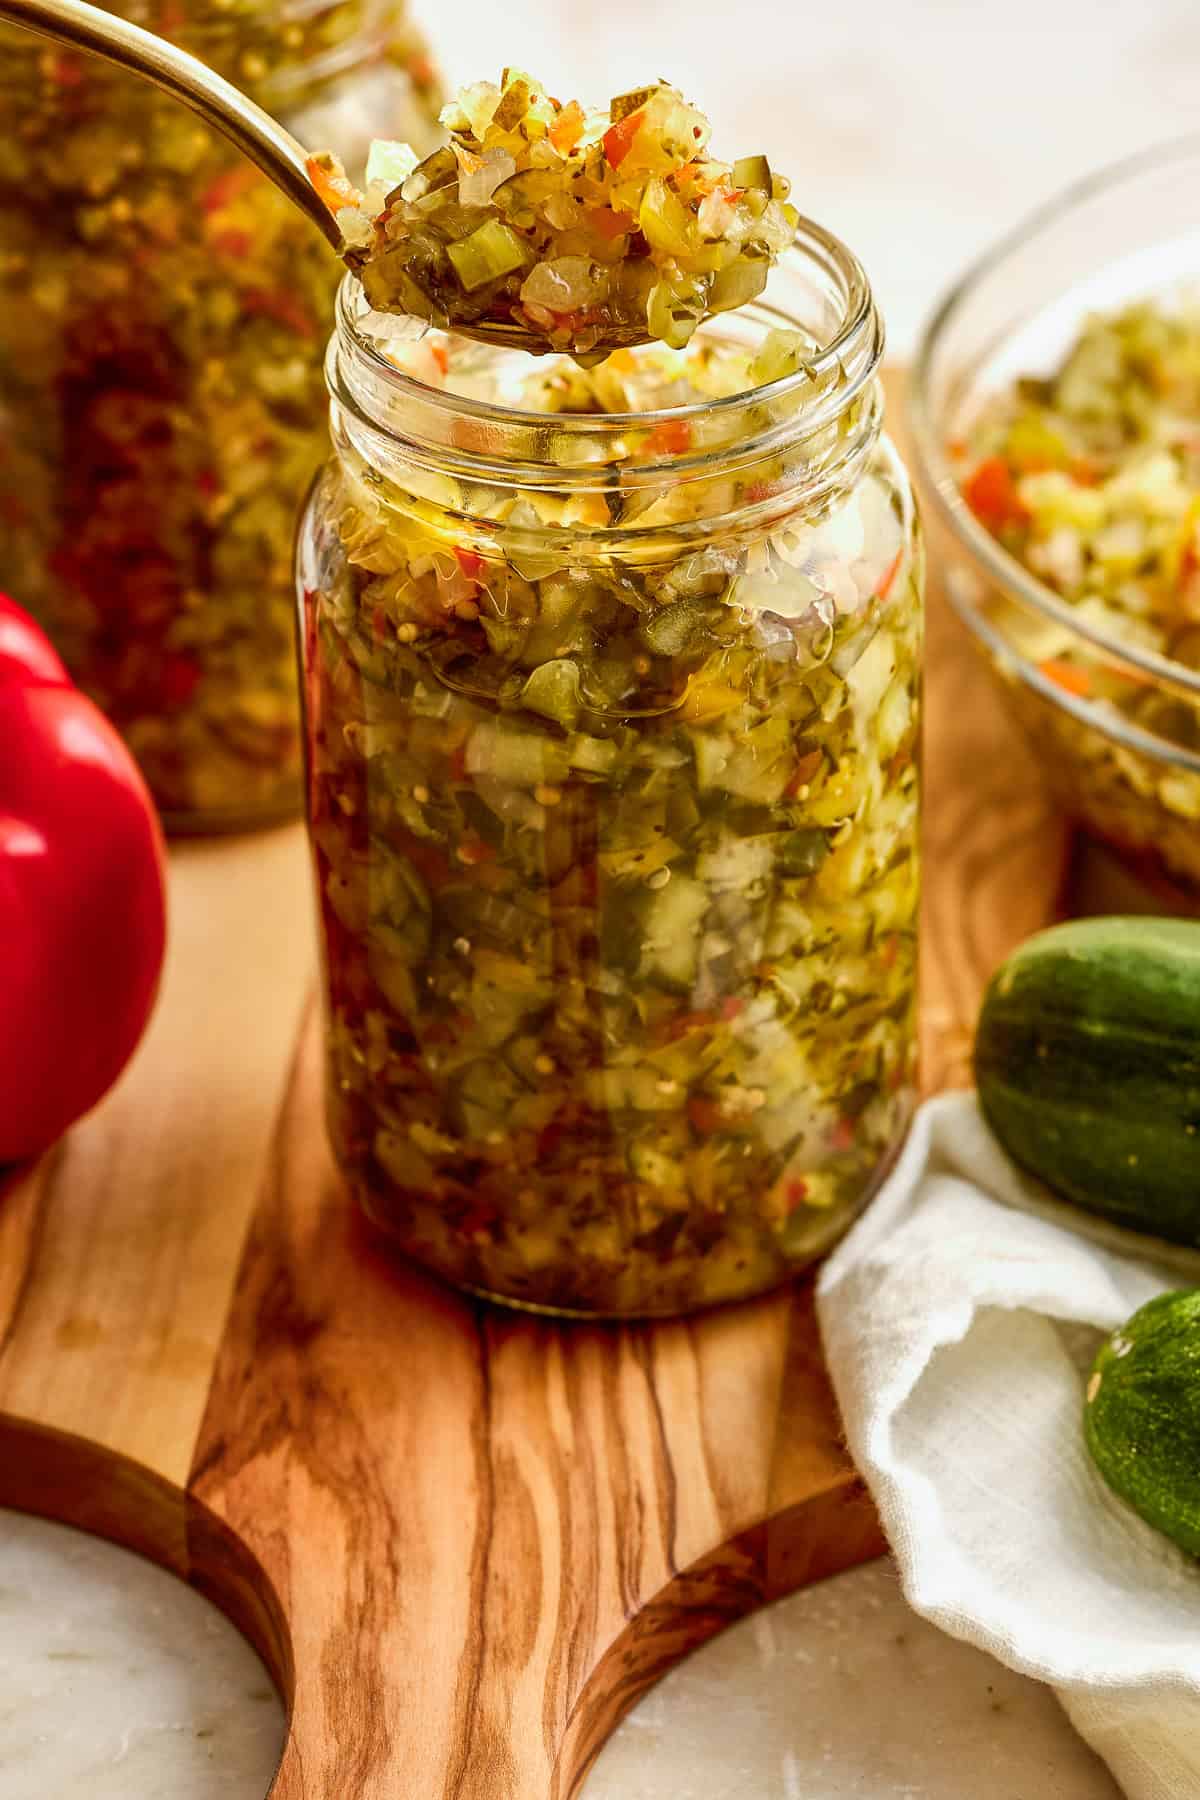
Ways to Use It
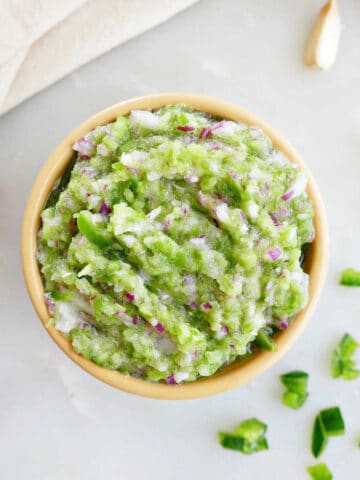
This sweet relish recipe is delicious on hot dogs, sausages, and burgers (including veggie or salmon options)! You can also add a few spoonfuls for extra flavor in deviled eggs, tuna salad, chicken salad, egg salad, or potato salad (like my Dill Pickle Potato Salad). It works well in salad dressings or special sauces for burgers and burger bowls. Finally, add it to your next cheese board, perhaps alongside Jalapeño Relish.
Storage
- Fridge: Homemade sweet pickle relish will last in the refrigerator for up to 2 to 4 weeks when stored in an airtight container. Glass mason jars or half pint jars with tight lids work best. Look for signs of spoiling and discard immediately if you see mold or smell a foul odor. This is not a shelfstable canning recipe, so you cannot store it at room temperature.
- Freezer: Freeze relish in tightly sealed, freezer-safe jars with an inch of headspace for up to 3 months. Thaw in the fridge overnight before enjoying.
- Note on canning: If you would like to can this recipe using proper processing and water bath canning methods, refer to these instructions from the National Center for Home Food Preservation.
More Pickled Recipes
- Quick Pickled Kohlrabi Recipe
- Pickled Celery (Quick and Spicy)
- Quick Pickled Red Onions (No Cook)
- Quick Pickled Shallots Recipe
- Easy Refrigerator Pickled Asparagus Recipe
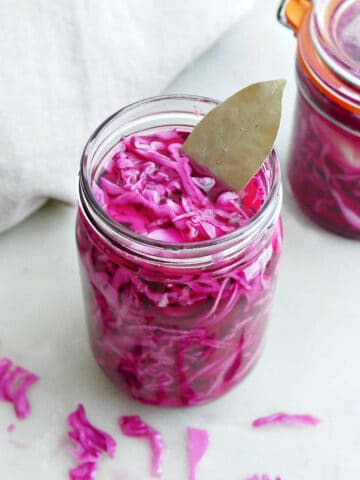
- Quick Pickled Red Cabbage
FAQs
- Do I have to remove the cucumber seeds? Not if you use pickling cucumbers to make this sweet relish recipe. Remove larger/goopier seeds from other varieties.
- Can I use regular cucumbers instead of pickling cucumbers? Yes, with some caveats. Garden cucumbers have thick, sometimes bitter skin that you should remove before using in the recipe. English/hothouse pickles have thinner skin that you don’t need to remove.
- Can I make dill pickle relish instead of sweet pickle relish? To do so, cut the sugar down to 2 tablespoons, use white vinegar instead of apple cider, and sub dill seeds for the coriander and celery seeds. You may also want to add a few garlic cloves.
📖 Recipe
Homemade Refrigerator Sweet Relish Recipe
Equipment
Ingredients
- 3 pounds pickling cucumbers - about 8, yields about 10 cups finely diced
- 2 cups finely diced sweet onion - from 1 large
- 2 medium bell peppers - red and yellow, finely diced, about 2 cups
- 2 tablespoons kosher salt - recommend Diamond Crystal, can sub pickling salt
- Cold water - about 8 to 10 cups, to cover the vegetables
- 2 cups apple cider vinegar
- 1.5 to 2 cups granulated sugar - depending on how sweet you want it, can cut to 1 cup
- 1 tablespoon mustard seeds
- 2 teaspoons celery seeds
- 1 teaspoon coriander seeds
Instructions
- Finely chop the vegetables into small pieces that resemble what you would see in store-bought relish. This takes a long time by hand. To speed up the process, put the vegetables in a food processor fitted with the S-blade and pulse until finely chopped. Do this in batches to avoid overcrowding the processor. Pulse the veggies, stopping to scrape down the sides as needed, instead of processing them continuously to prevent them from getting mushy.
- Transfer the veggies to a large bowl. Sprinkle with kosher salt to draw out their moisture.
- Pour water over the veggies until they are submerged. Stir to ensure the salt dissolves.
- Let them sit for 2 hours at room temperature. Stir occasionally if you can.
- Drain the veggies in batches using a fine mesh sieve over a large bowl (can also use a regular colander lined with a cheesecloth). Use the back of a spoon to press the veggies against the strainer to release as much water as possible. Repeat several times with each batch, then transfer the drained batch to a clean plate or bowl. Continue with this process until everything has been drained. Draining the veggies well keeps the relish crunchy instead of soggy.
- In a large stainless steel pot, combine the apple cider vinegar, sugar, mustard seeds, celery seeds, and coriander seeds. Bring to a boil over medium-high heat, stirring frequently until the sugar is dissolved.
- Add the veggies to the pot. Bring it back to a boil, then reduce heat to medium-low to maintain a simmer for 10 minutes. Stir occasionally. Remove from heat to avoid overcooking the vegetables.
- Using a slotted spoon, transfer the relish to clean glass jars or containers. Use a regular spoon to add some leftover liquid to each jar in your desired amount.
- Let the jars cool completely before sealing tightly. Transfer the jars to the fridge. For best results, let the relish chill overnight before enjoying.
- Leave a rating or review by tapping the stars on this recipe card (above) or in the comments section (at the end of the post)!
Notes
- Homemade relish in a tightly sealed glass jar or airtight container will last in the fridge for up to 2 to 4 weeks. Inspect for signs of mold or foul odors, and discard immediately if detected.
- You can freeze the relish for up to 3 months (leave a little headspace in the jars). Thaw in the fridge overnight. Keep in mind that the texture may be a little softer after freezing than thawing.
- This is not a canning recipe, so you can’t store the relish at room temp. See instructions from the National Center for Home Food Preservation if you want to can it.
Comments
No Comments