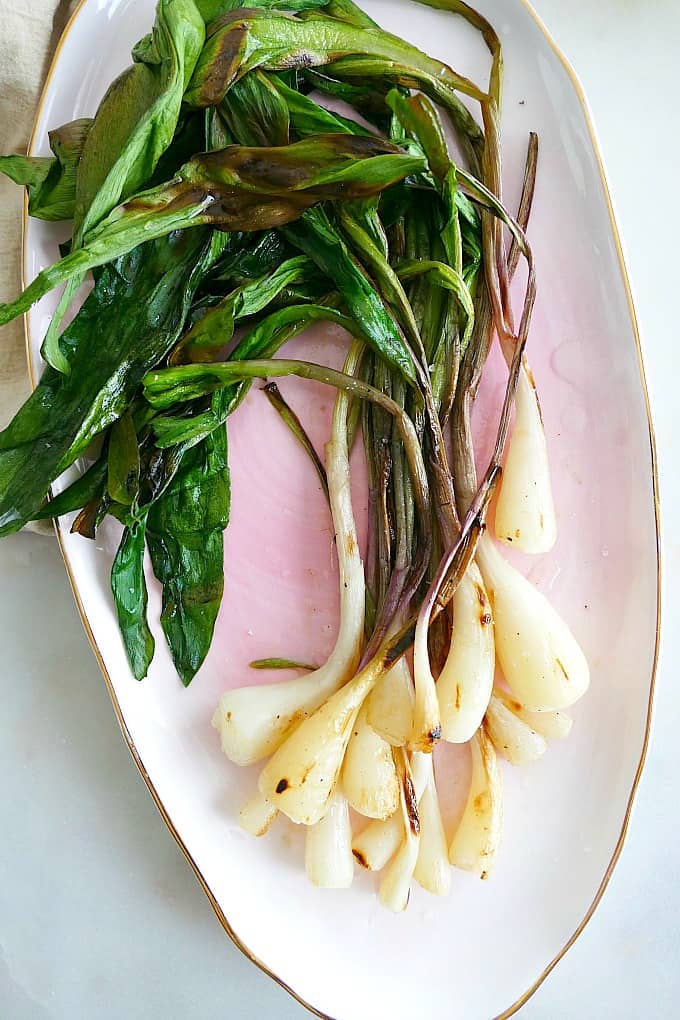
These simple yet delicious grilled ramps make a wonderful side dish for spring and early summer. Learn everything you need to know about searing ramps to perfection with this easy recipe.
This post may contain affiliate links. For more information, see my affiliate disclosure.
Spring produce is ramping up around here, if you know what I mean ;-). I made my first trip to the Kingfield Farmers Market this weekend and it felt SO good to be back. Soon enough the stands will be overflowing with fresh produce, all summer long. I can’t wait!
I’ve been really enjoying working through the seasons with my recipes this year, especially since I started to lean into my blog this past fall. This dish features a seasonal vegetable I’ve never worked with before: ramps!
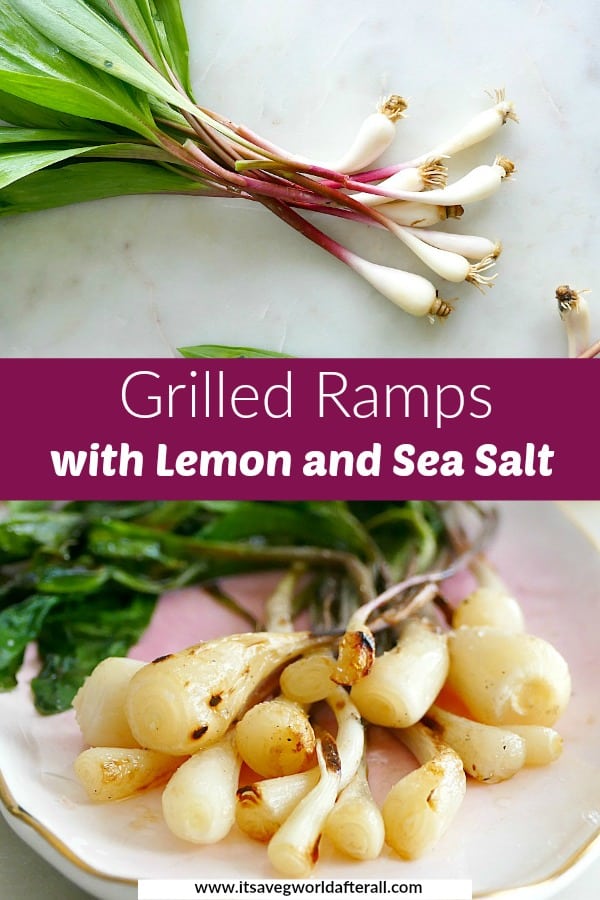
Ramps are gorgeous vegetables (I mean look at them) that only come out to play for a few weeks in the spring. These beauties were locally grown in Wisconsin, and I found them a few weeks ago at the Wedge Co-op!
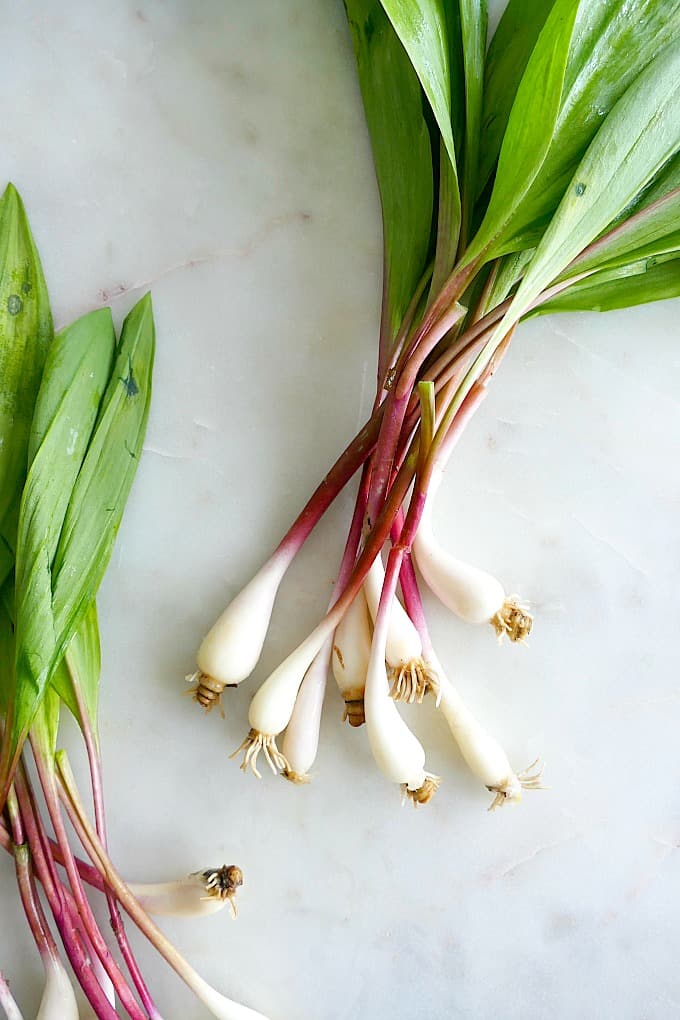
I wasn’t planning on making a recipe with ramps this season, but as soon as I saw them, I knew I owed it to the Veg World to add this vegetable to my repertoire. Plus, I know that ramps are scarce and hard to find. And there they were, just staring me in the face. I couldn’t just leave them, right?
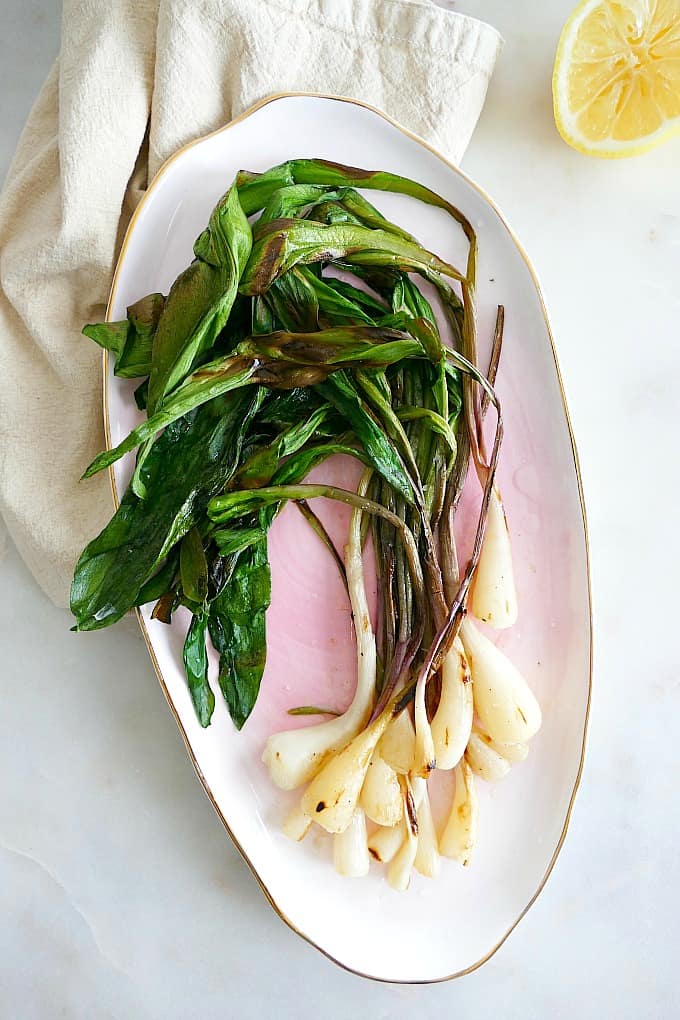
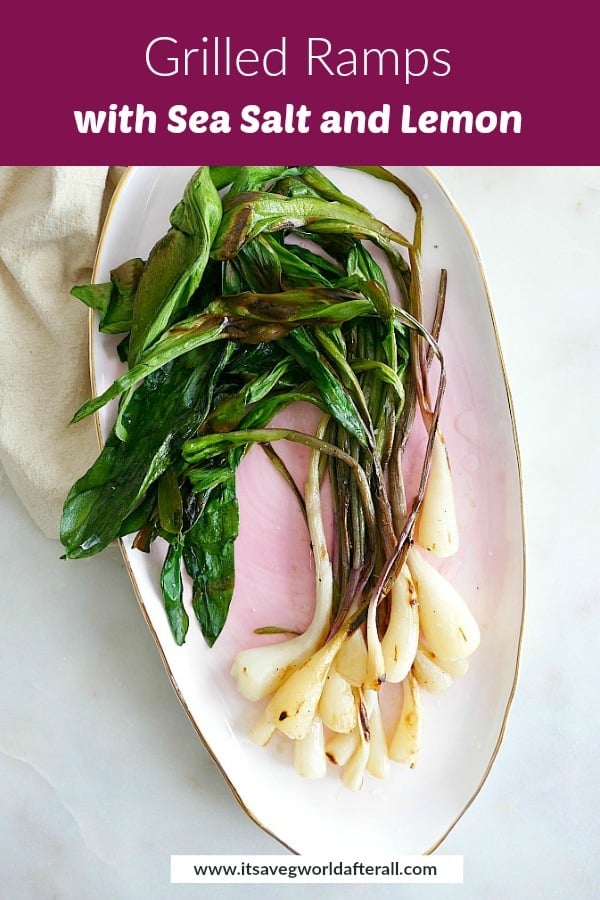
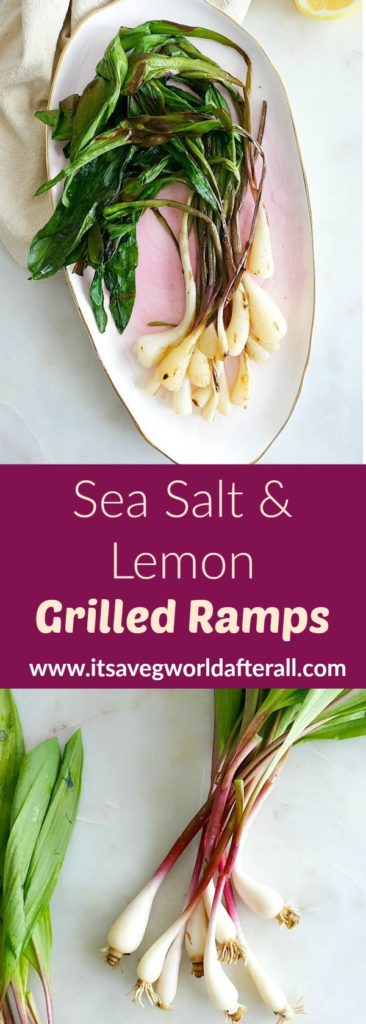
So here they are: my Simple Sea Salt and Lemon Grilled Ramps. The ingredients for this dish are literally in the name. Really, that’s ALL you need when it comes to ramps.
For those of you who are new to ramps, they are a type of wild onion that taste like a mix between onions and garlic. I absolutely love both of those foods so biting into my first ramp was pure delight.
I also learned that you can (and should) eat the entire ramp, including the leaves. Man, I wish I had another bunch of these to whip up right now! They are so tasty.
Expert Tips
Here’s what you need to know to make the perfect grilled ramps.
- Since ramps are fairly thin, you should place them on your grill perpendicular to the lines on the racks. If you have mesh grill mats, definitely use them! Keep a close eye on the ramps, because they can cook up quickly.
- You can also use a grill pan for this recipe, but you may need to grill the ramps in batches depending on how many you have.
- While any type of salt helps bring out the flavors of ramps, I especially like flaky Maldon sea salt. Sprinkle a little of that on the grilled ramps before you eat them, and you won’t regret it!
Looking for more grilled vegetable recipes? Check out the Grilled Crispy Buffalo Cauliflower Lettuce Cups and Charred Garlic Scapes with Parsley Butter while you’re here!
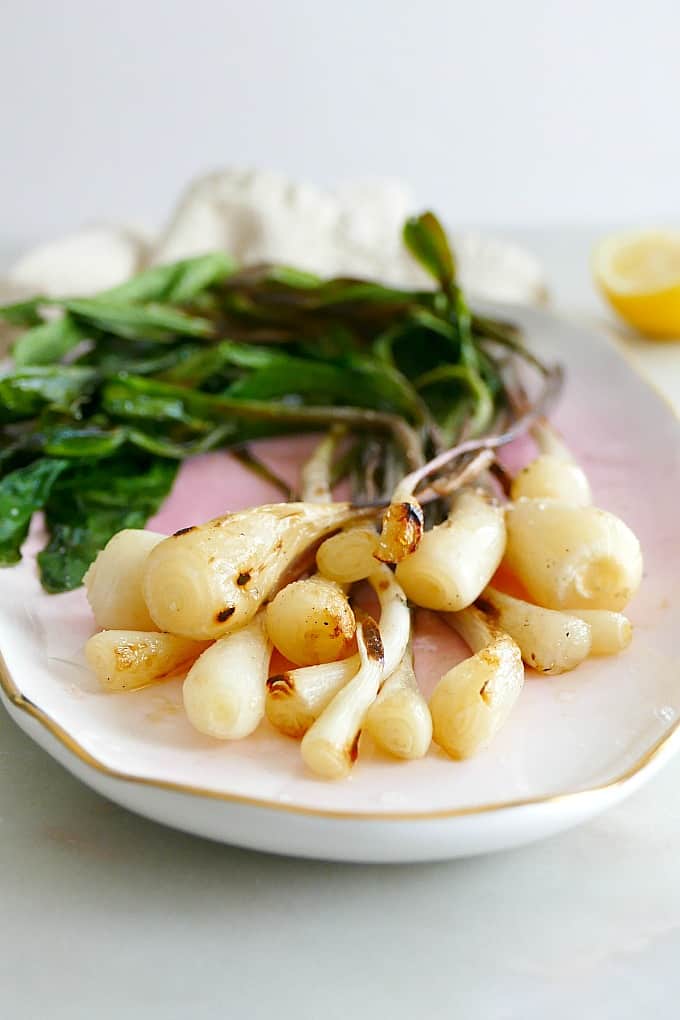
Ready to try your first ramp? Do it! Browse your local grocery store, farmers market, or co-op to see if you can still get your hands on them. If not, bookmark this page (and the Ramp Pesto with Toasted Cashews) for next spring. You won’t want to miss out!
If you make this recipe, I’d love to hear how you like it! Please rate/review using the stars on the recipe card or in the comments section.
📖 Recipe
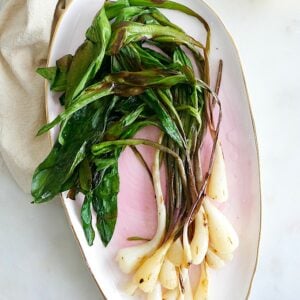
Simple Sea Salt and Lemon Grilled Ramps
Instructions
- Preheat the grill to medium high. Wash, trim and dry the ramps. I sliced off a small amount from each bulb but you can keep the "strings" on if you so please. Transfer the ramps to a plate and brush with olive oil.
- Place each ramp, leaves included, on the grill, cover, and cook for 3-5 minutes on each side or until charred and tender.
- Transfer the ramps to a serving dish. Drizzle with a fresh squeeze of lemon juice and a fresh grind of sea salt, to taste. Enjoy!
Notes
- I highly recommend using a mesh grill mat if you have one. This will prevent the ramps from falling through the grill racks.
- You can also make this recipe on a grill pan.
- While any type of salt works in this recipe, I especially like to use Maldon flaky sea salt! It's delicious.
Nutrition
Enjoy this delicious taste of spring! – Lizzie



Angela Buly
Great! Thanks for sharing